Bag Review: National Geographic MC5350
Posted on July 26th, 2015.
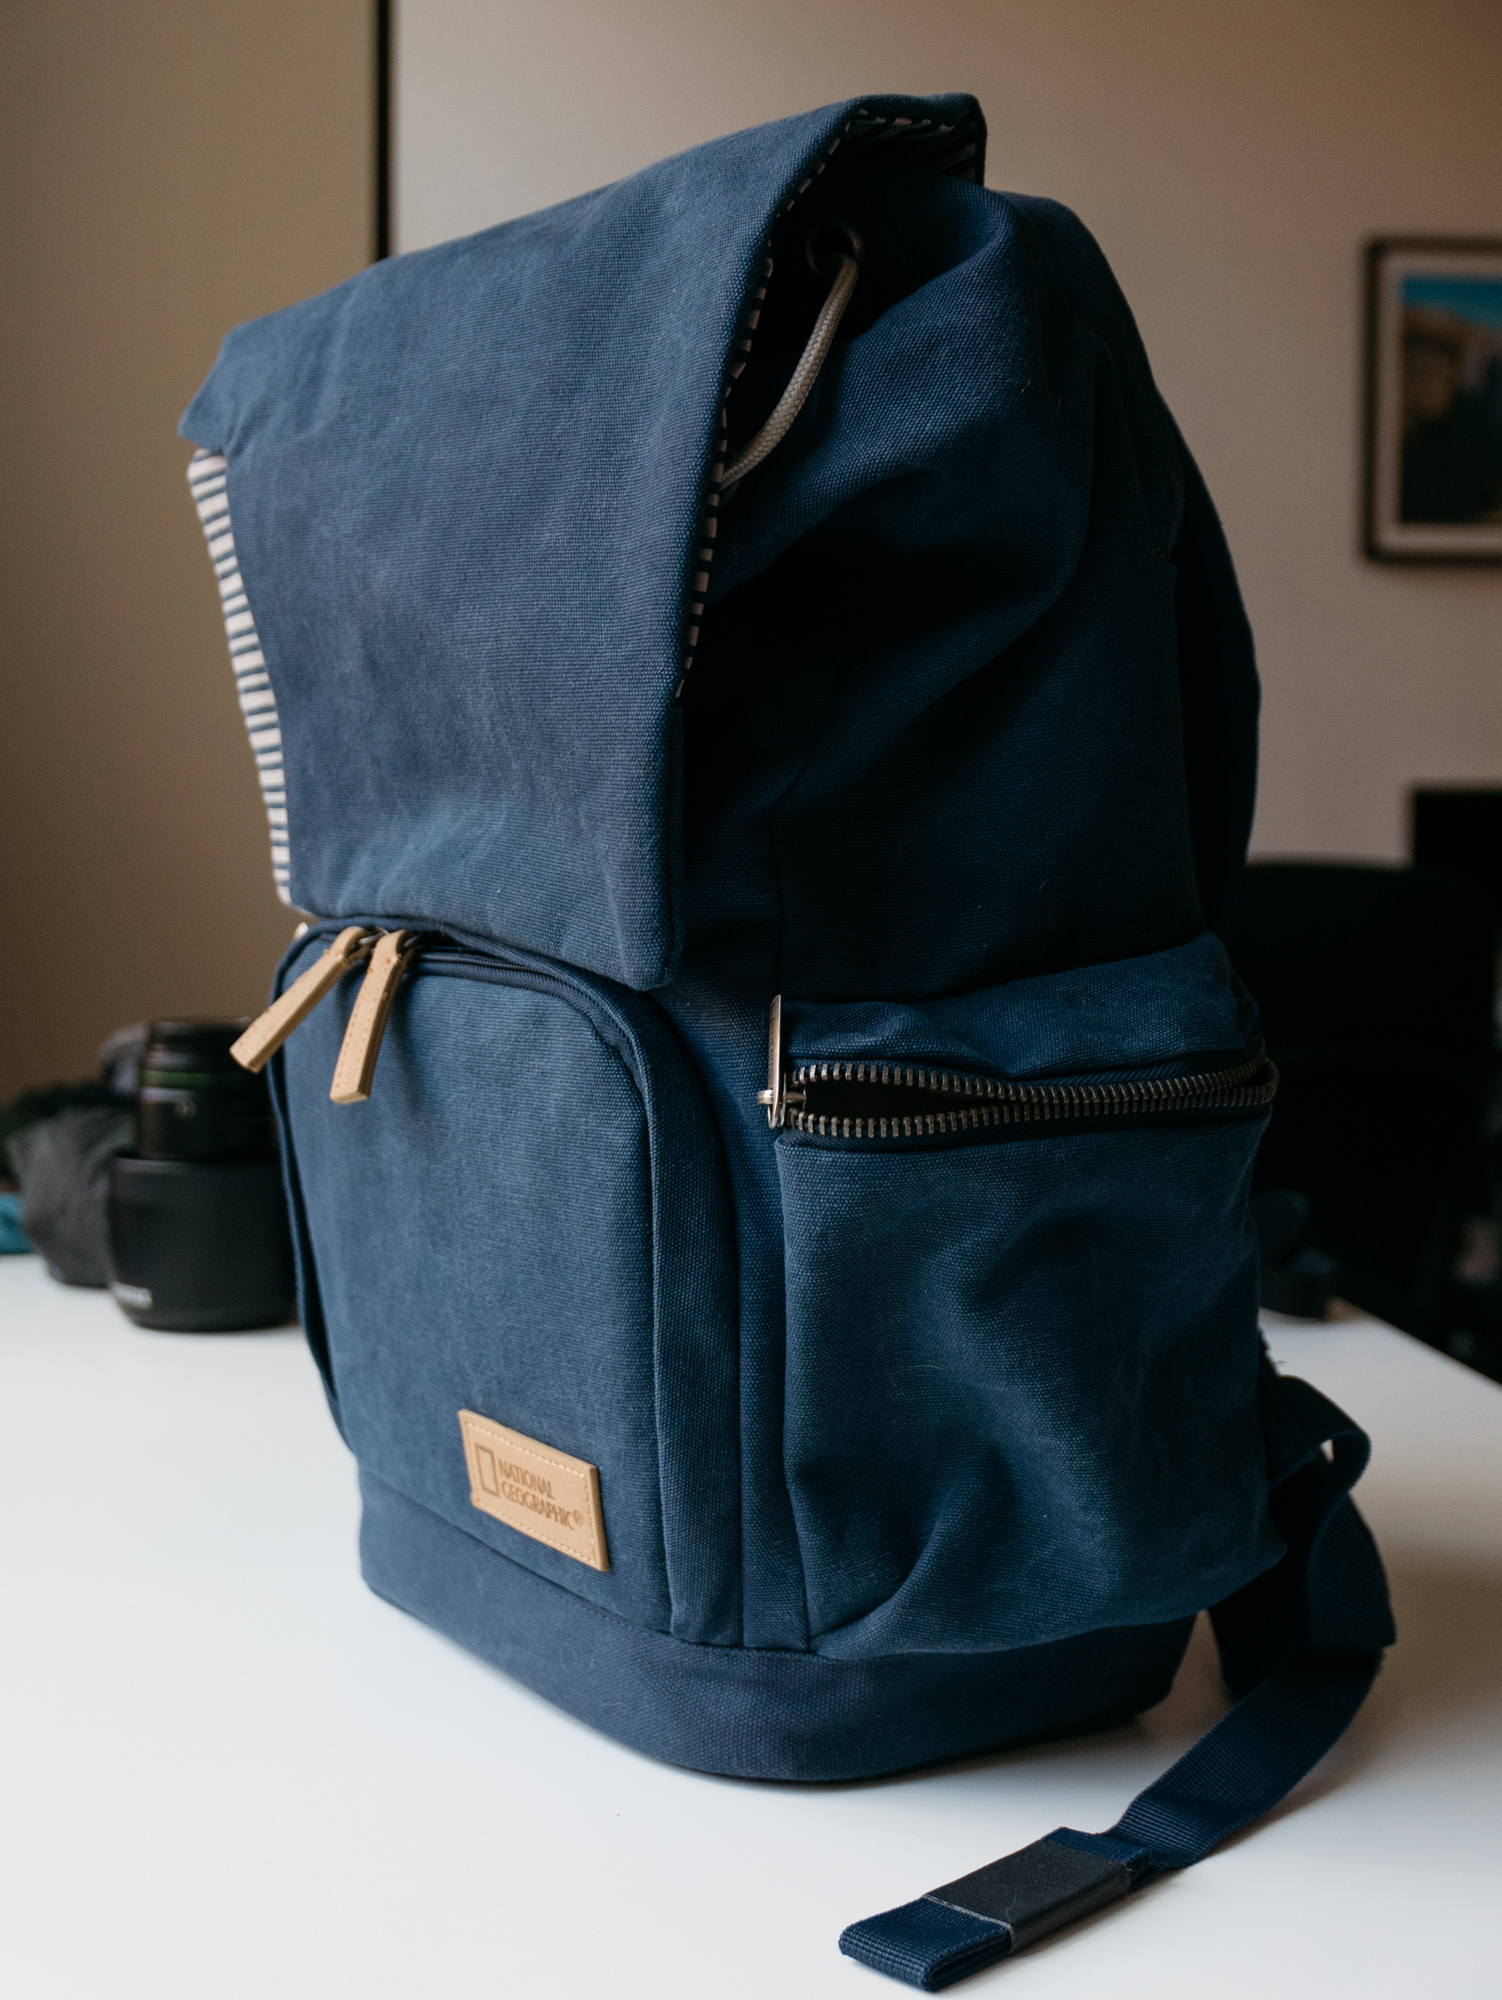
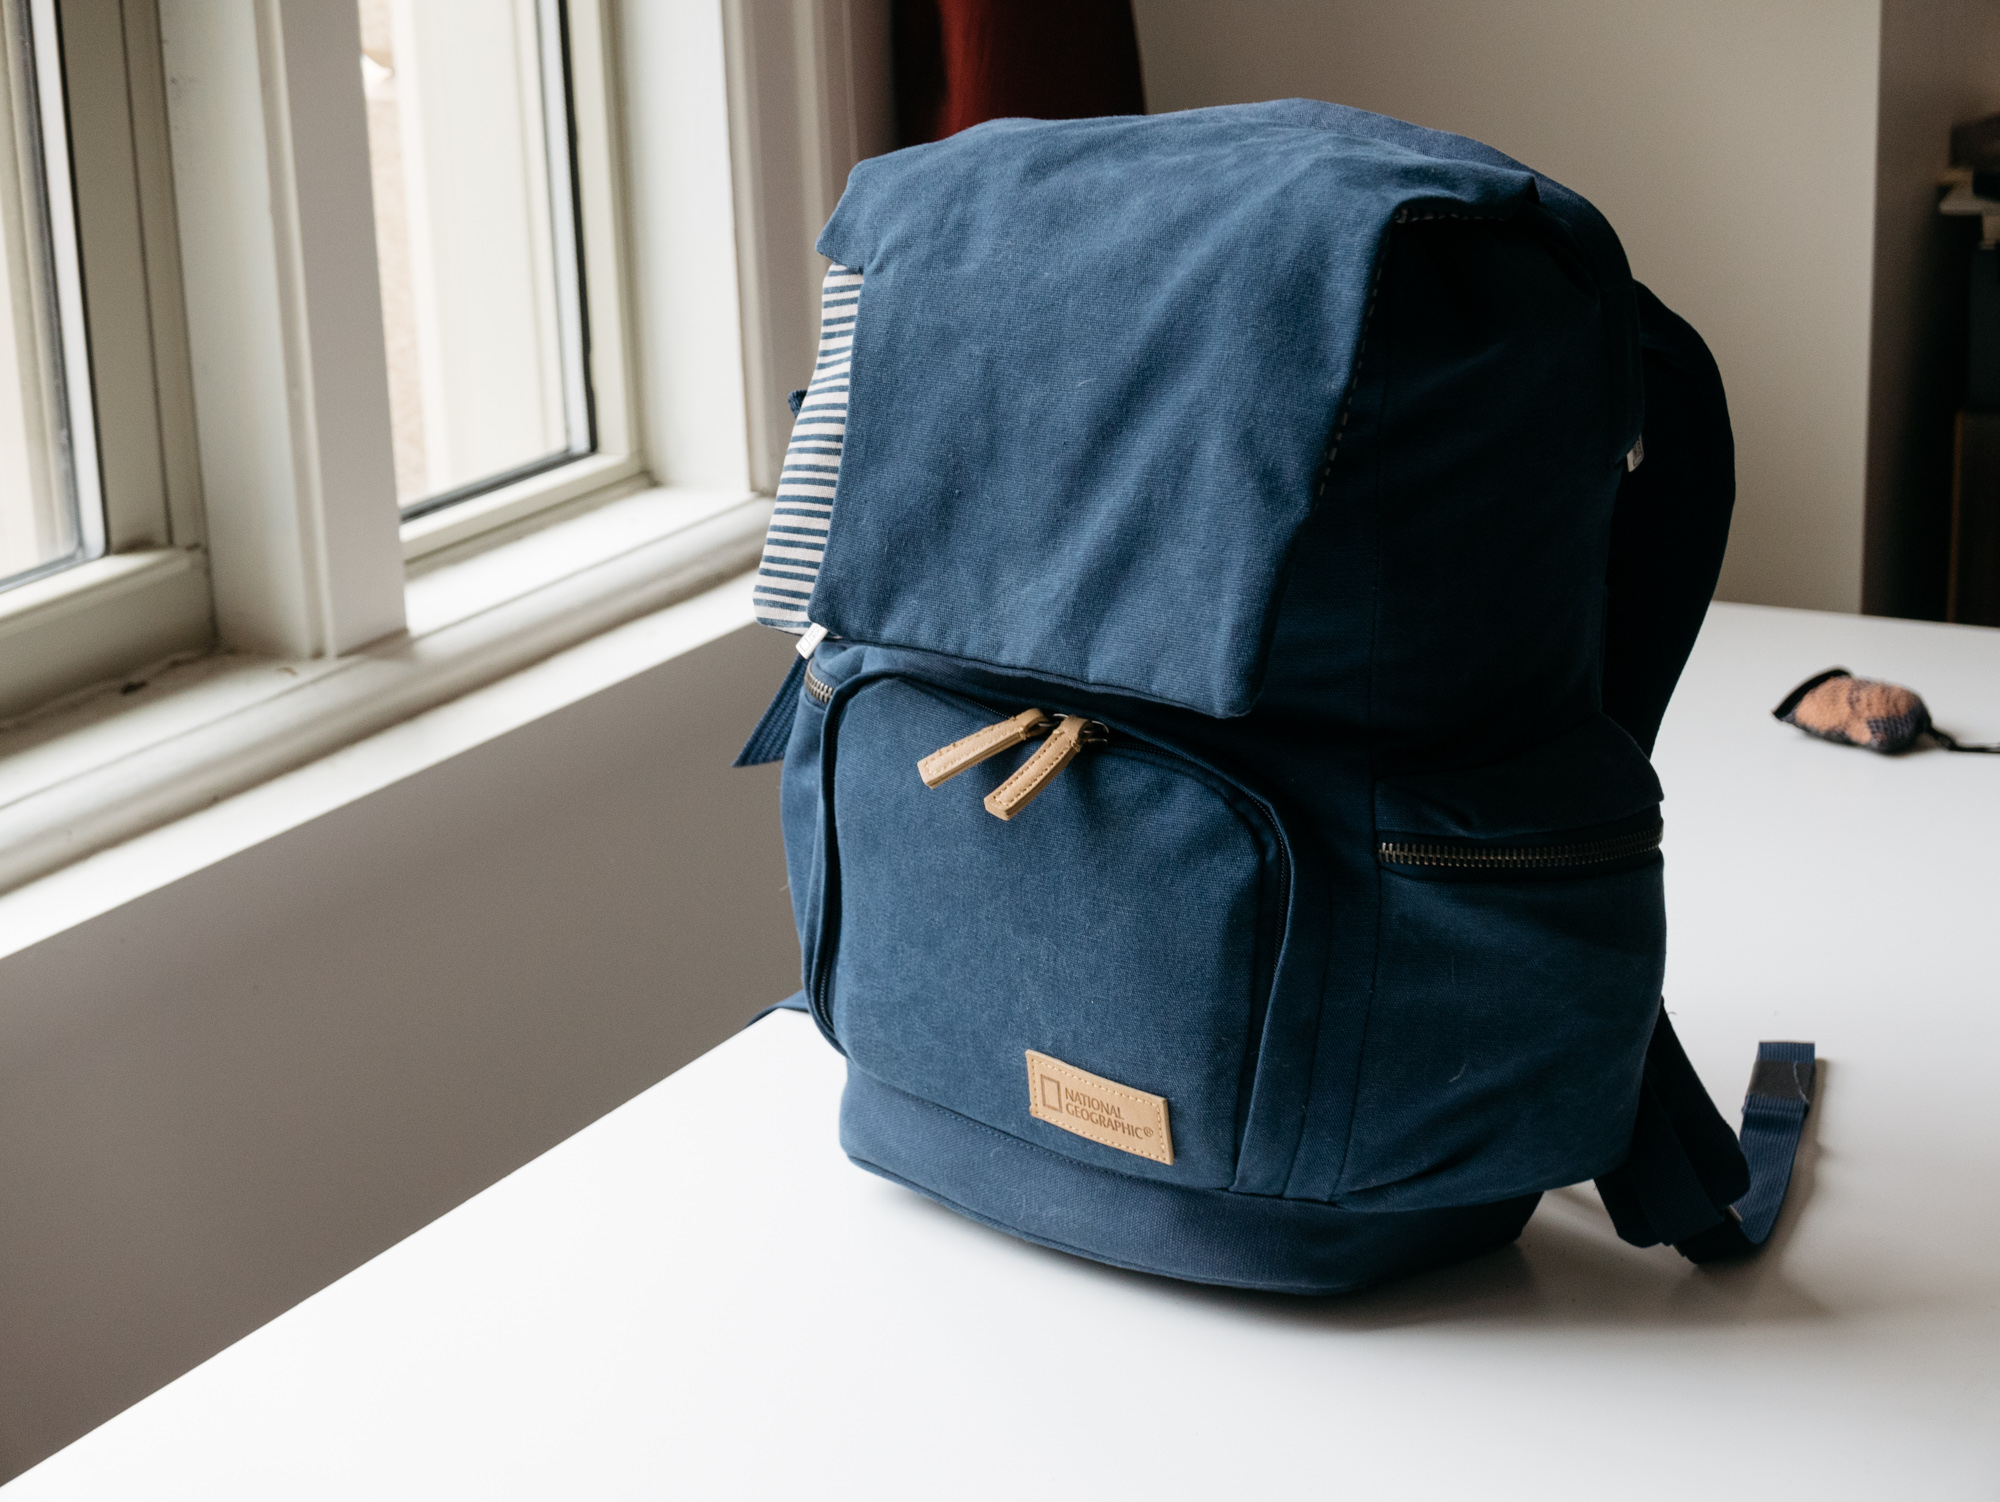
Since I've got a bit of downtime before I move, the bag reviews will continue. Next up is the National Geographic "Medium Backpack" from the Mediterranean line (model MG5350).
I got this backpack a few months ago from the Geographic Bags site and have been using it a lot. If it's out of stock there you can find it on Amazon (affiliate link).
I mostly use it for two things:
- Day hikes where I want to bring a DSLR for landscape photos.
- A weekend bag to fly with as a one-bag carry on.
It's been almost perfect for these two things, with just a couple of tiny hitches. Let's dig in!
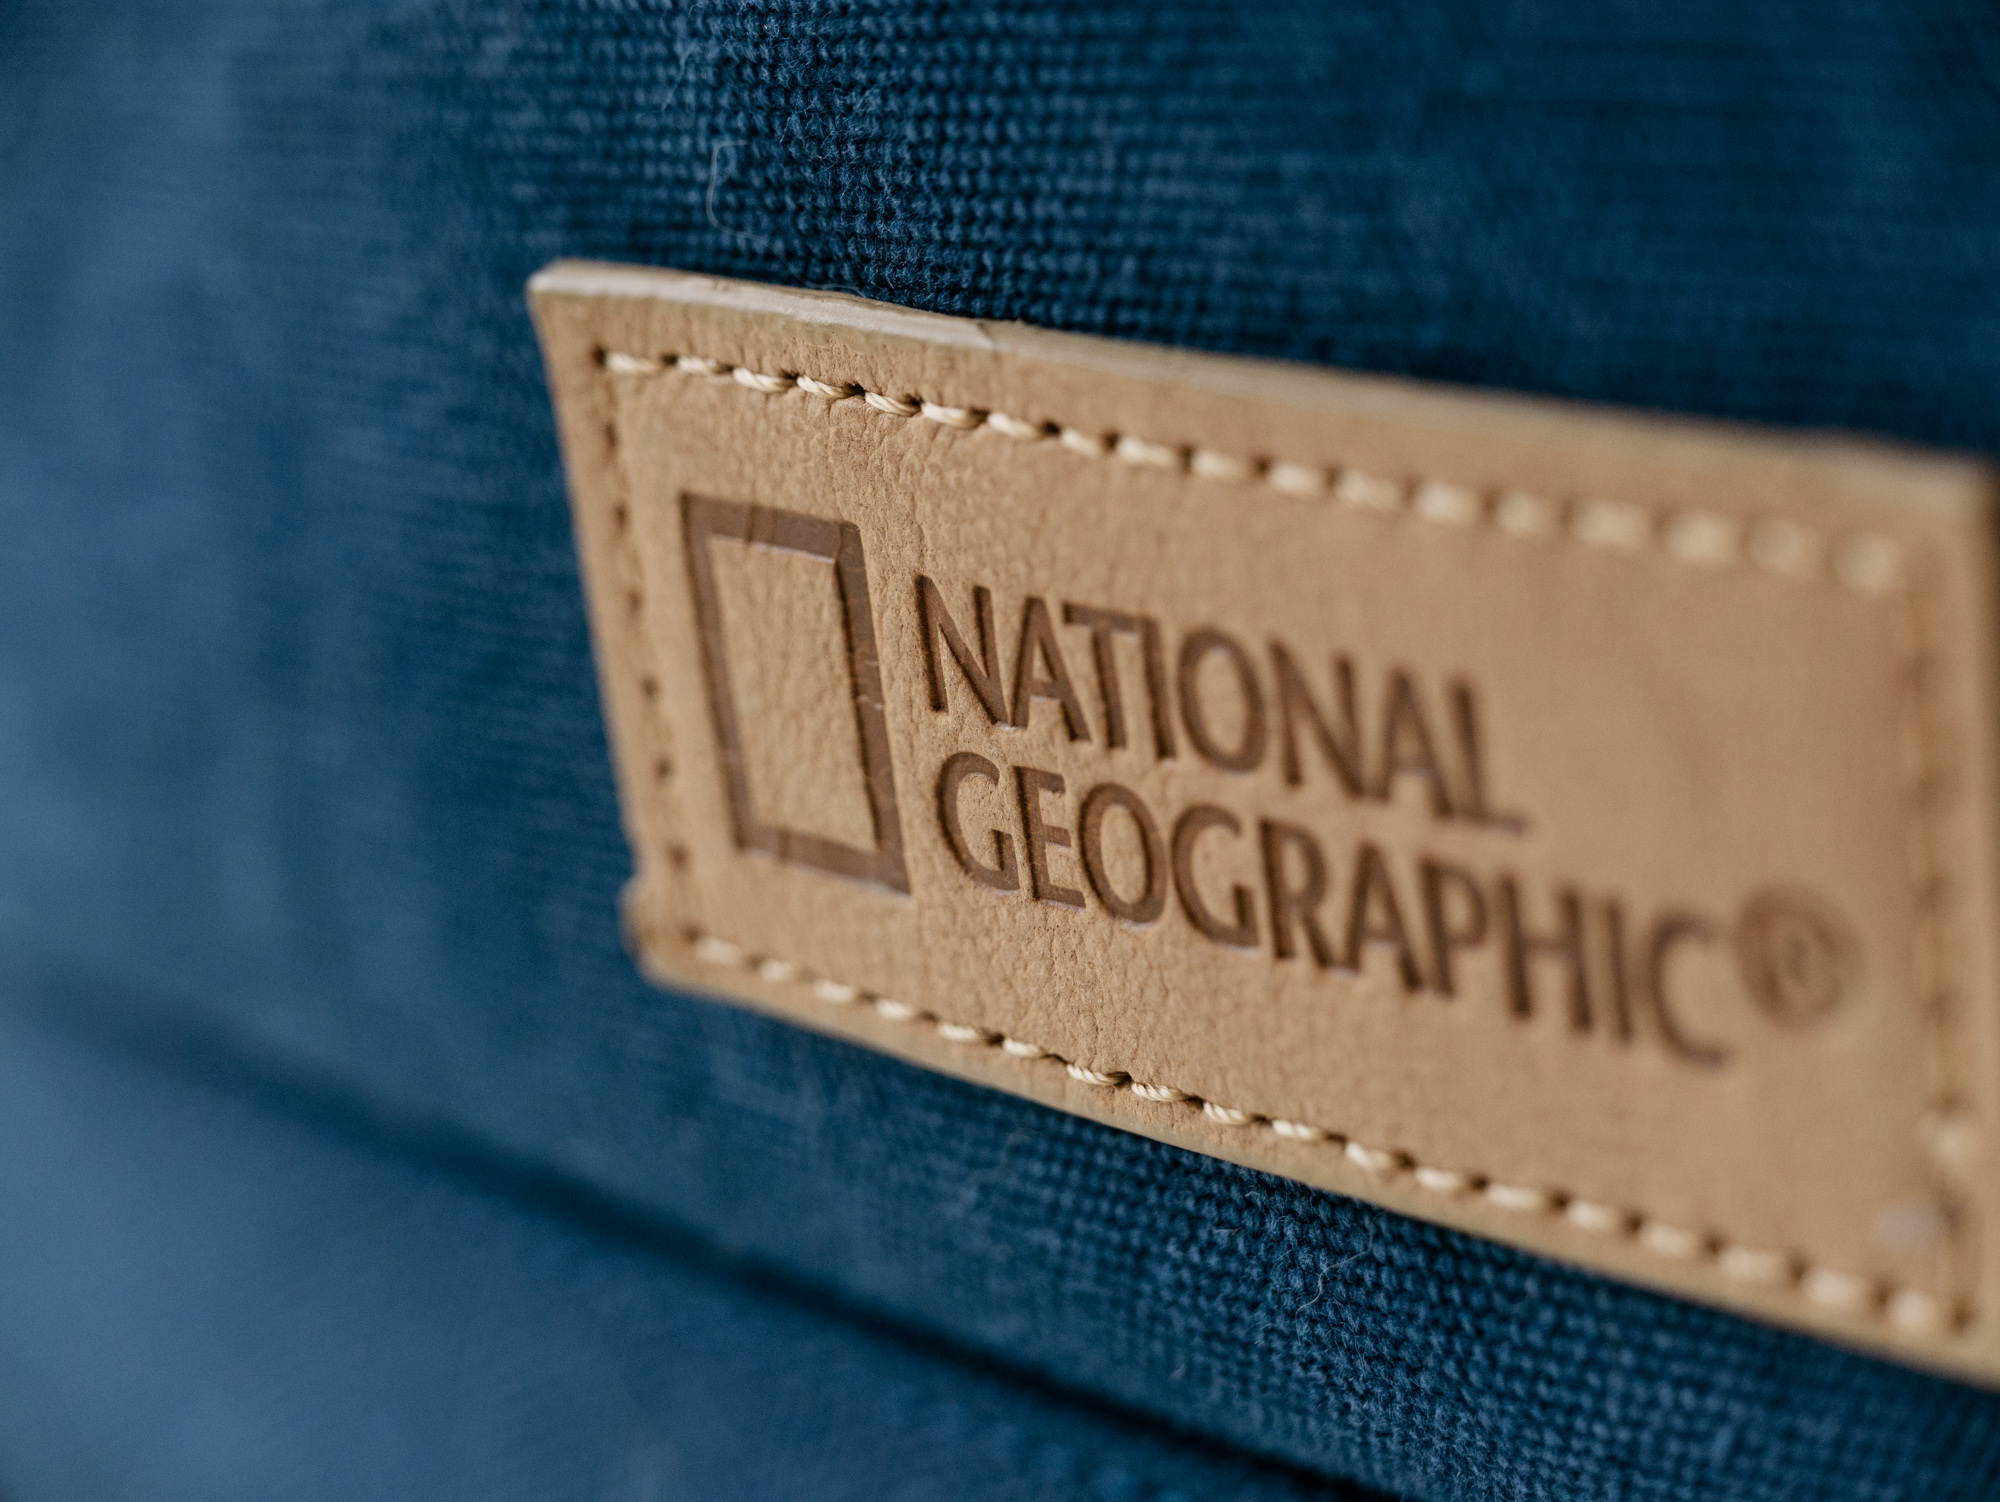
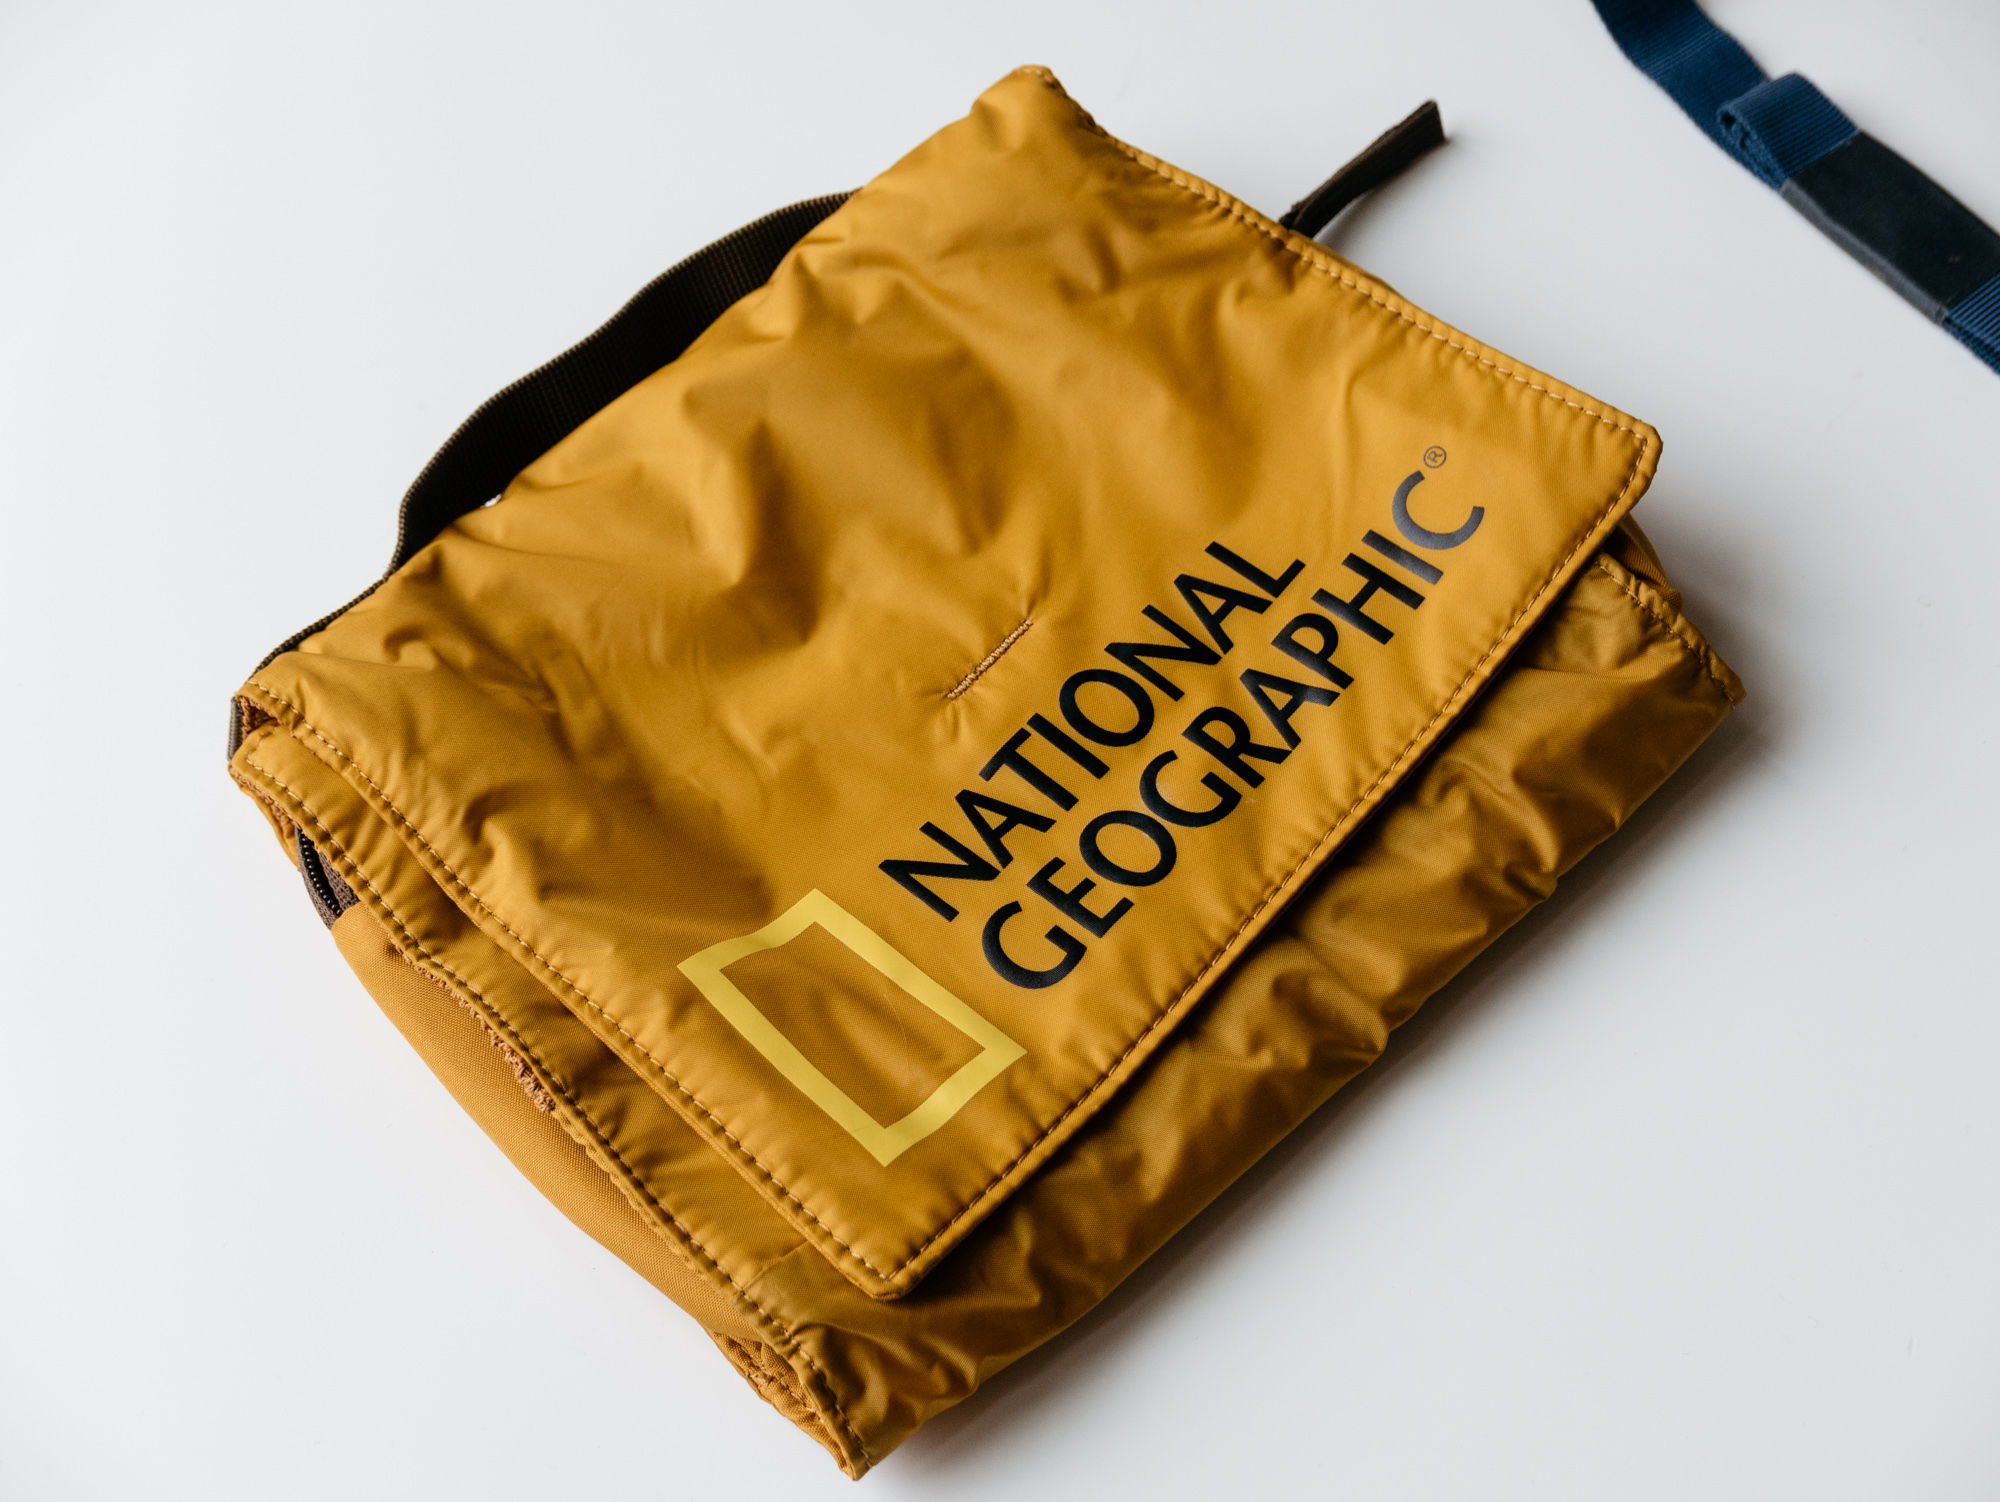
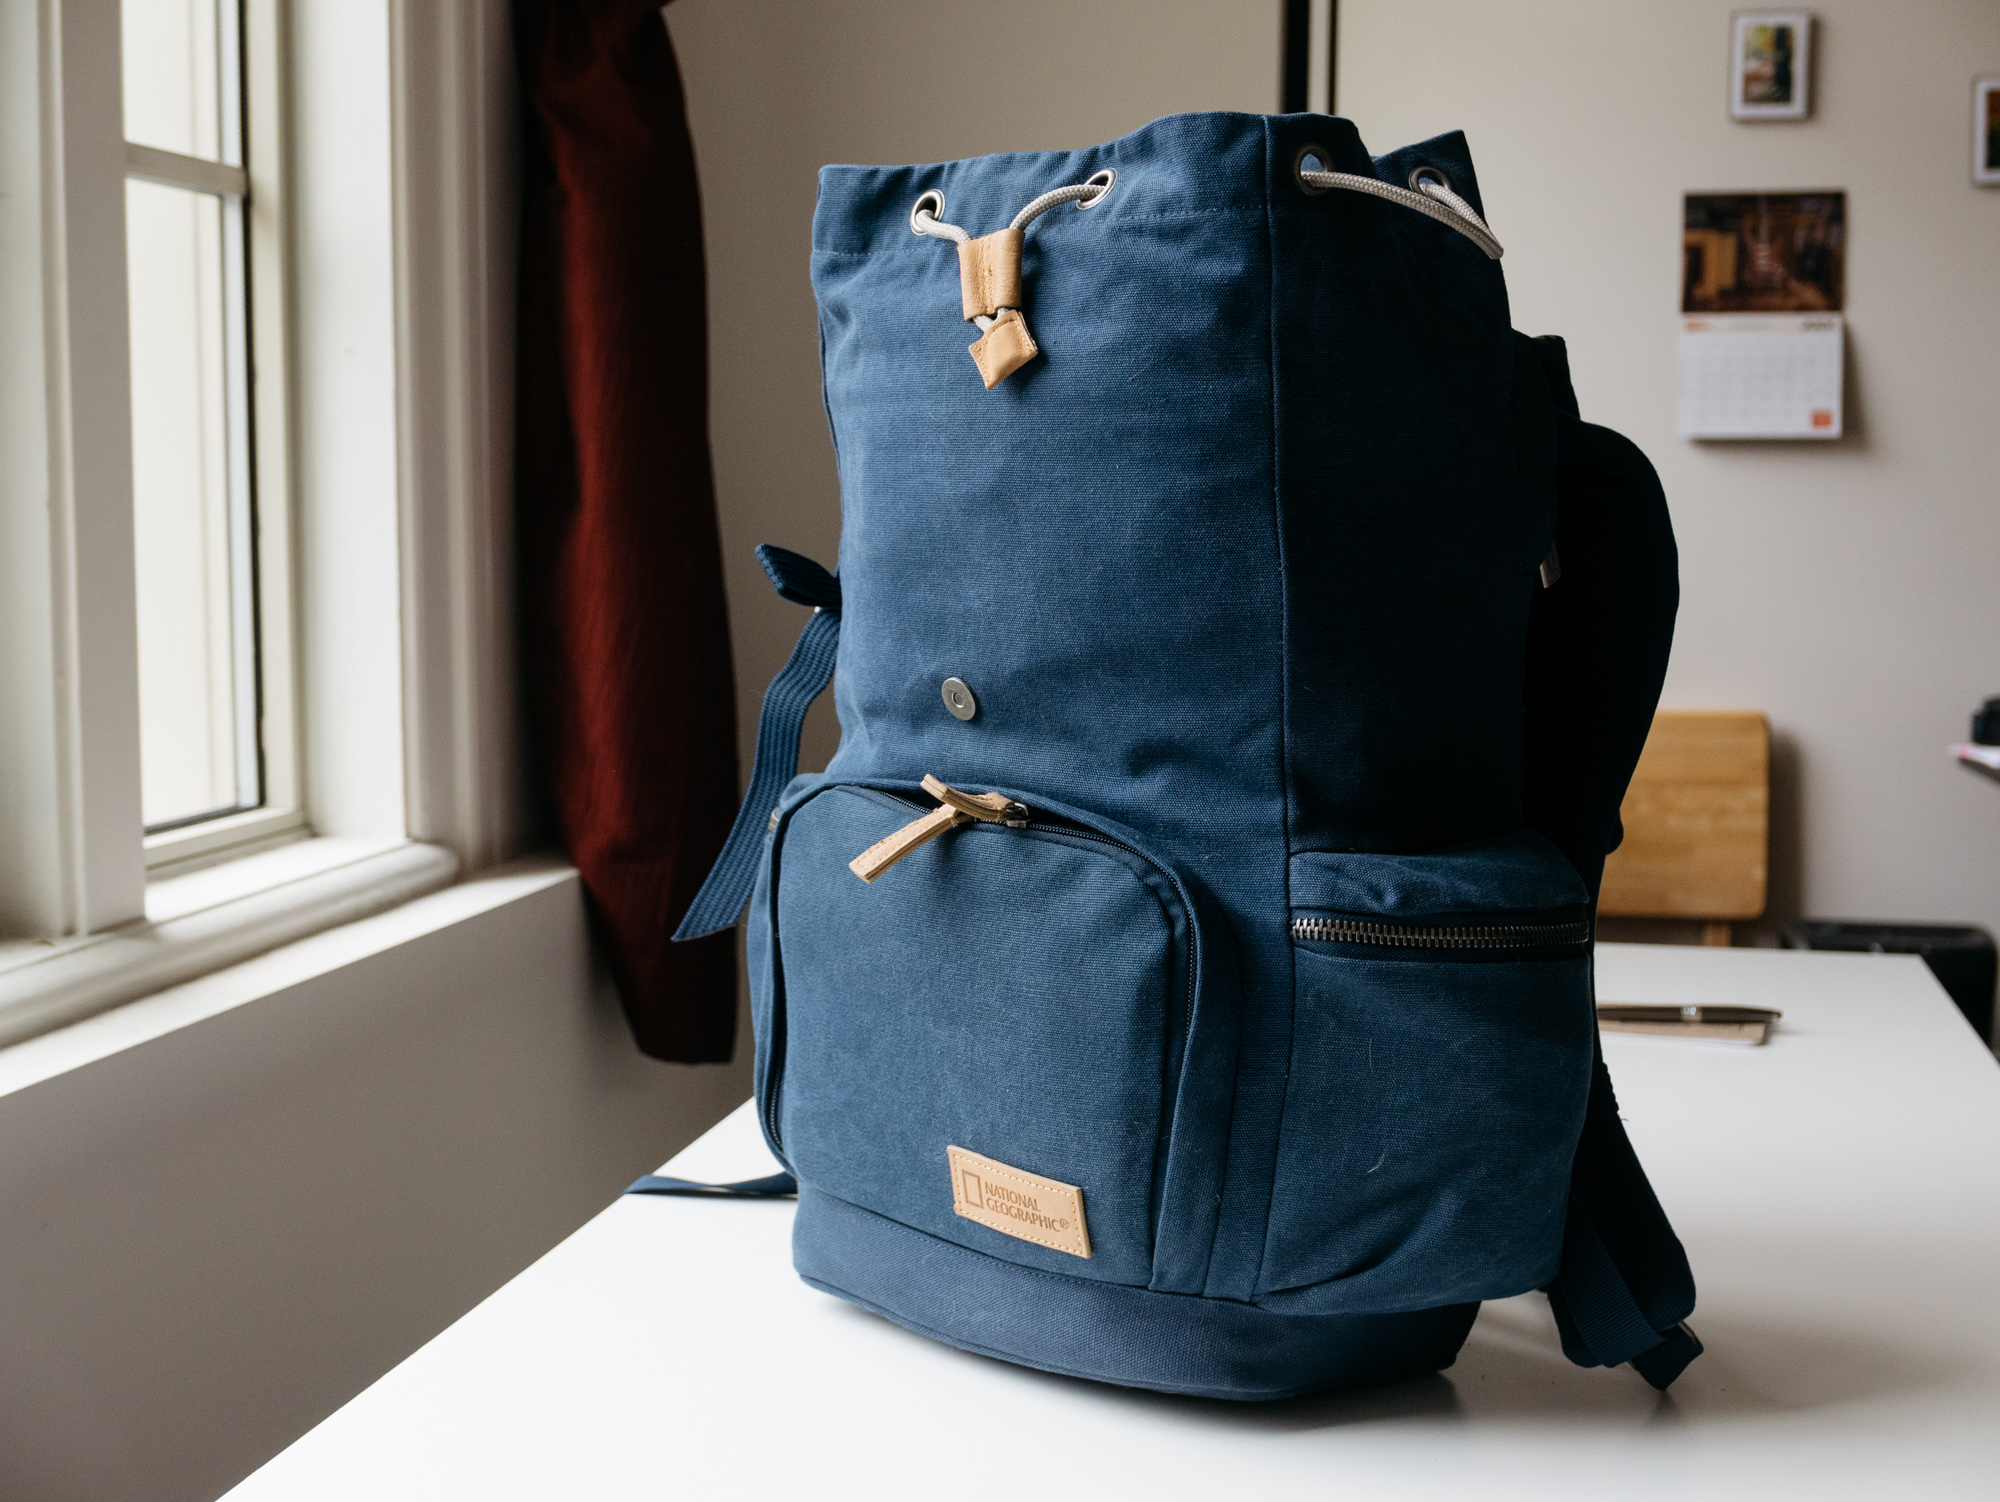
This line (the Mediterranean series) has a much different look than their others. The branding is straightforward but not over the top. Once again, I'm pretty sure Nat Geo is licensing the name to Manfrotto to actually make the bags.
The stripes are a nice touch that give it some visual interest without being obnoxious. They remind me of piano keys a bit.
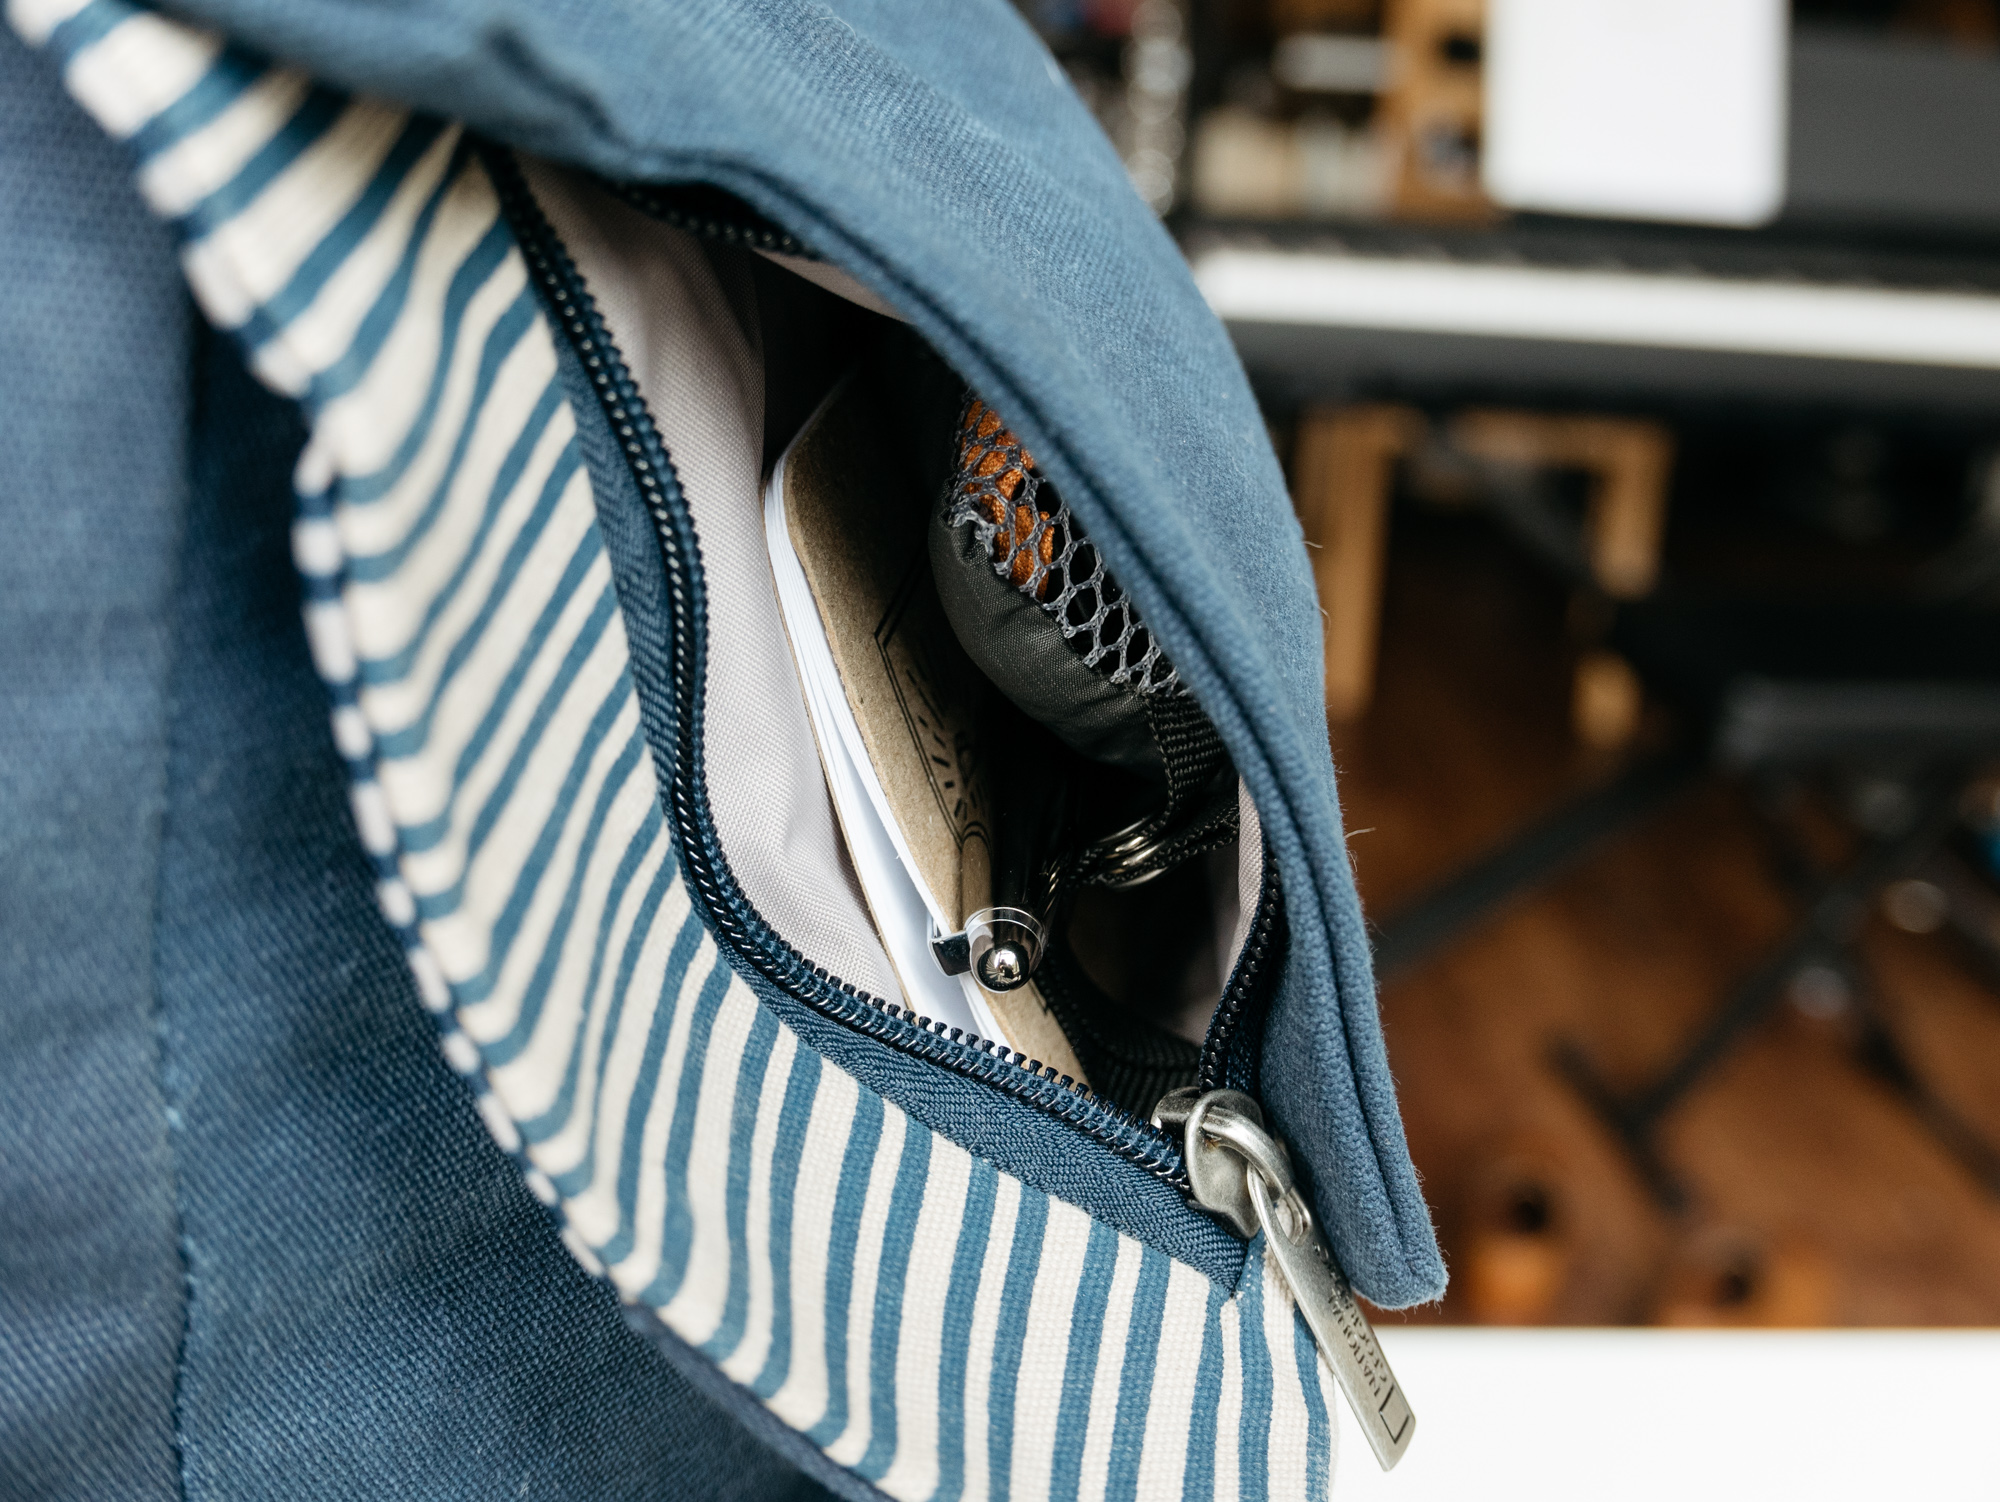
The front flap has a pocket for small stuff.
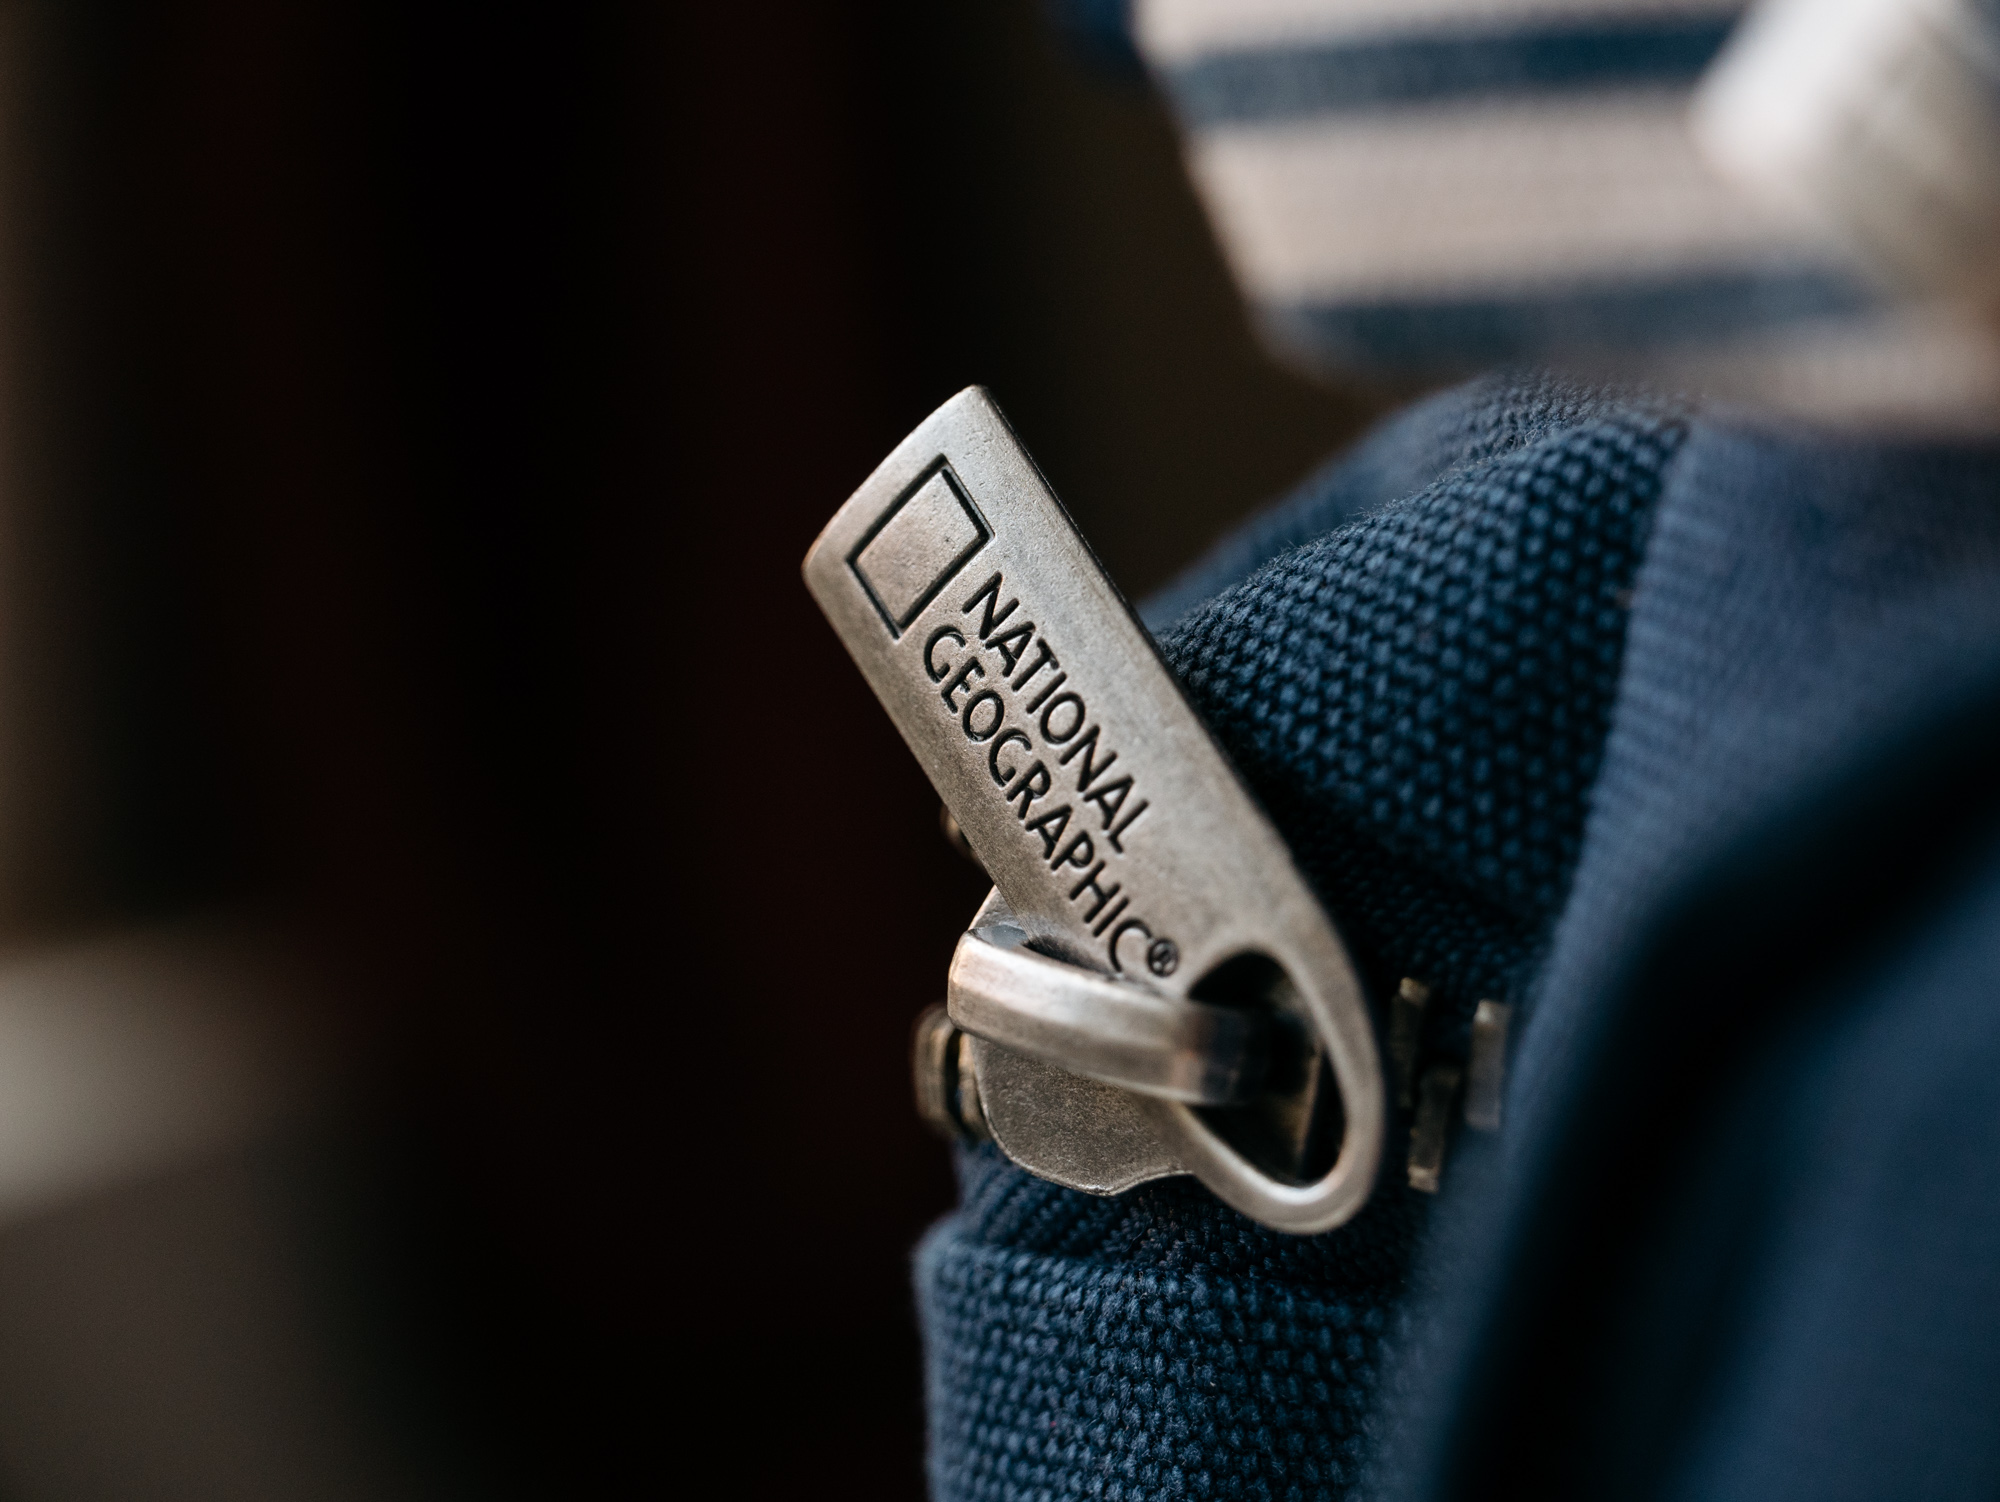
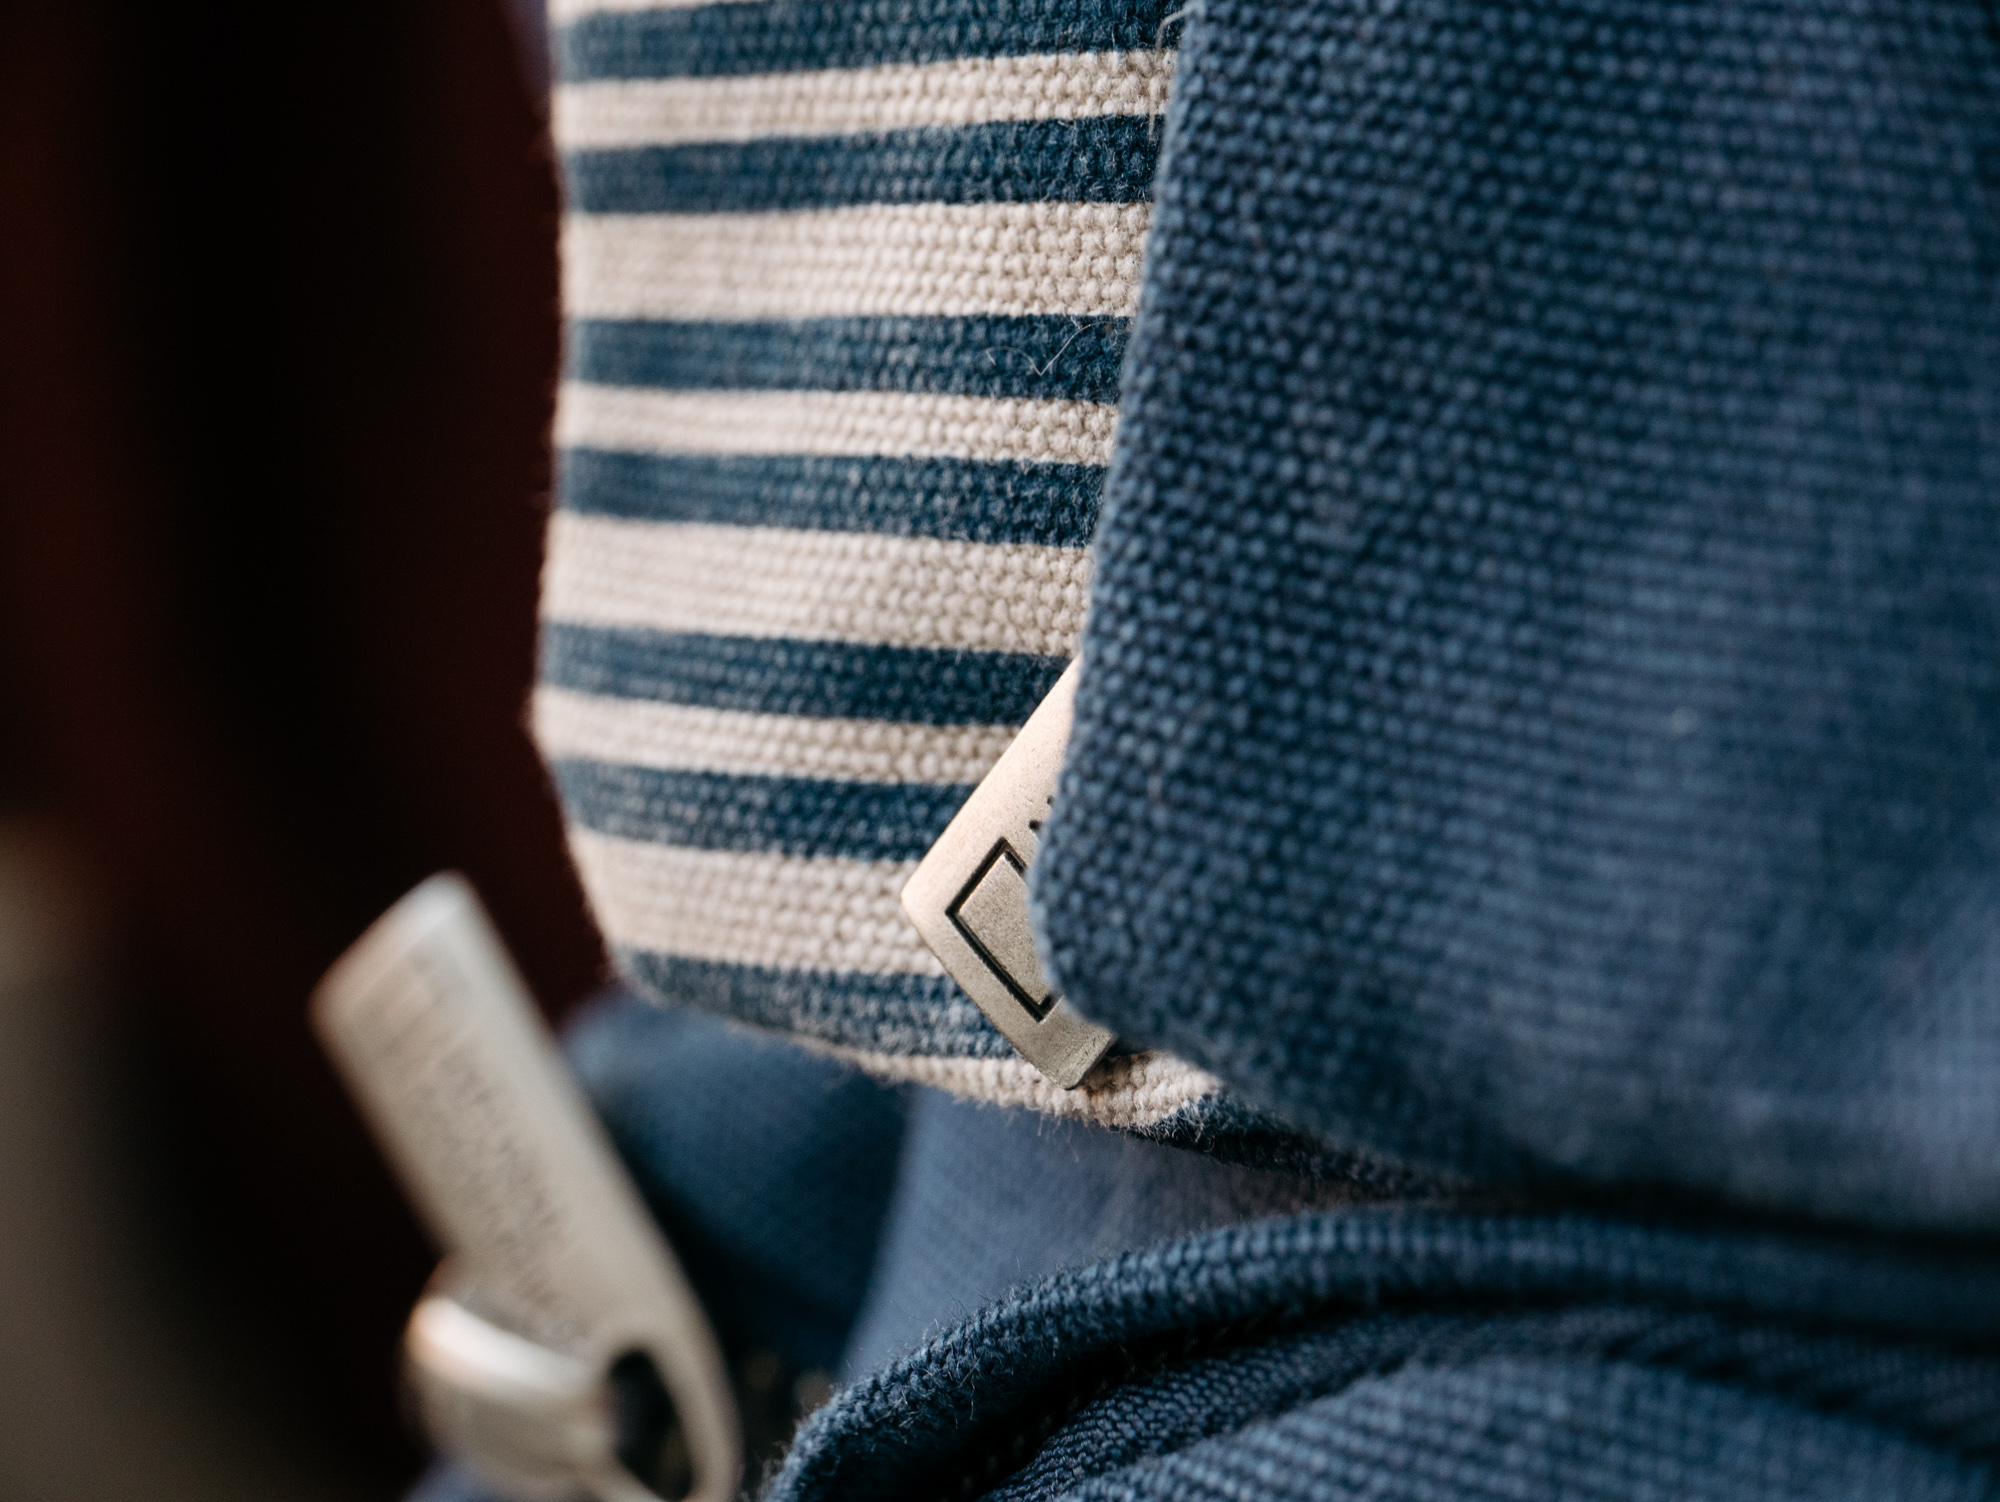
The metal zipper pulls are hefty, and have the logo nicely embossed.
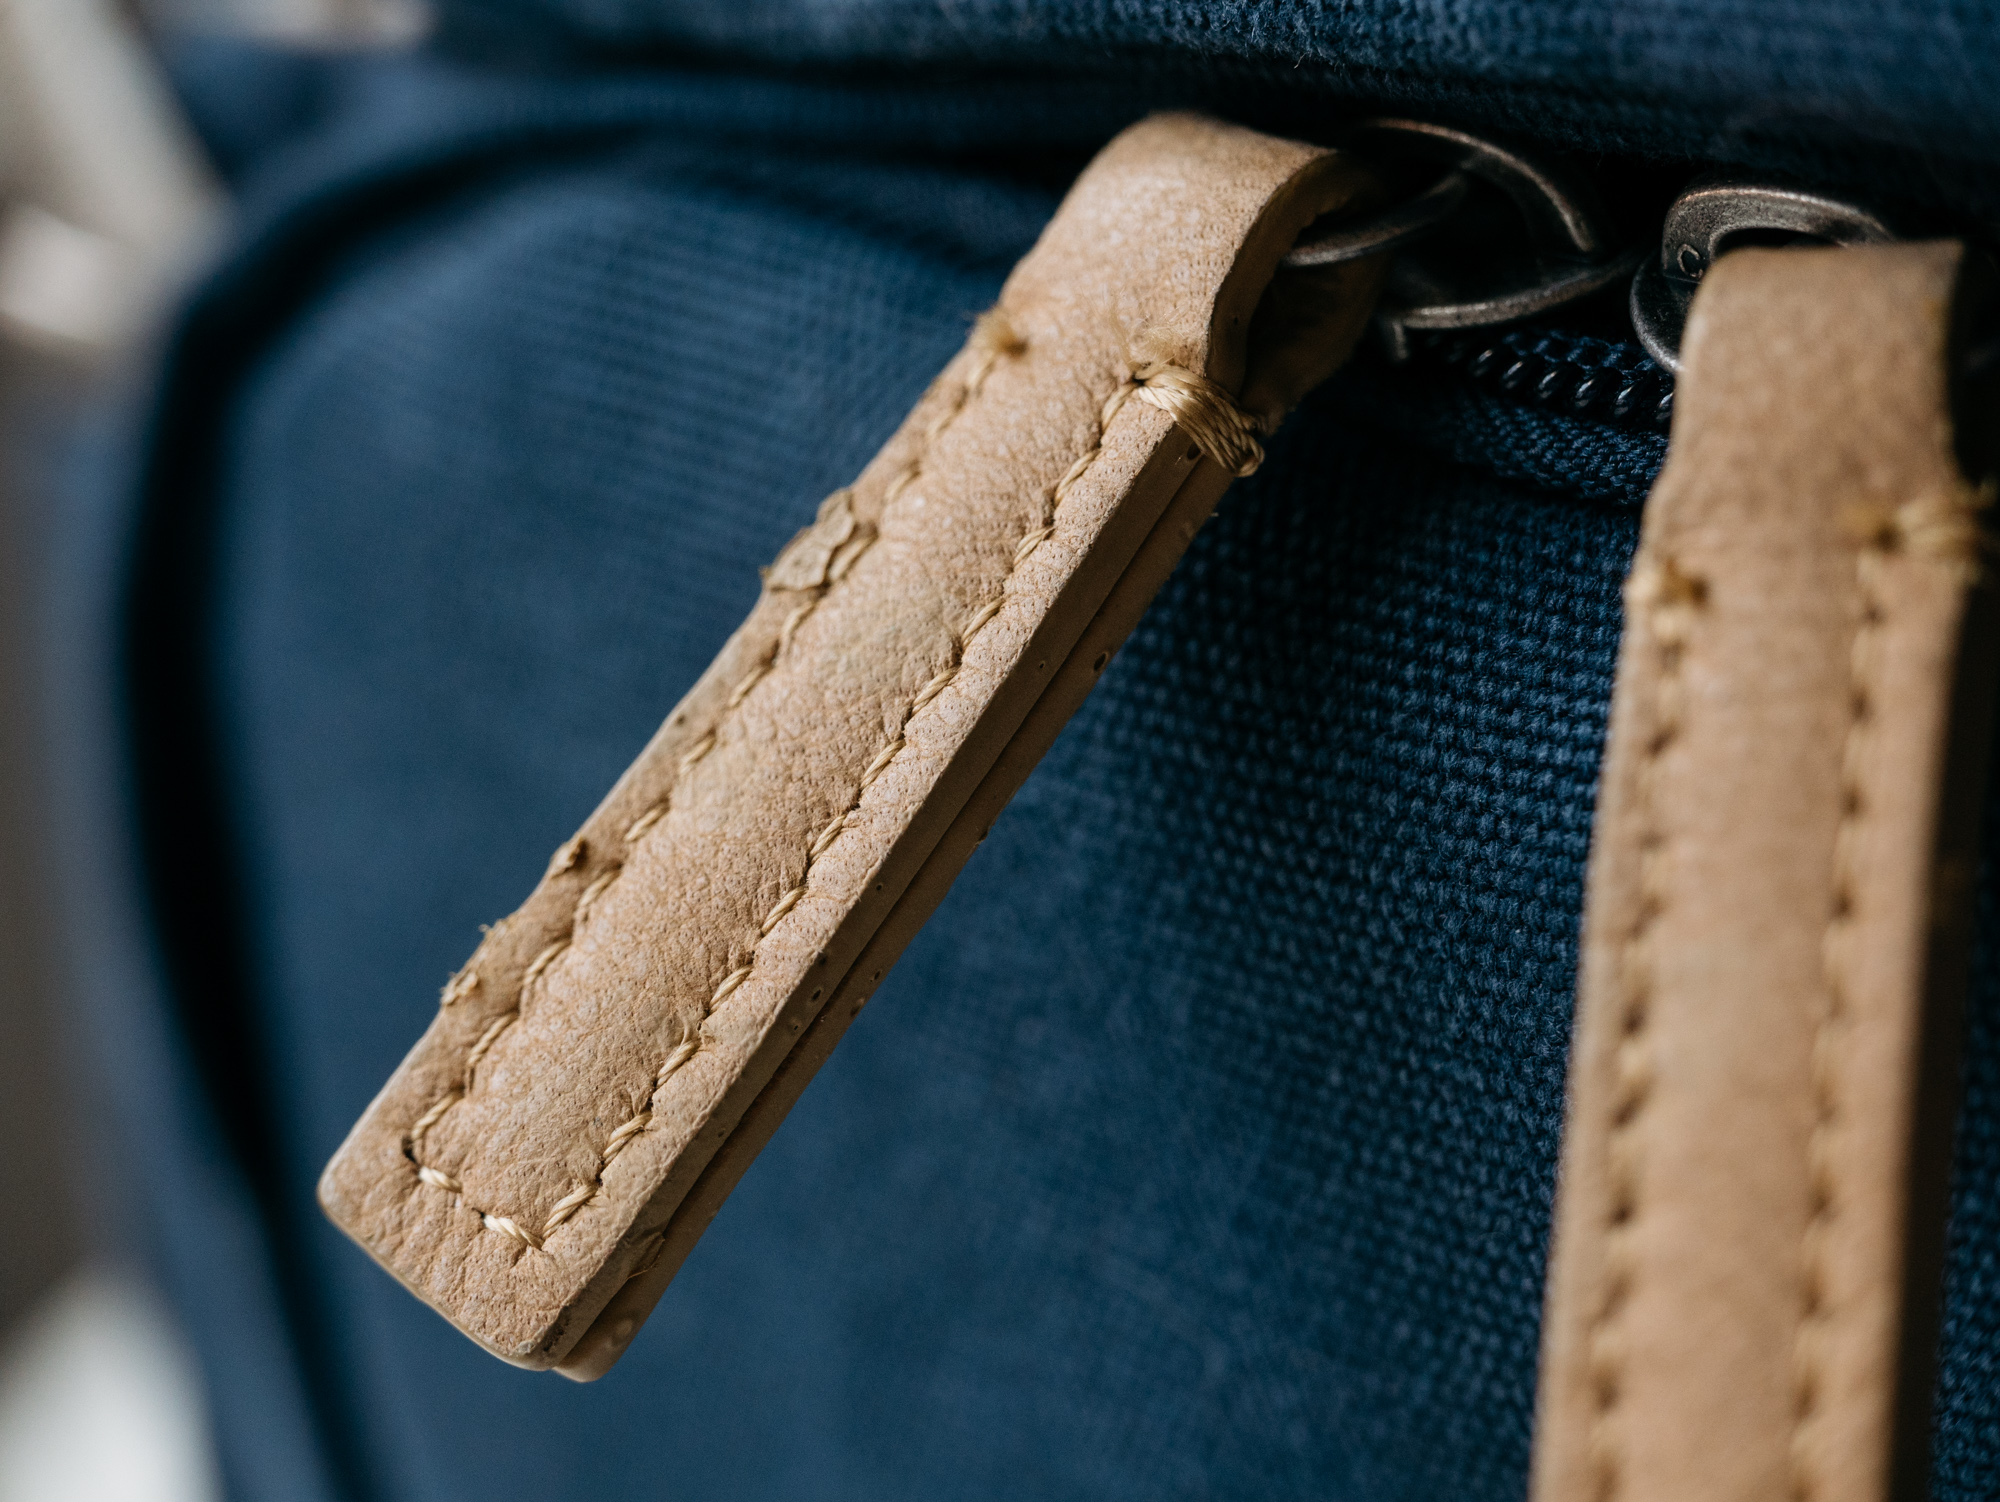
Some of the zipper pulls are chunky leather. I'm not sure why some are metal and some are leather, but it works.

The straps are medium-width, very padded, and not detachable. There's plenty of room for length adjustments if you're a tall person. Unfortunately there are no load lifter straps.
There's no internal frame, but the back of the bag has a lot of padding sewn into it. The inset compass design gives you a bit of ventilation. It feels nice when wearing, but also means you can't fold or roll this bag up to stuff it in a bigger bag to use as a day pack.
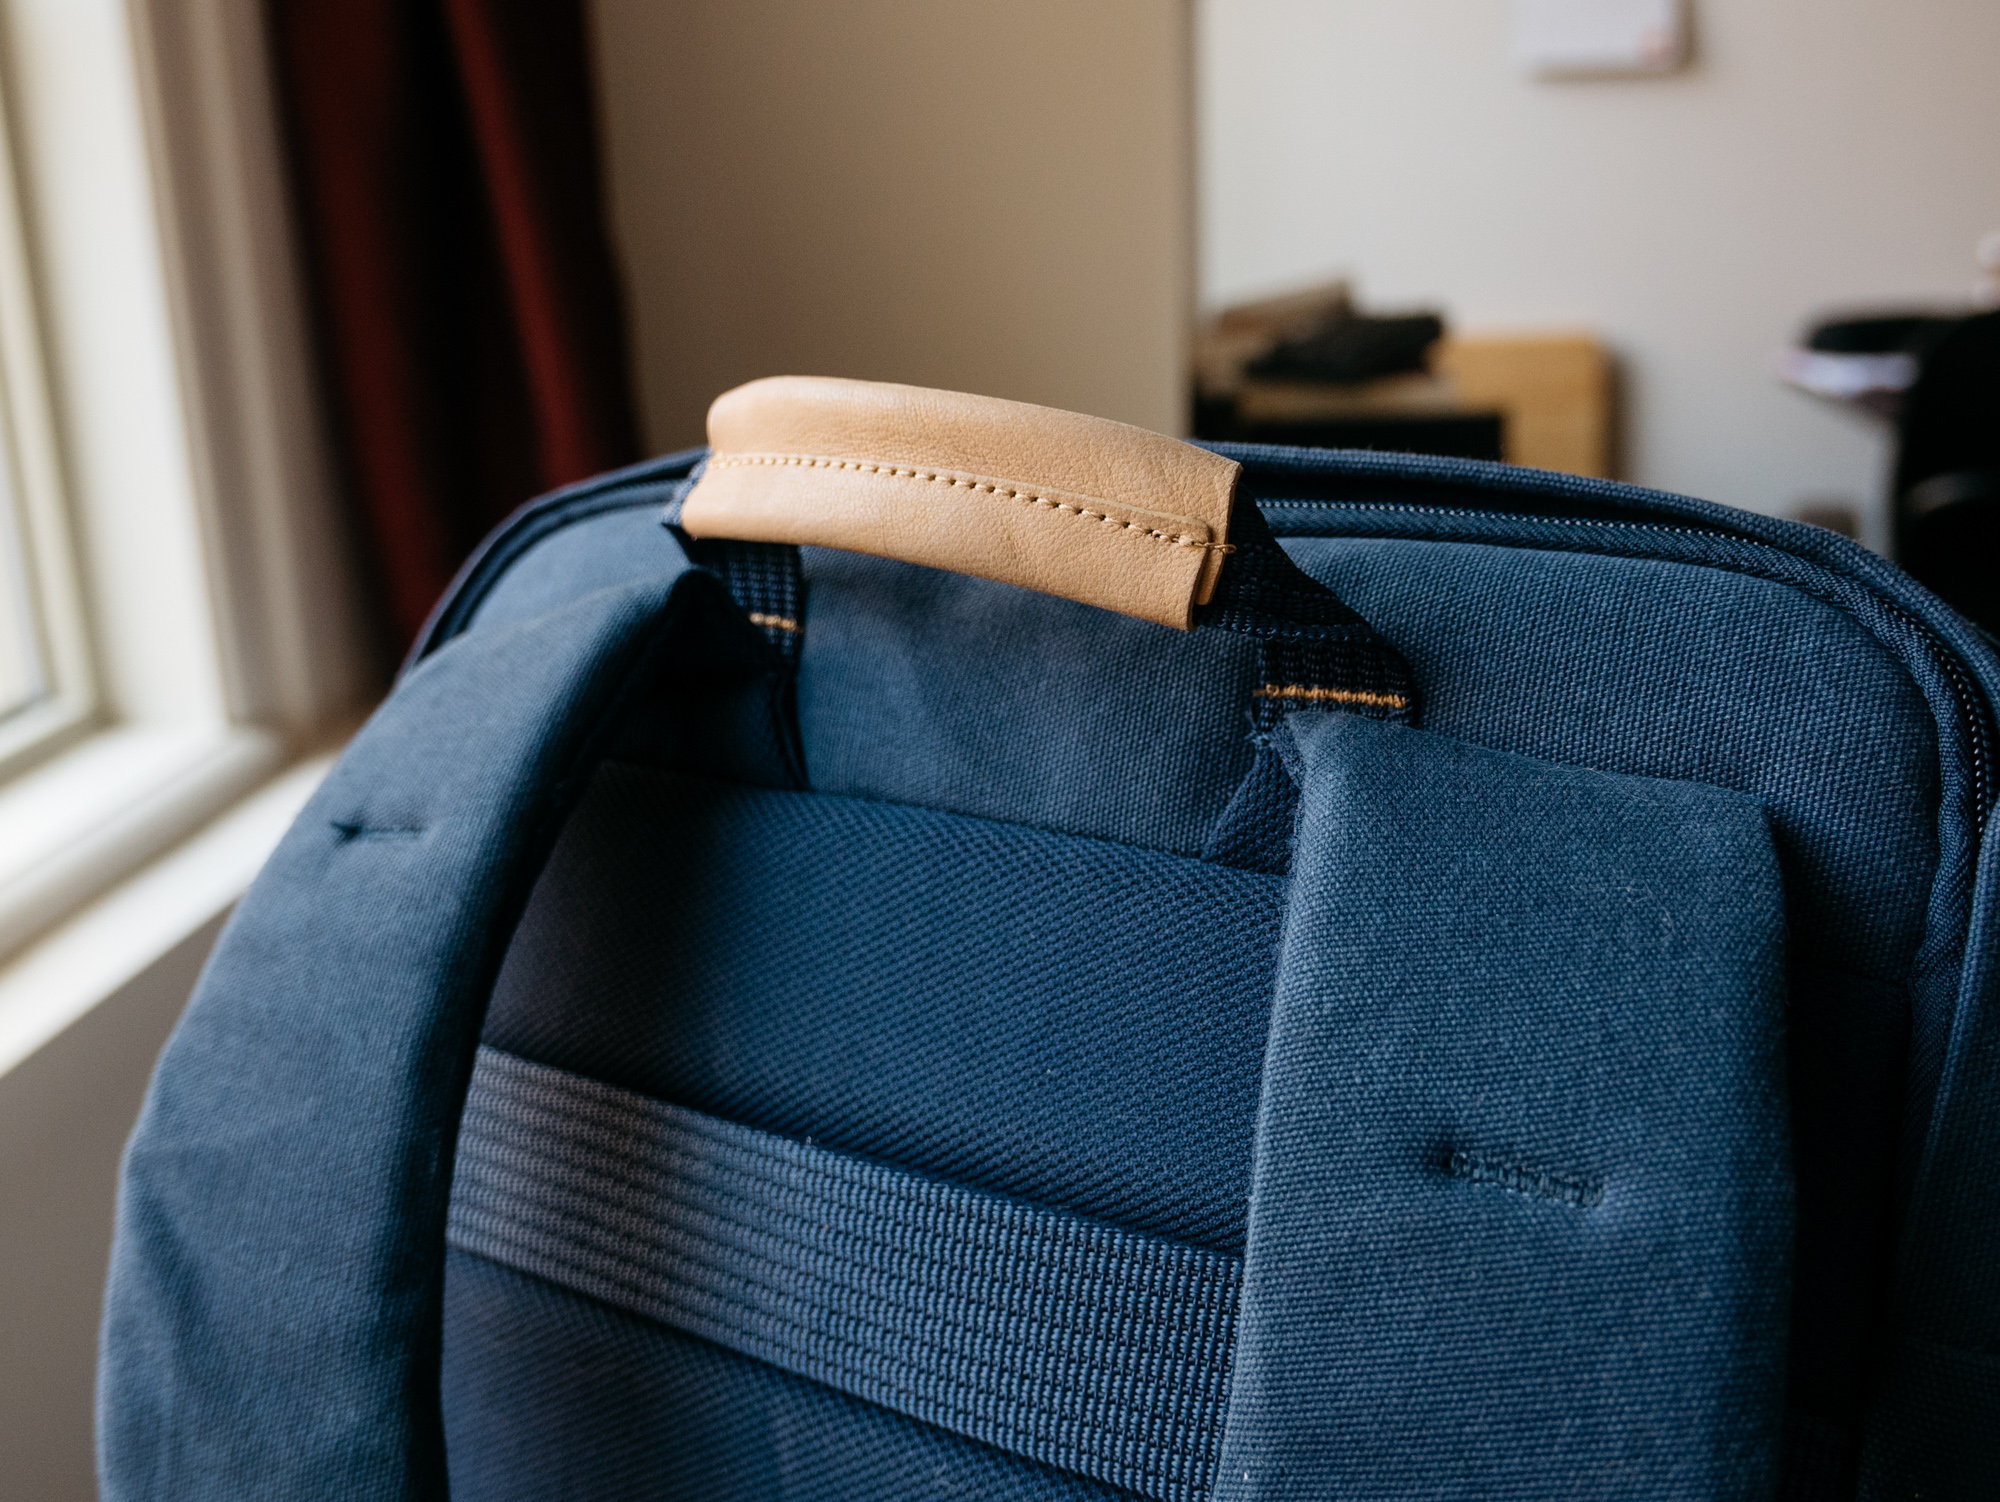
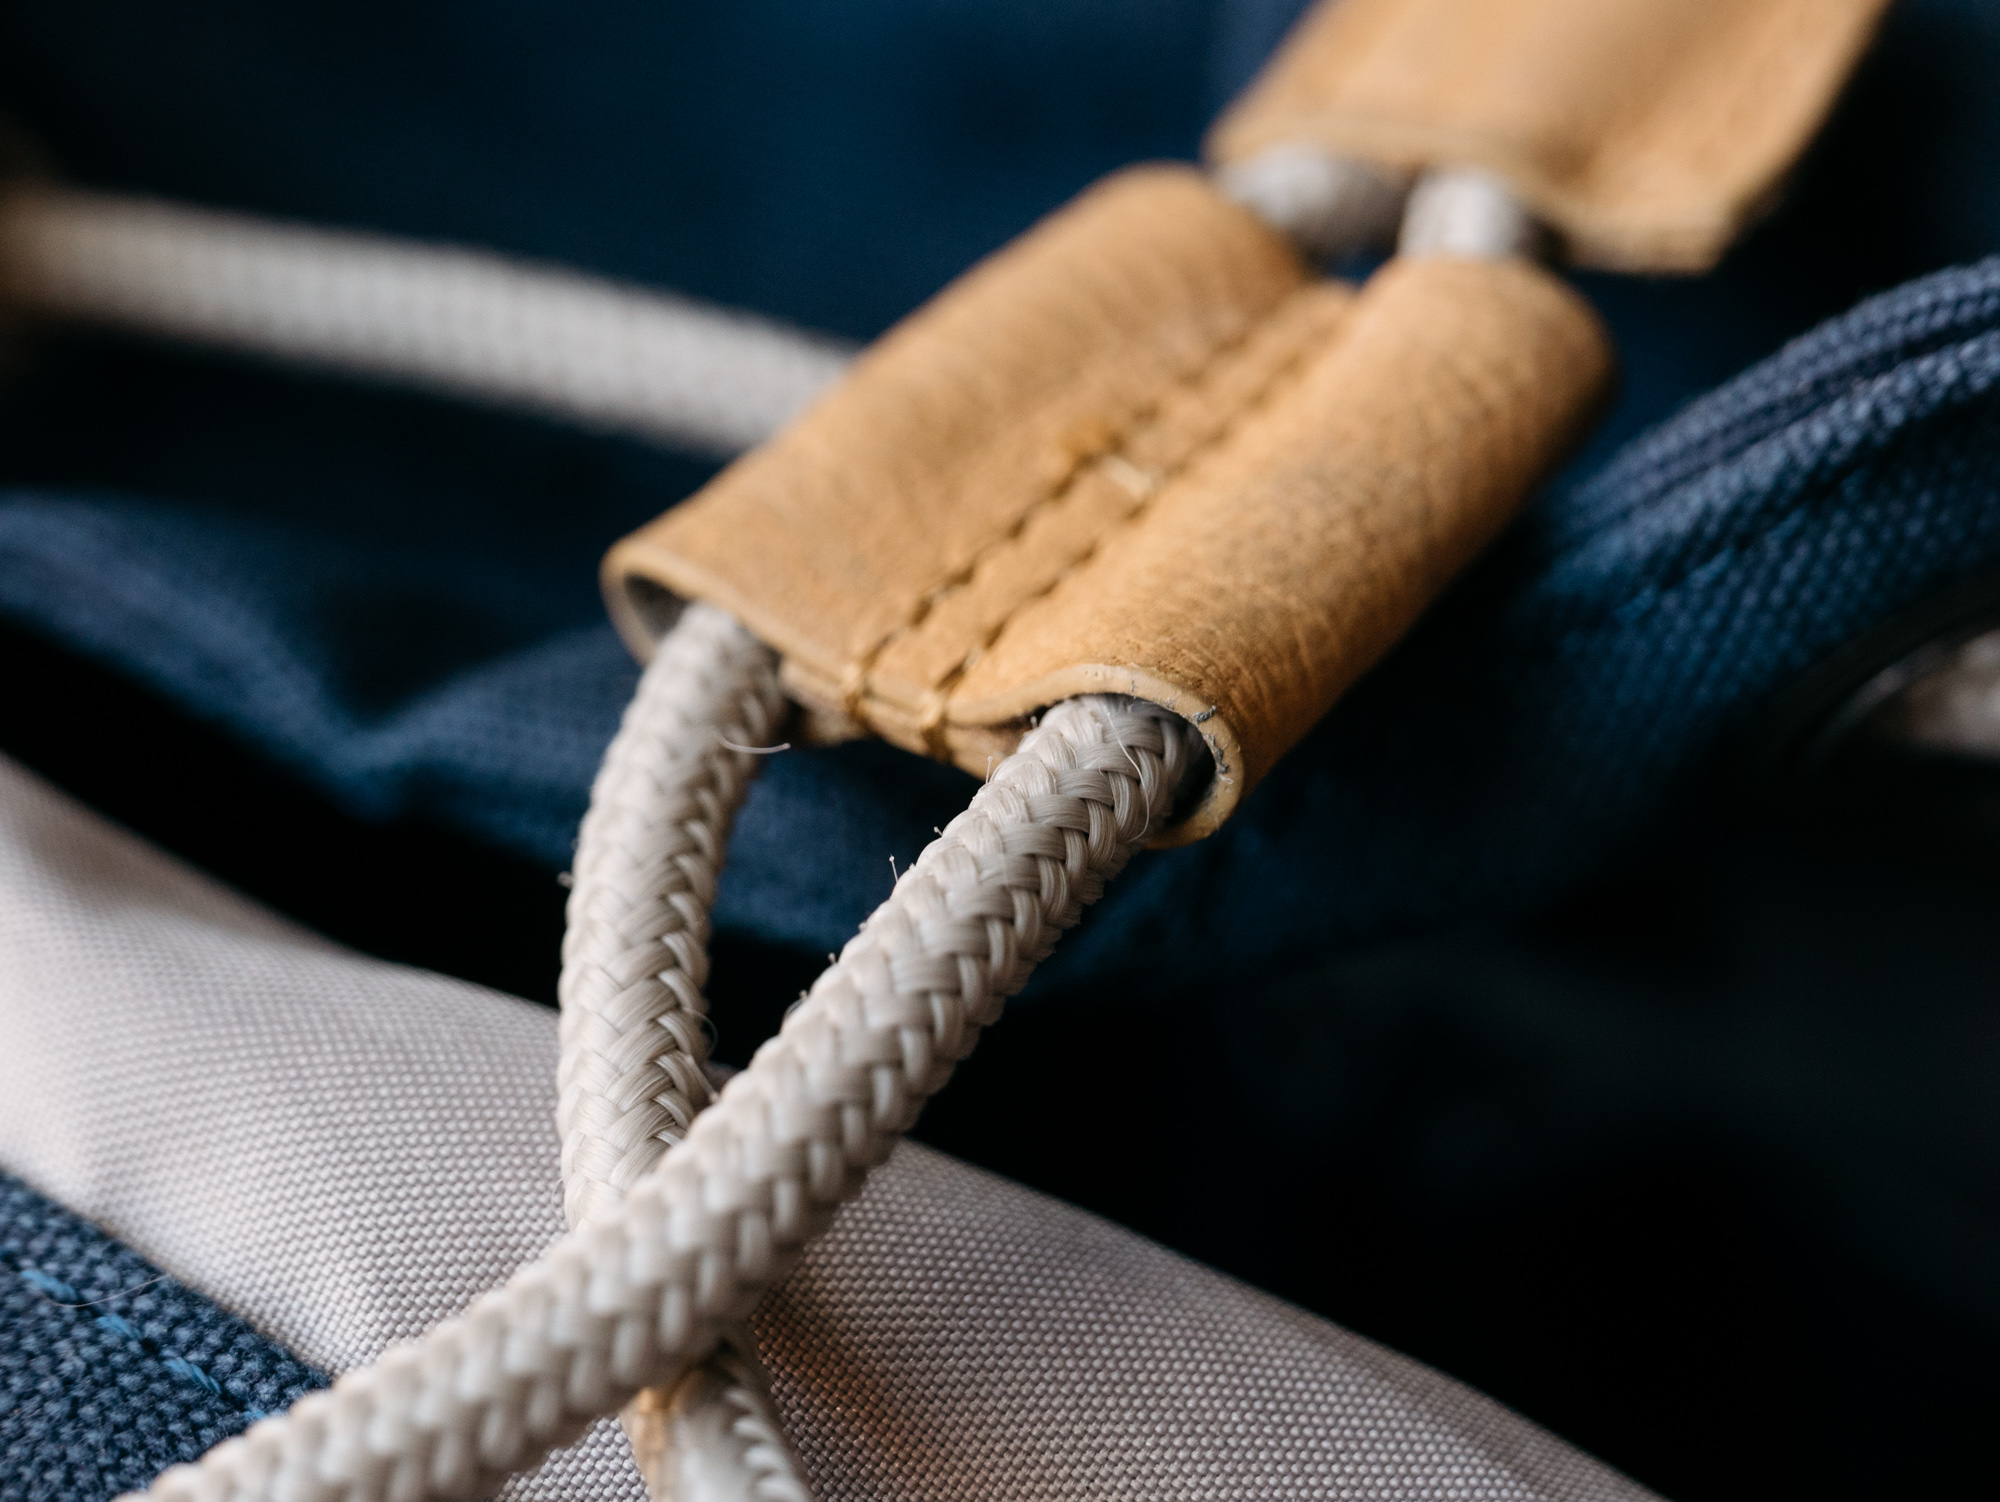
There's a top handle for yanking it of overhead bins. Also the thin strip on the back can be pulled out a bit to slip over the handle of some roller luggage, if you like.
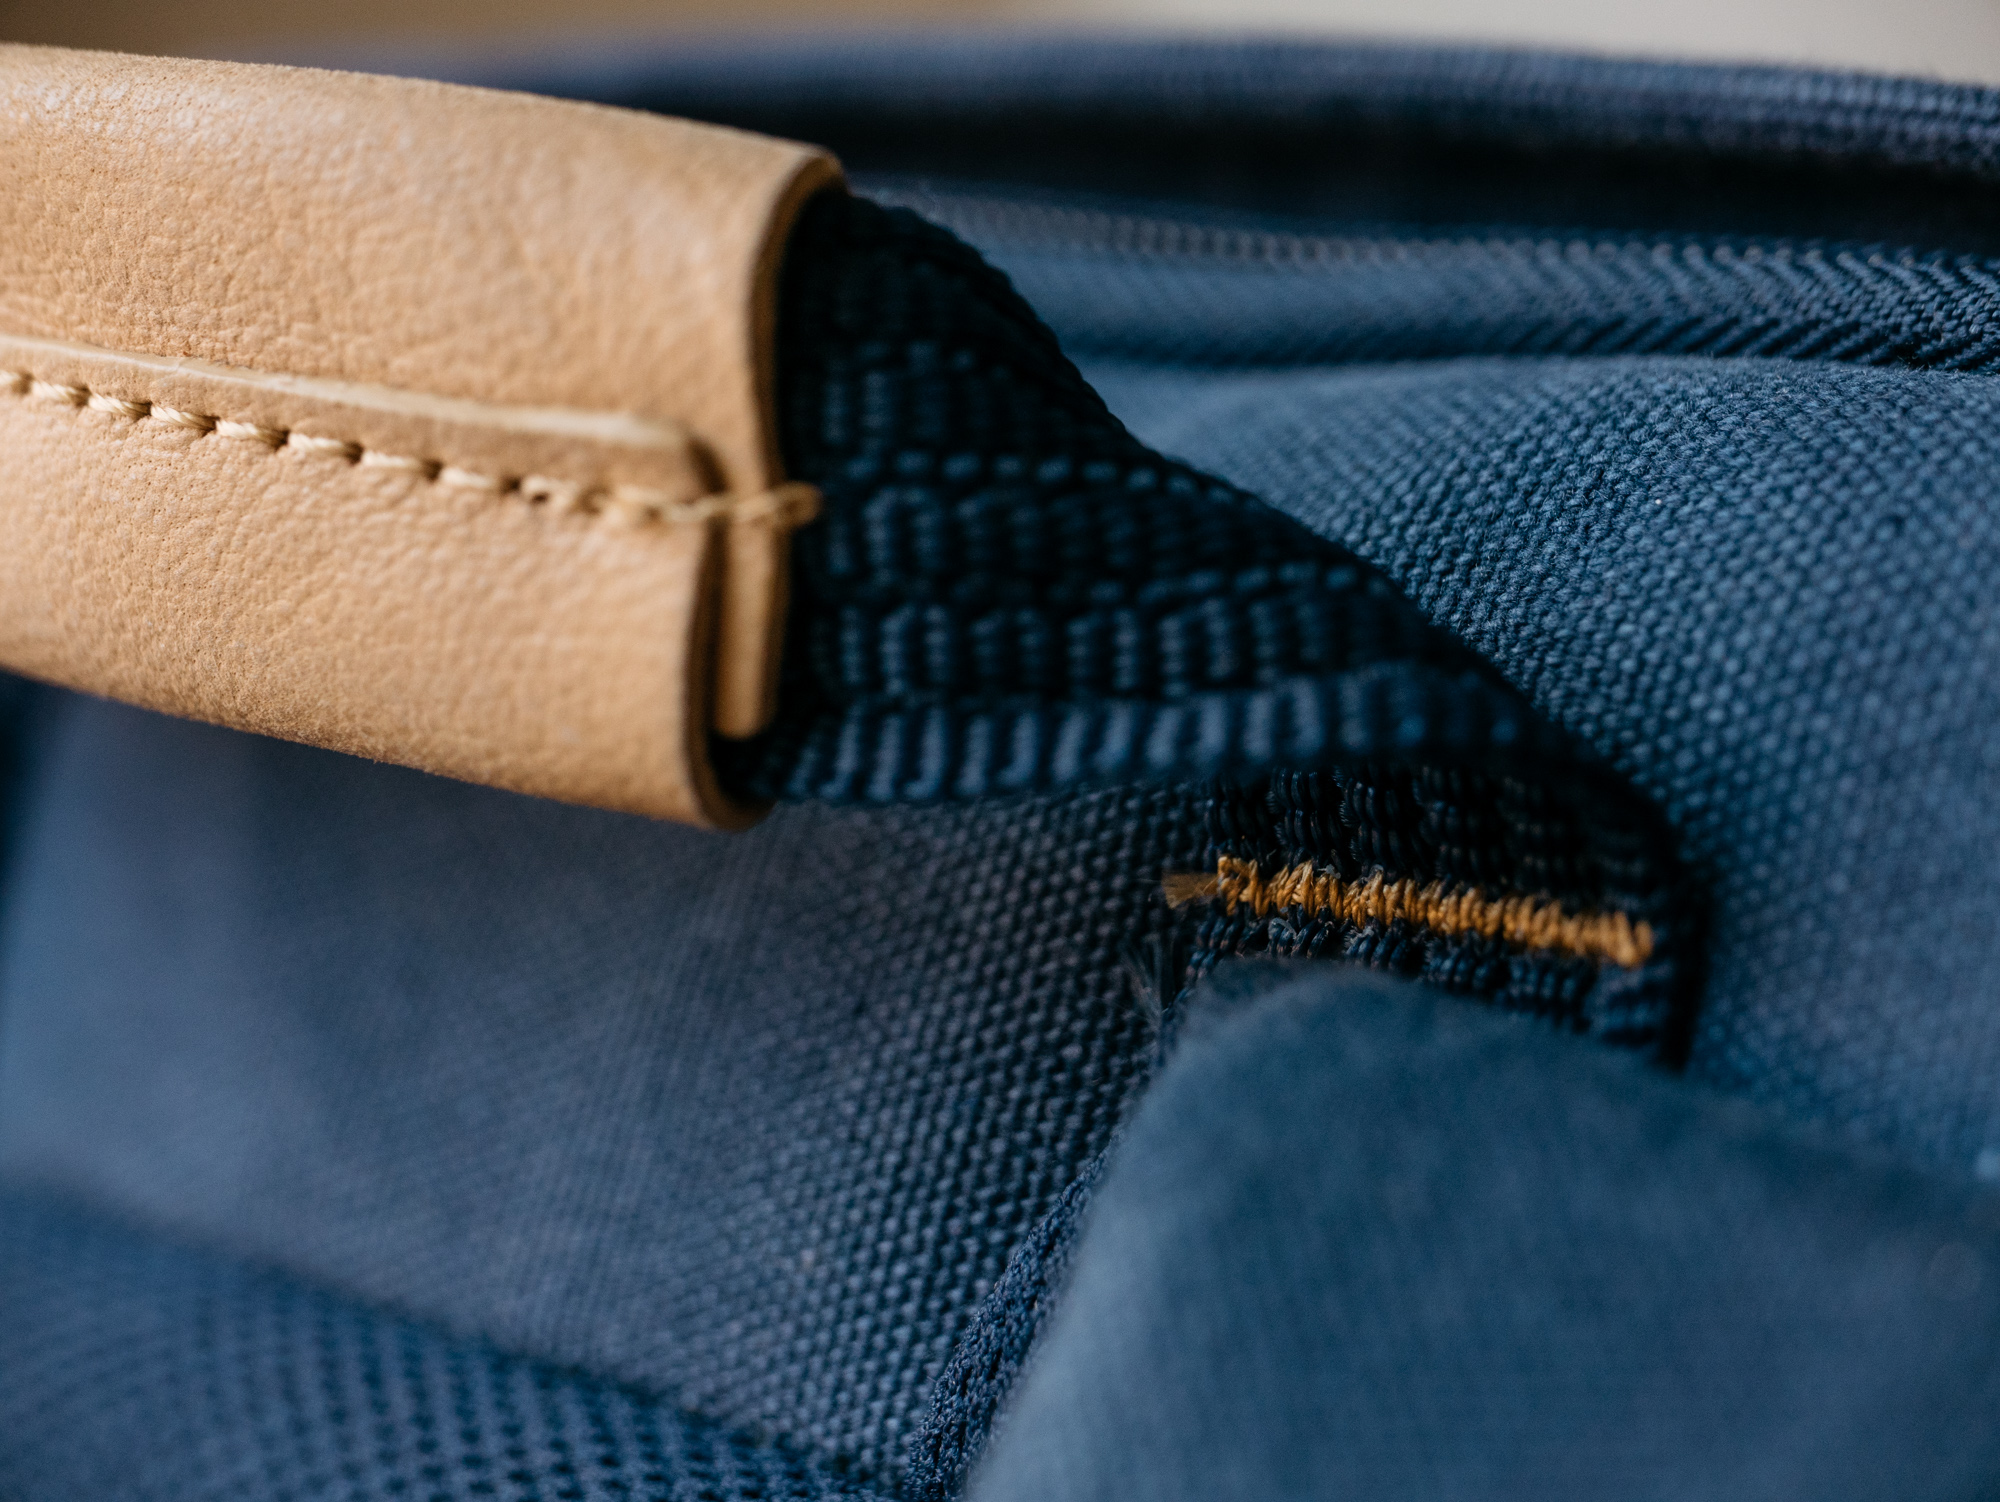
Handle stitching is nice and sturdy.
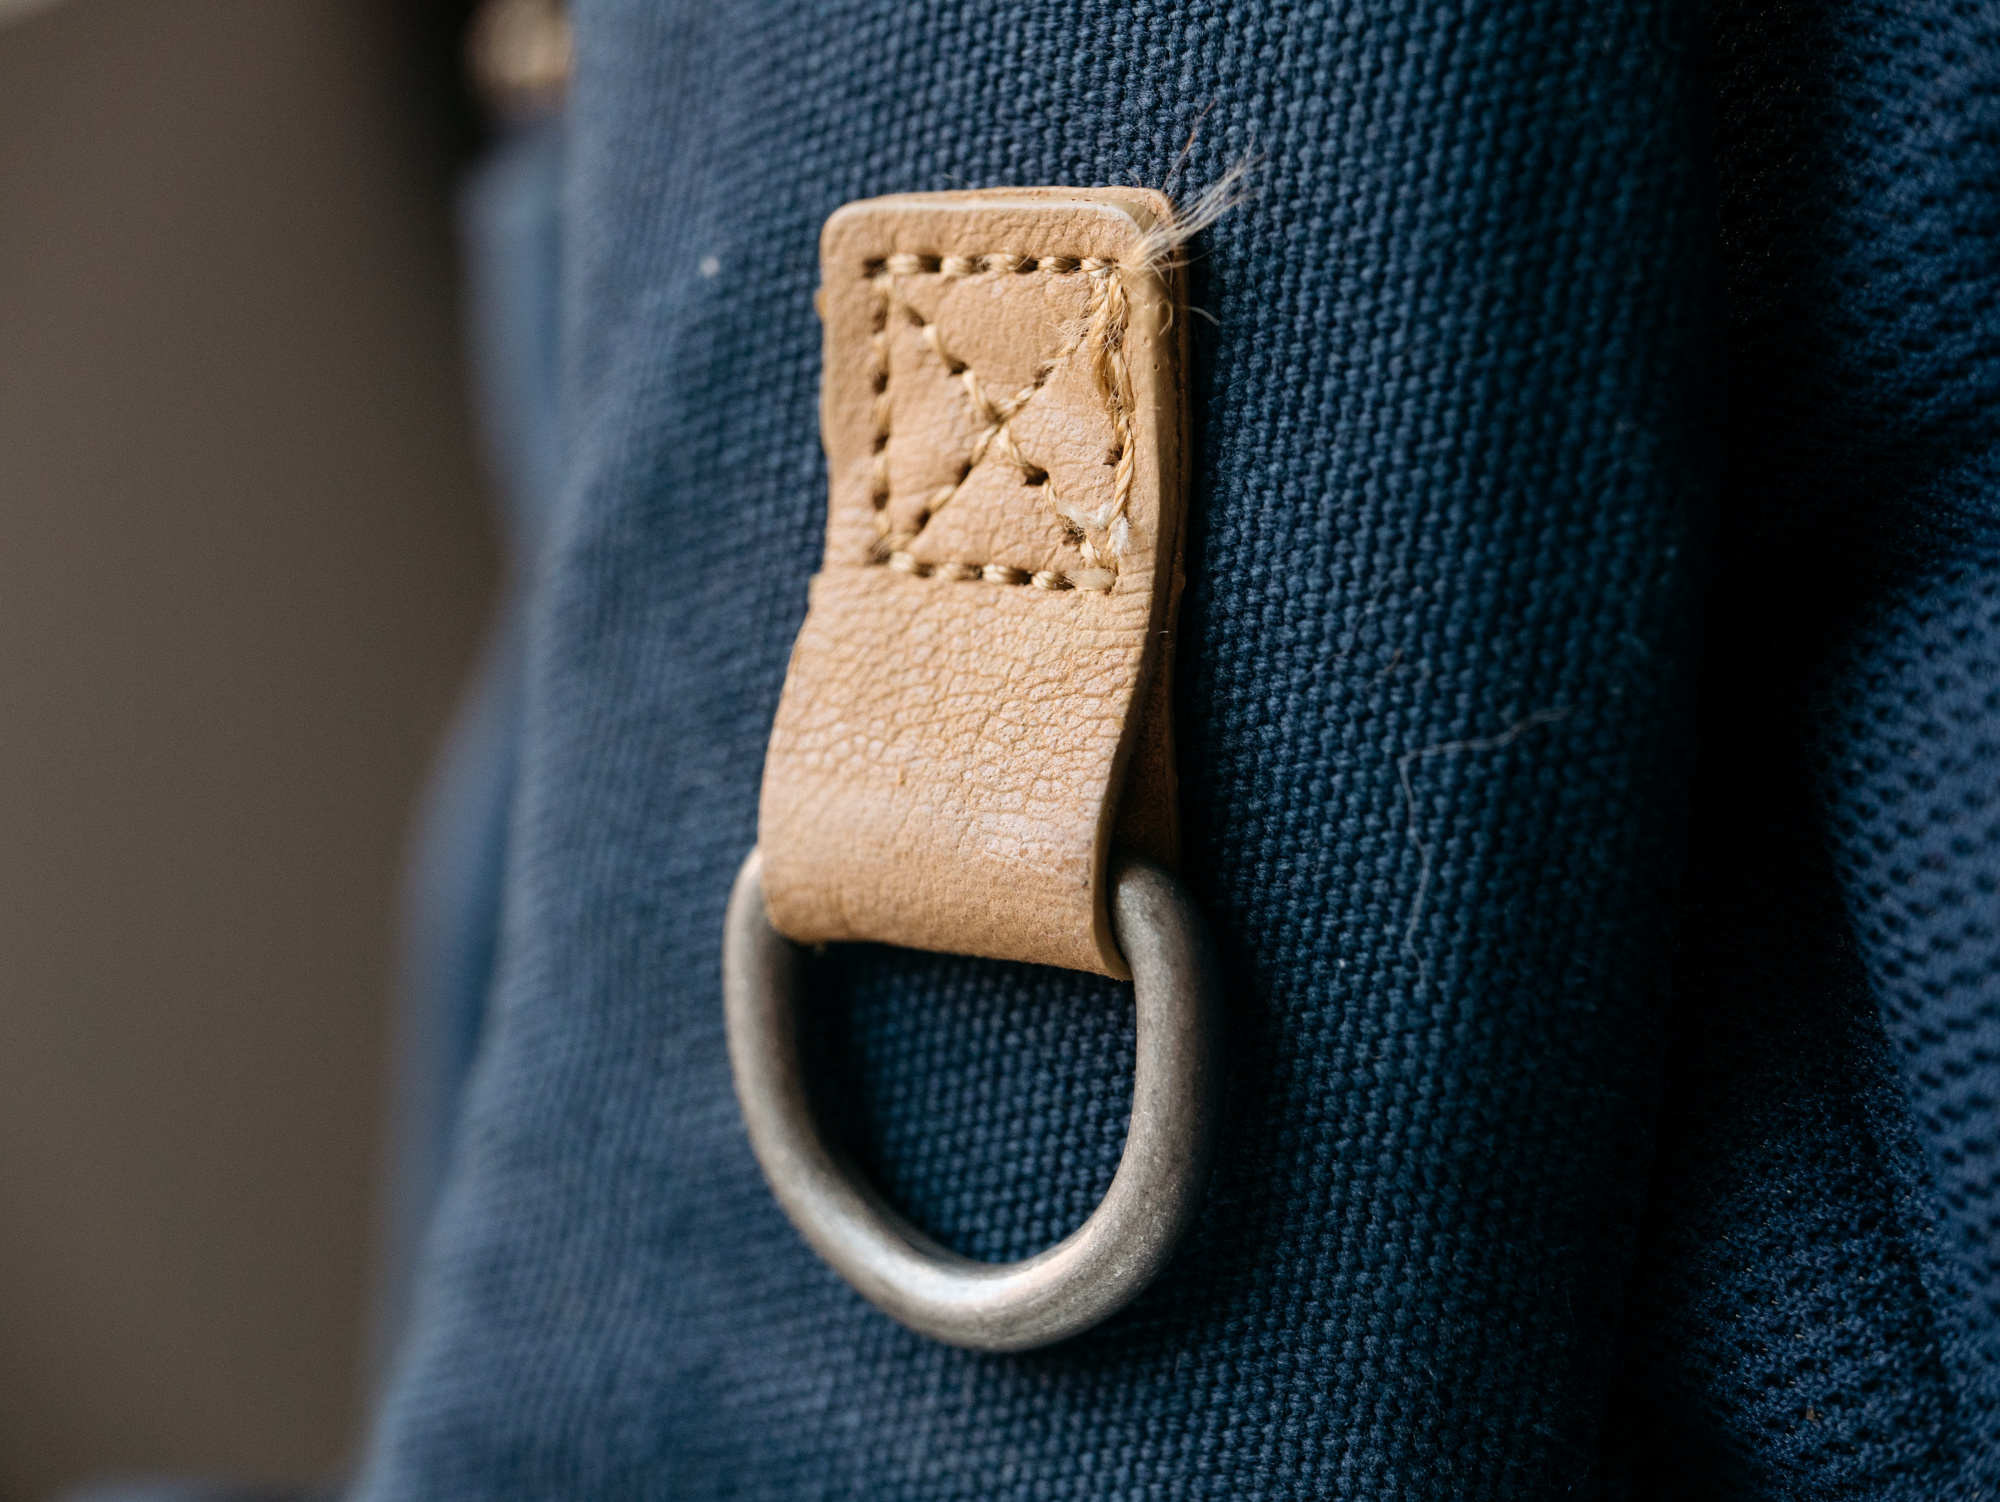
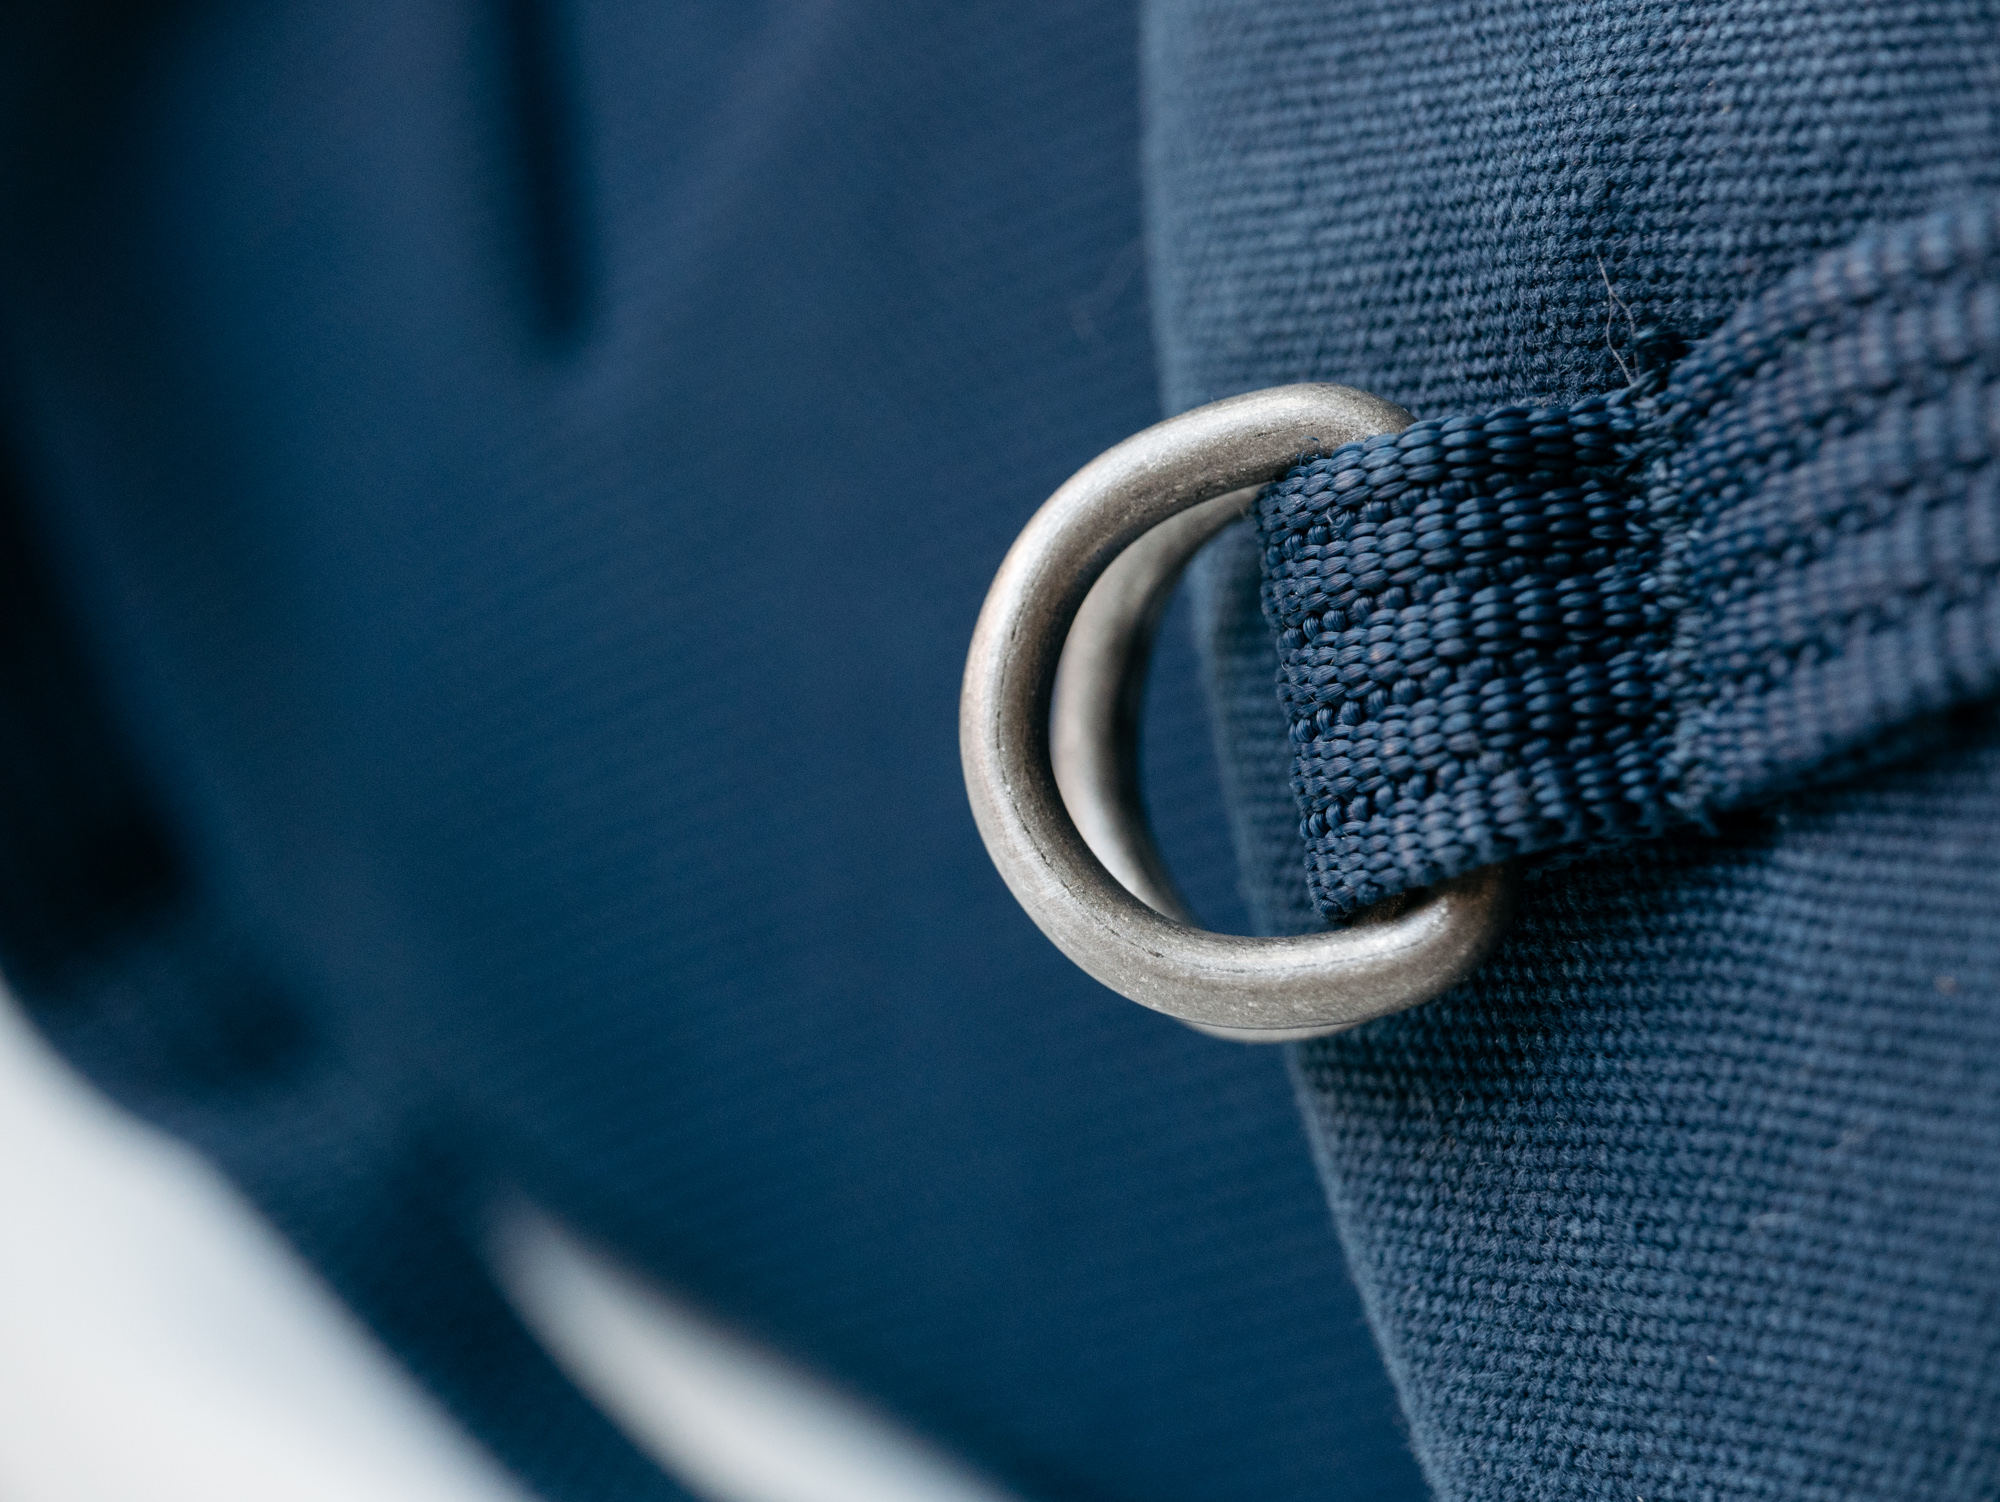
There are a couple of rings on the front of the straps for you to clip things to. I like using a small carabiner to clip my Panasonic LX100 to the right one so I can easily take photos when hiking.

There's a loop on one of the sides with a small lashing strap. We'll see it in action later (though I don't tend to use it much).
The sternum strap is a simple strap with two D-rings as a buckle.

It's simple and will never break, but it's a little bit annoying to have to thread the strap through instead of just using a plastic clip like many other bags do.
There's no waist strap on this backpack. It's too short for a waist belt that would bear load, but it would have been nice to have an optional one to just secure things a bit better.
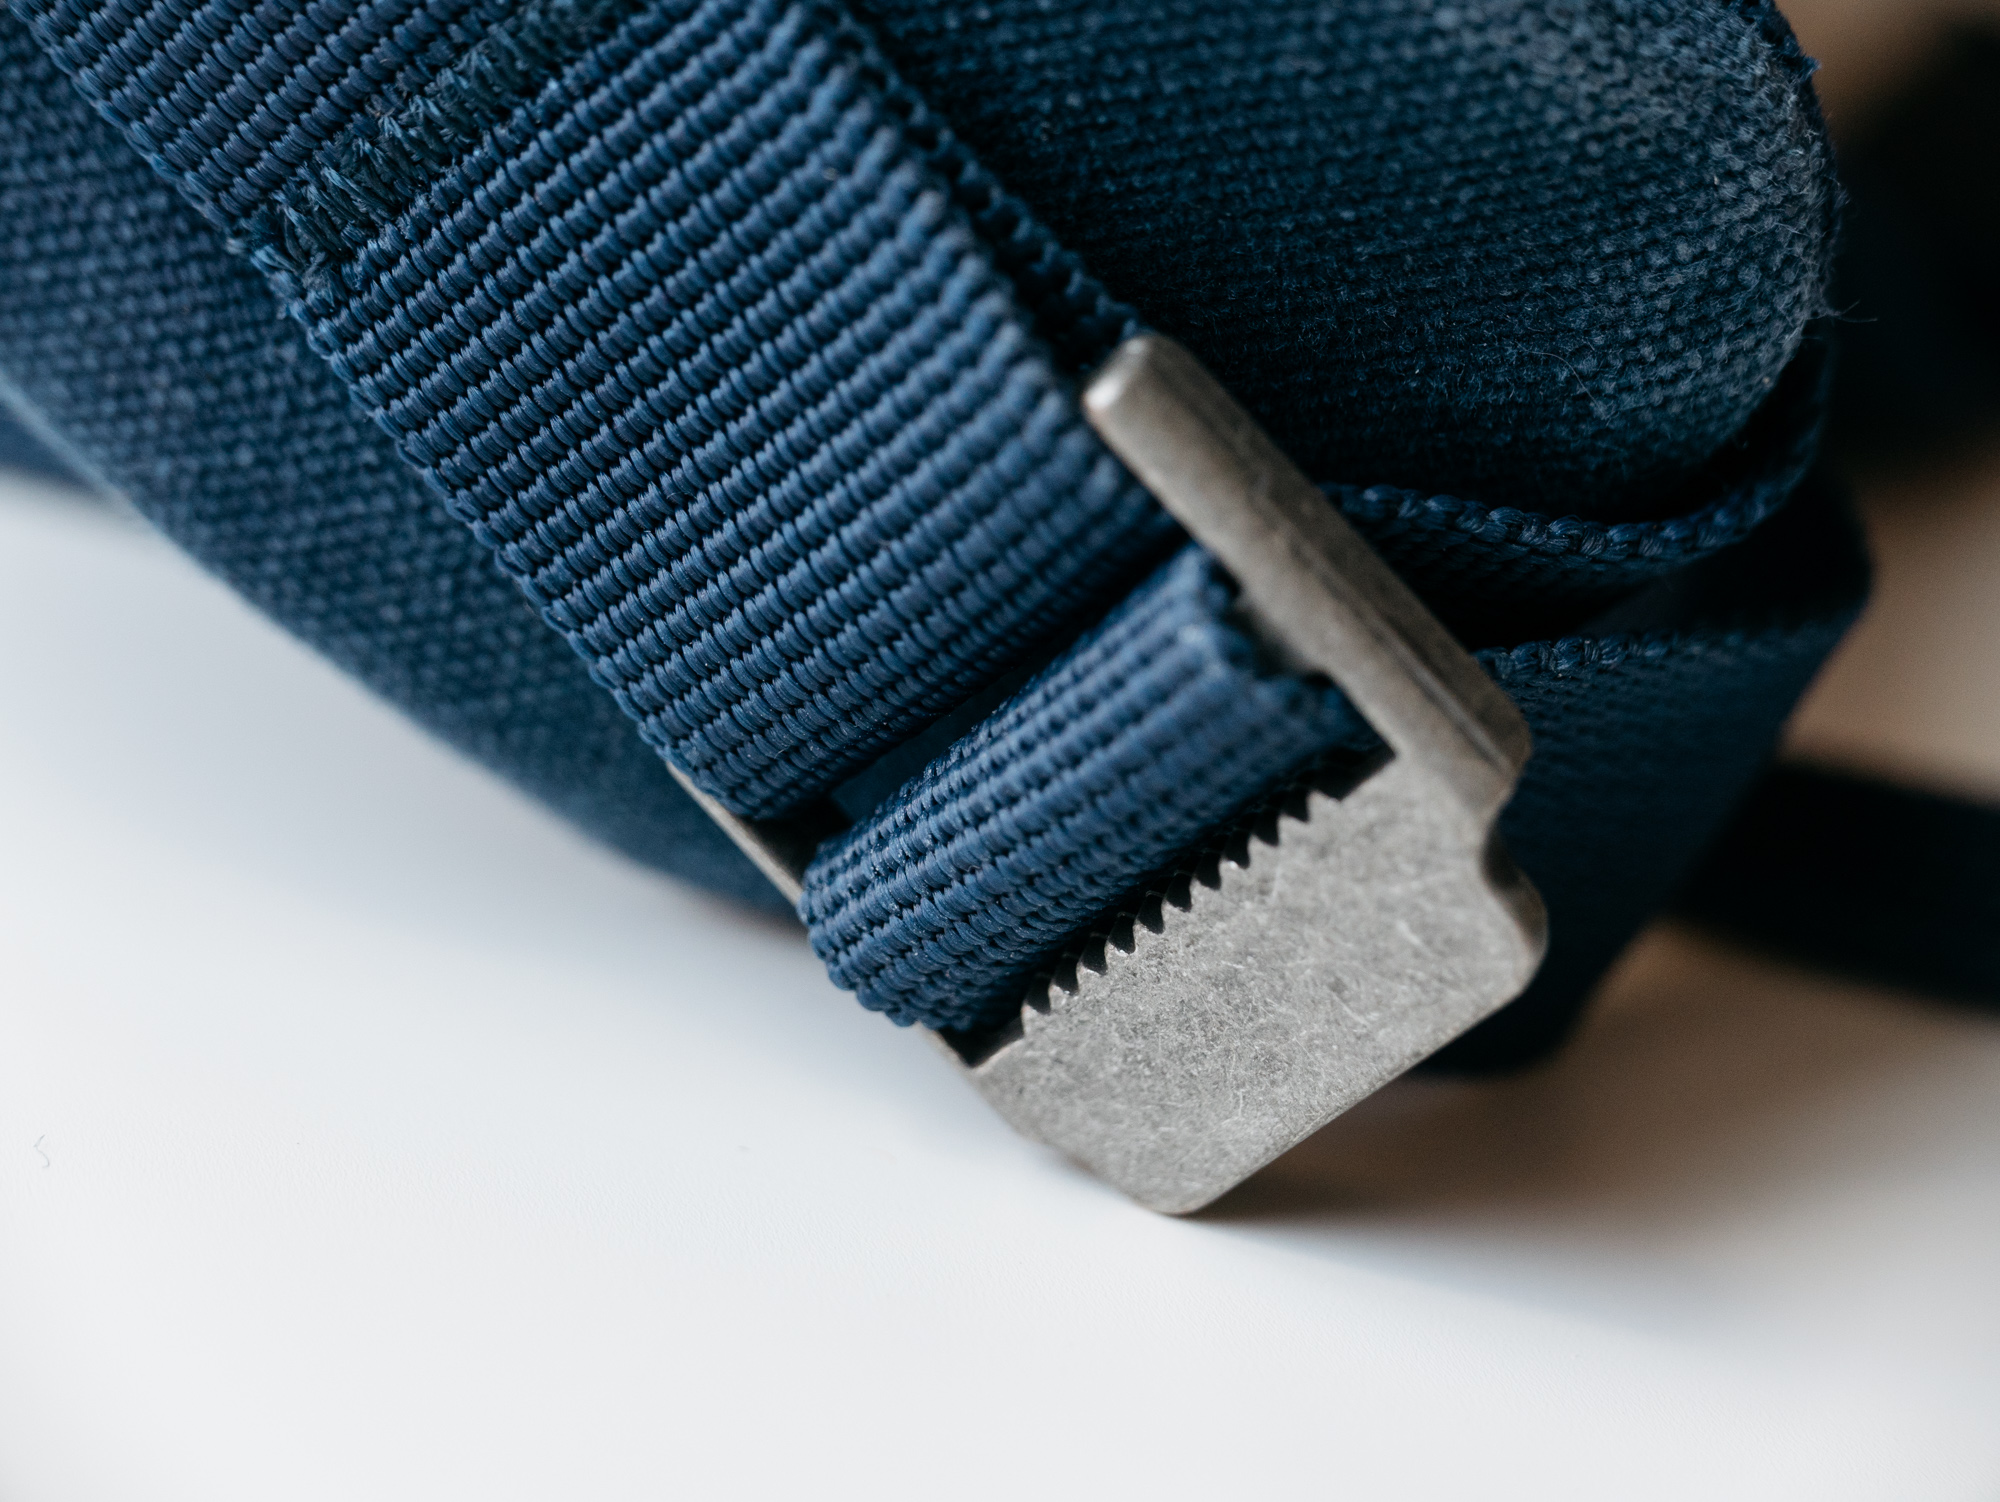
The buckles on the straps bite nicely into the fabric and don't slip.
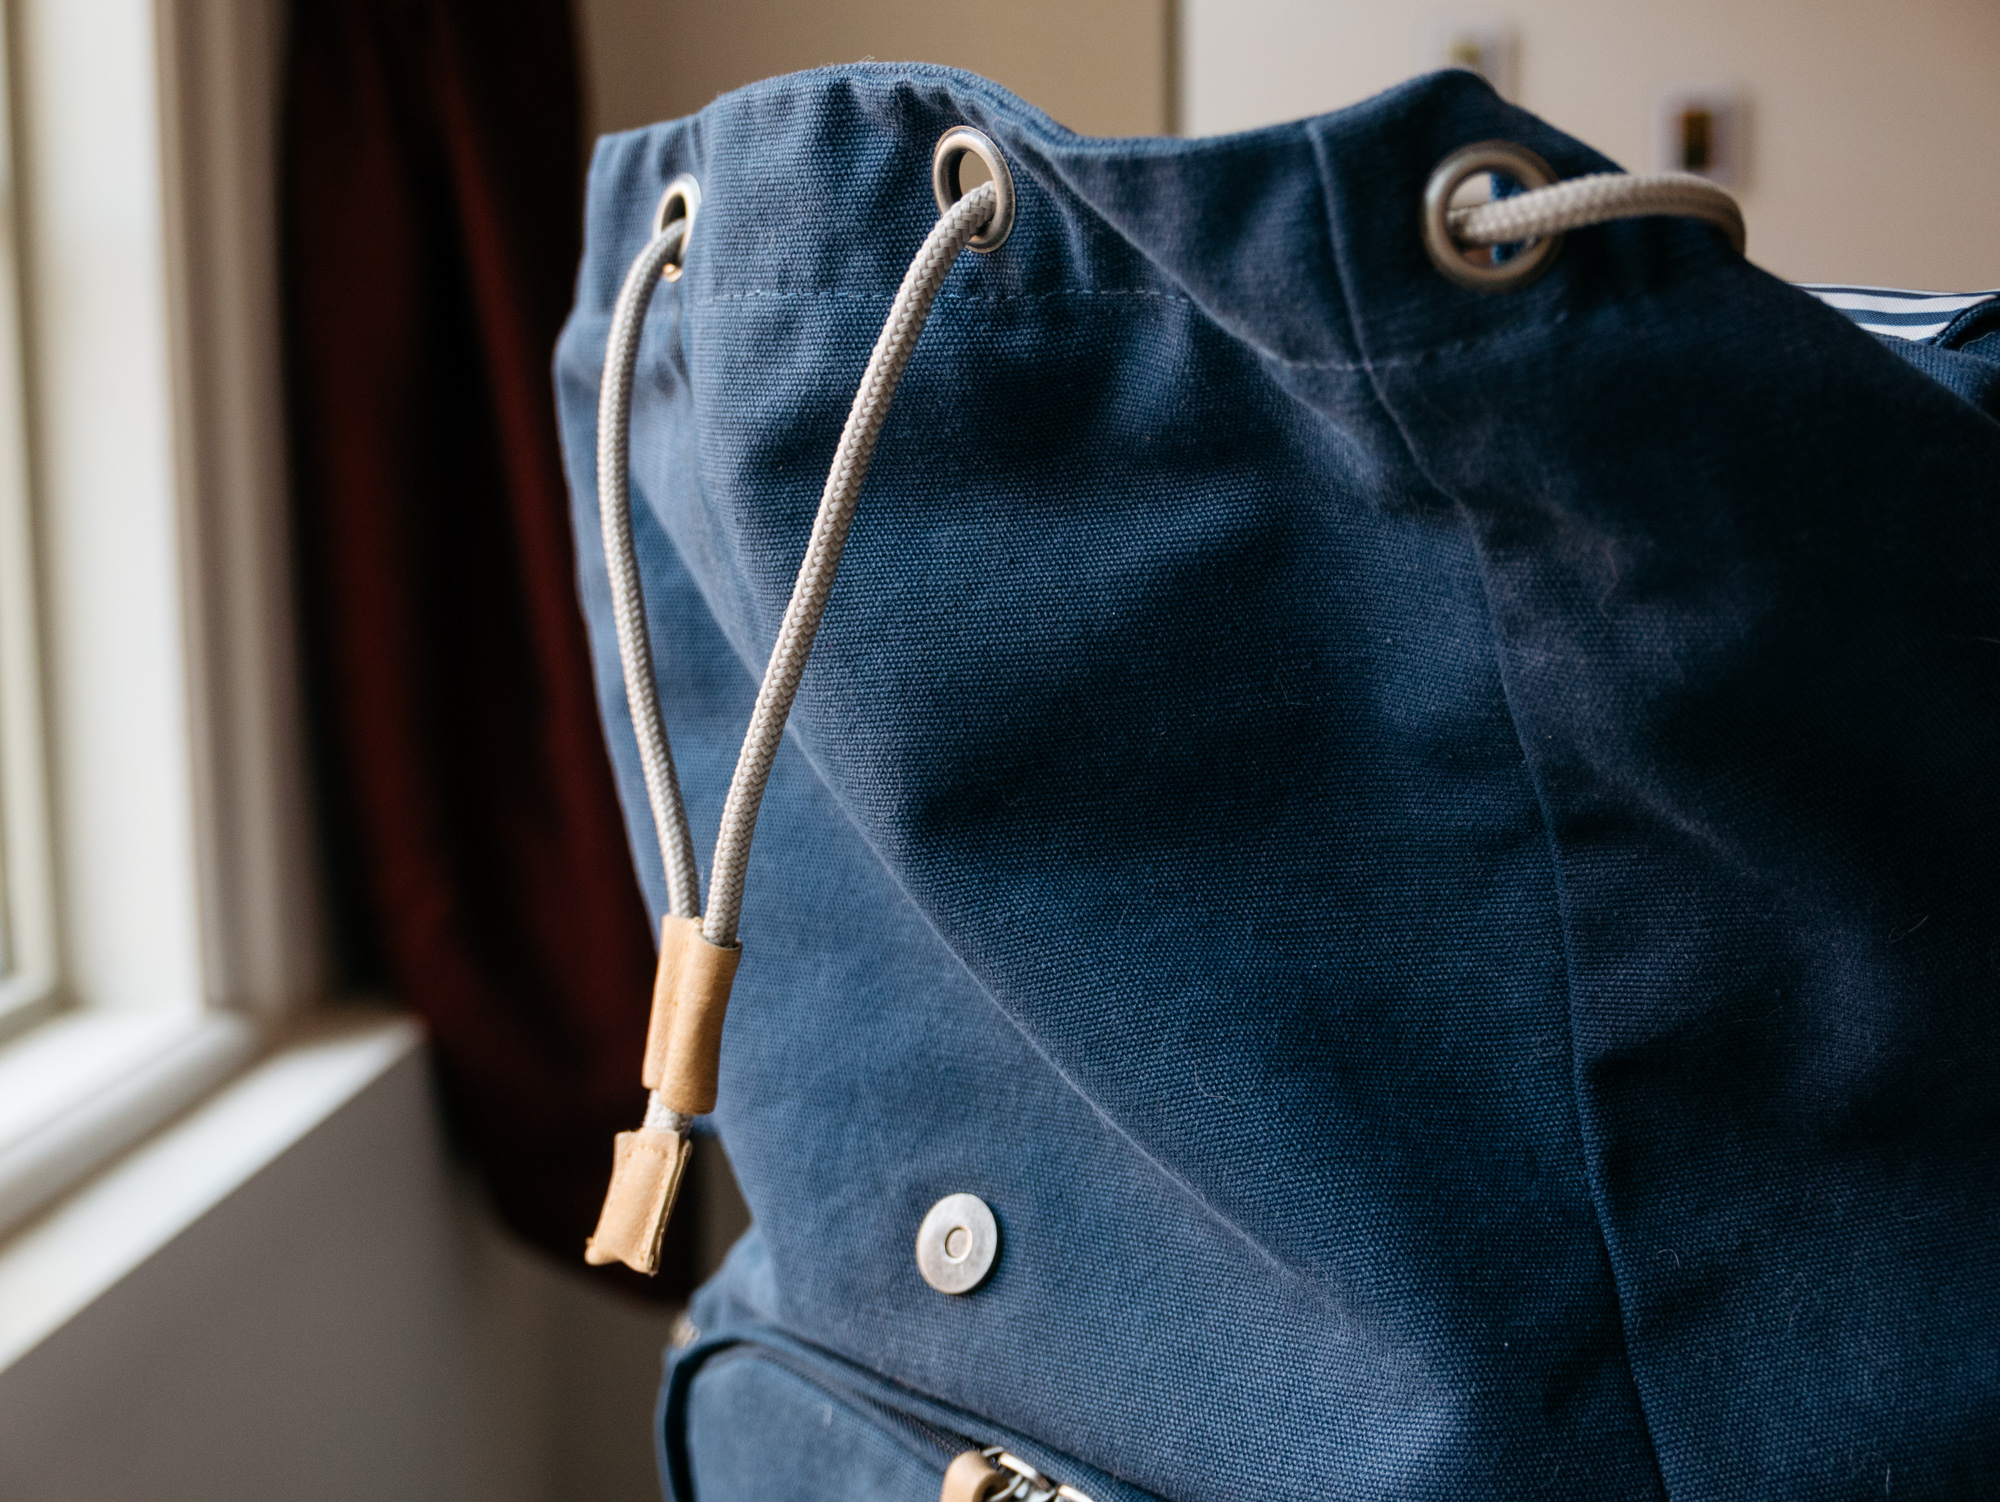
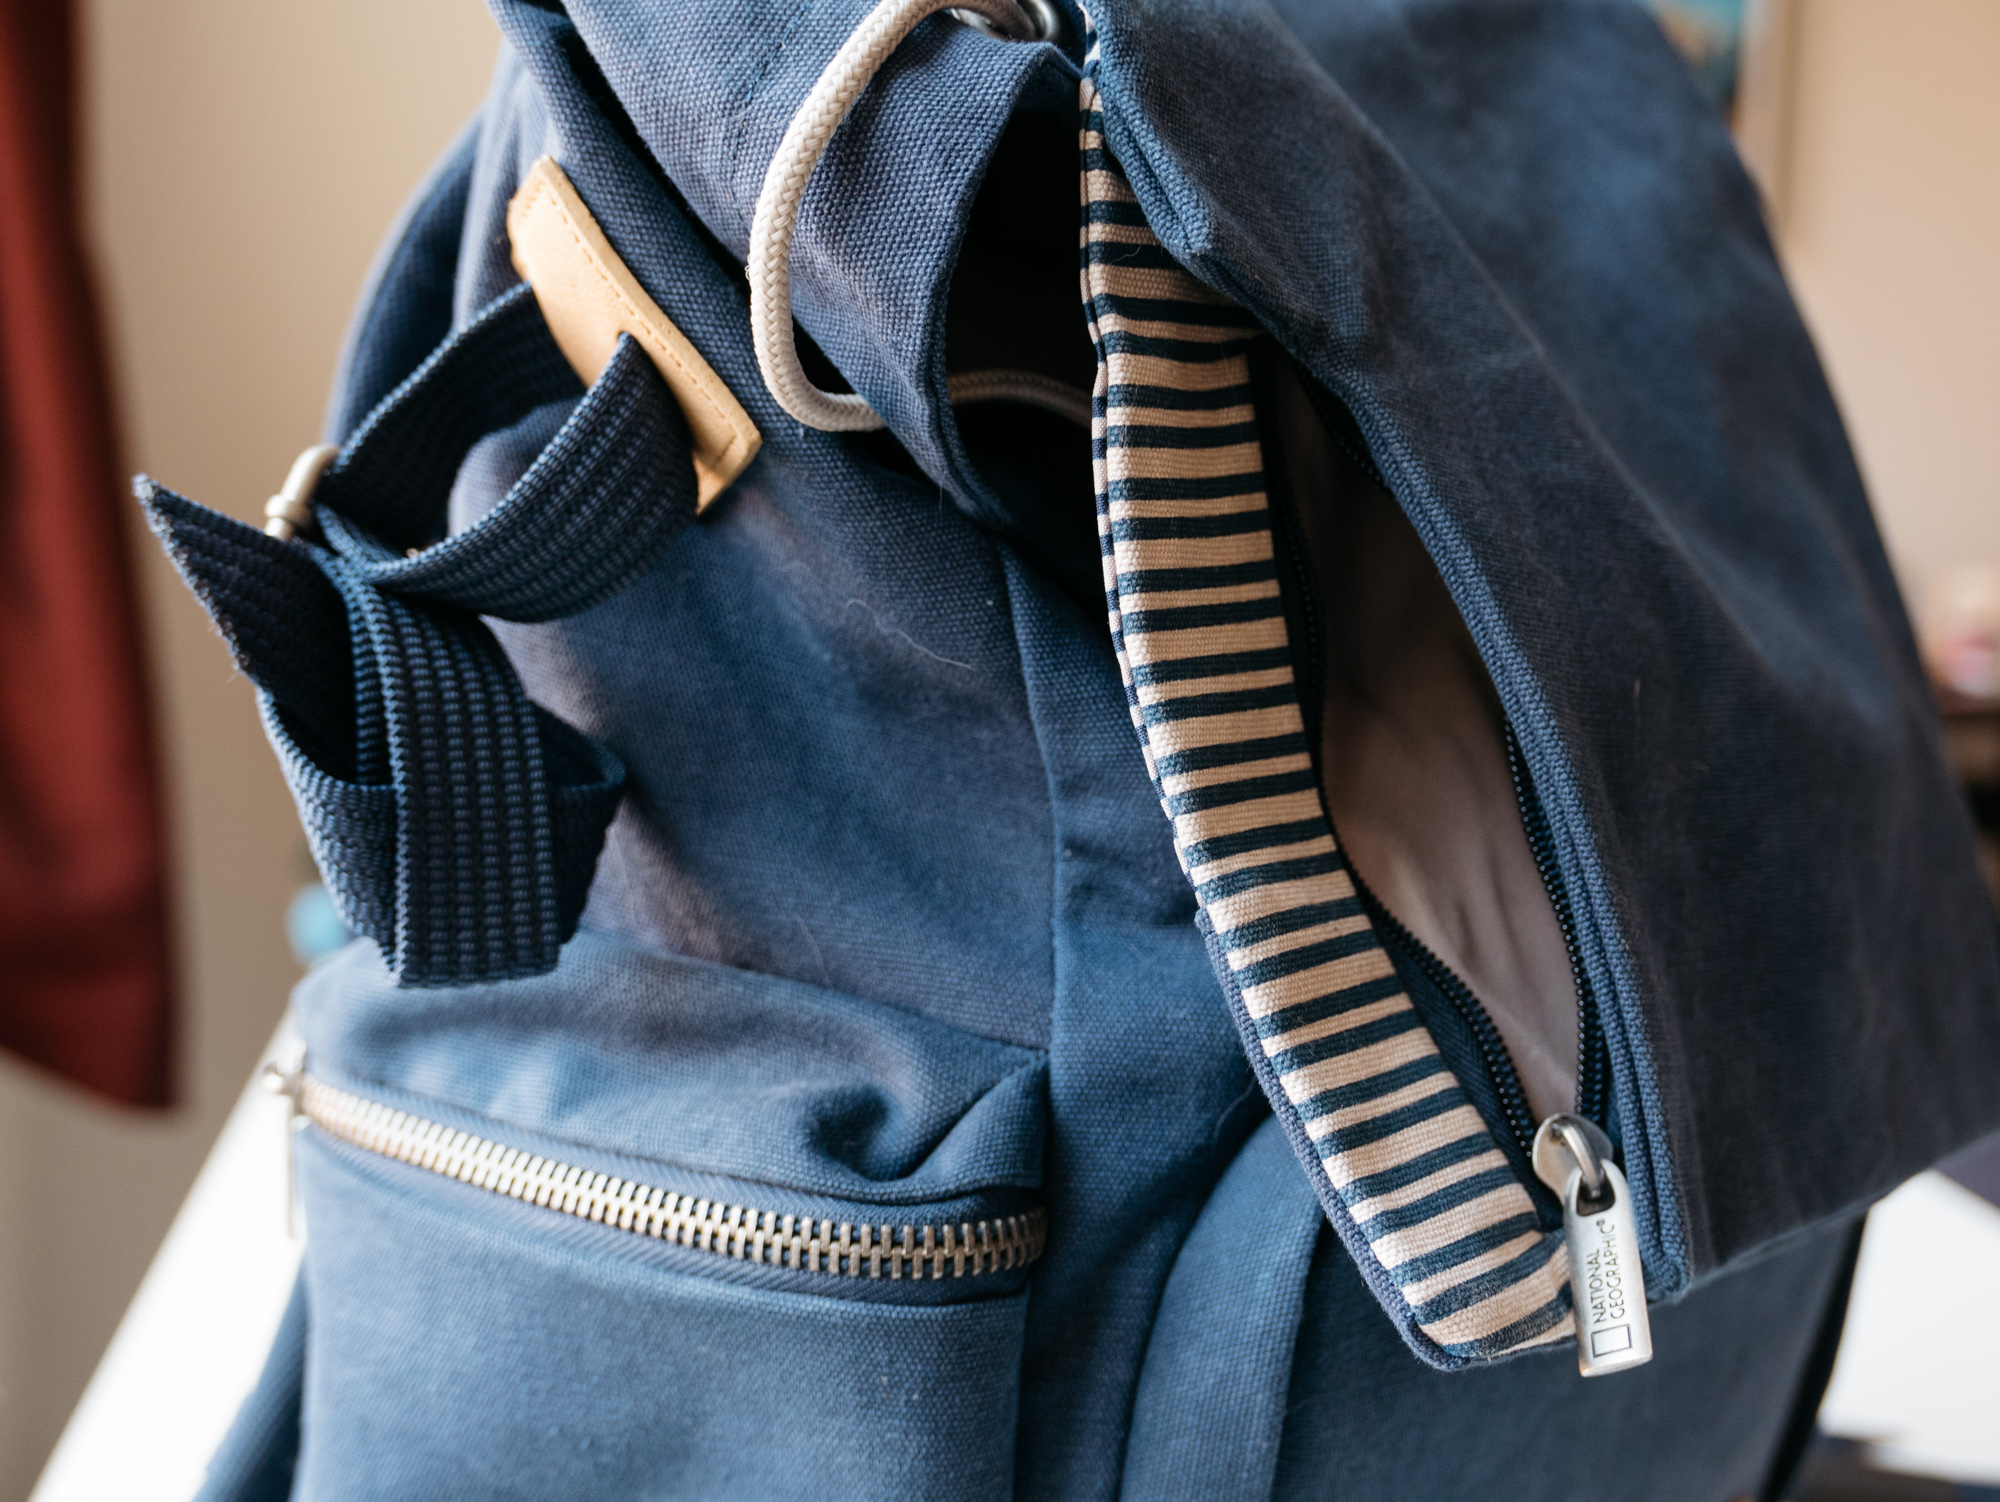
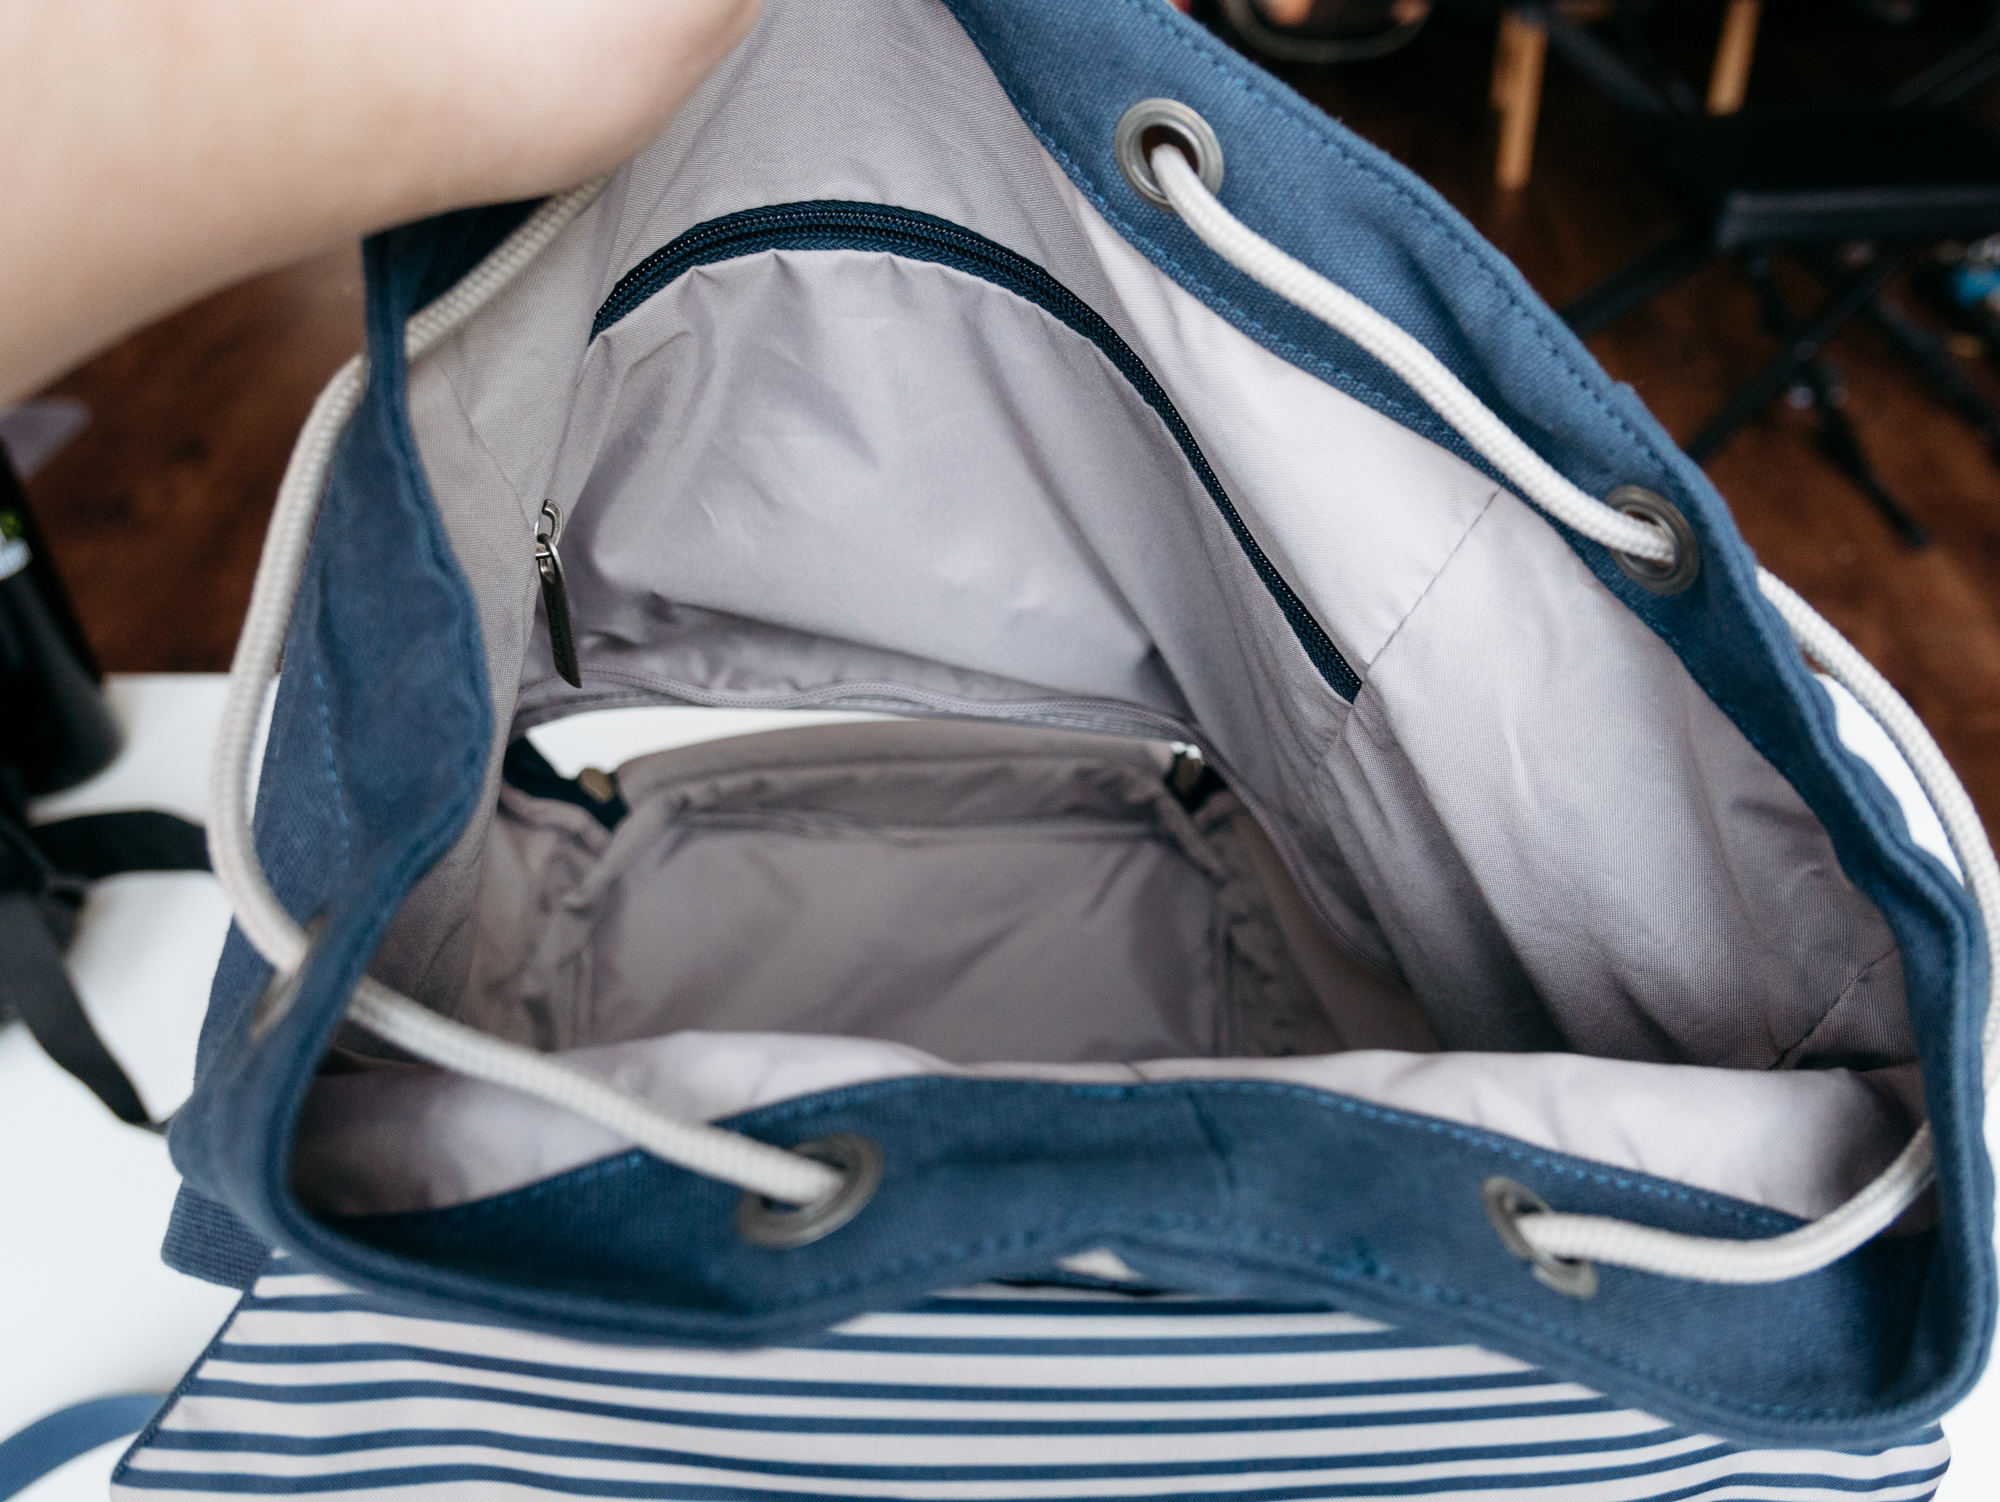
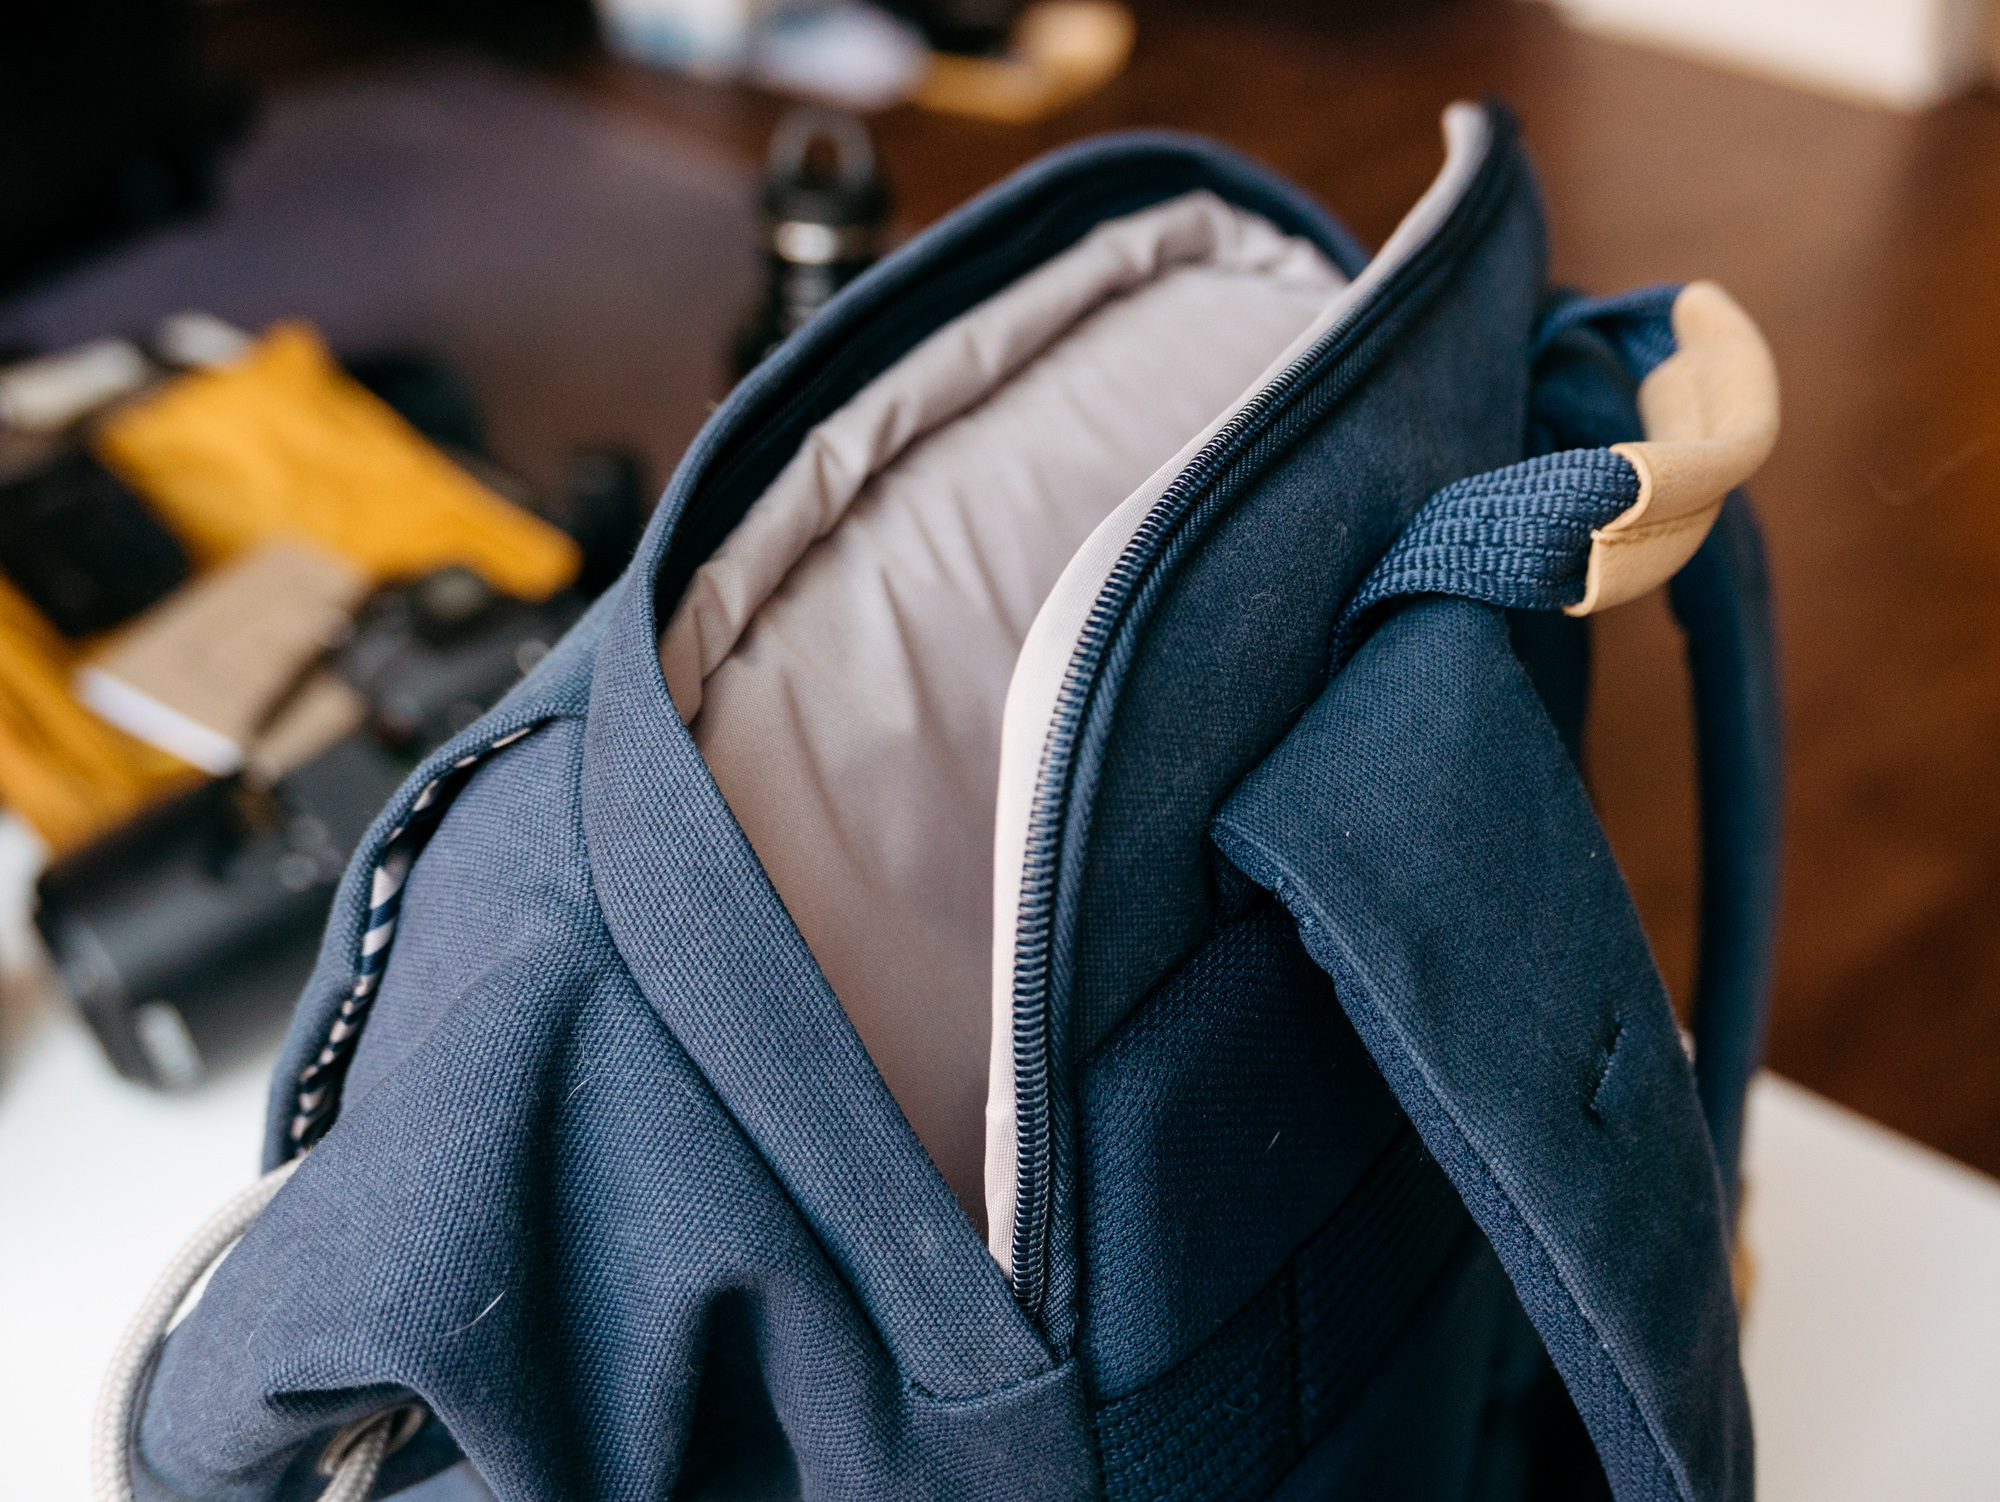
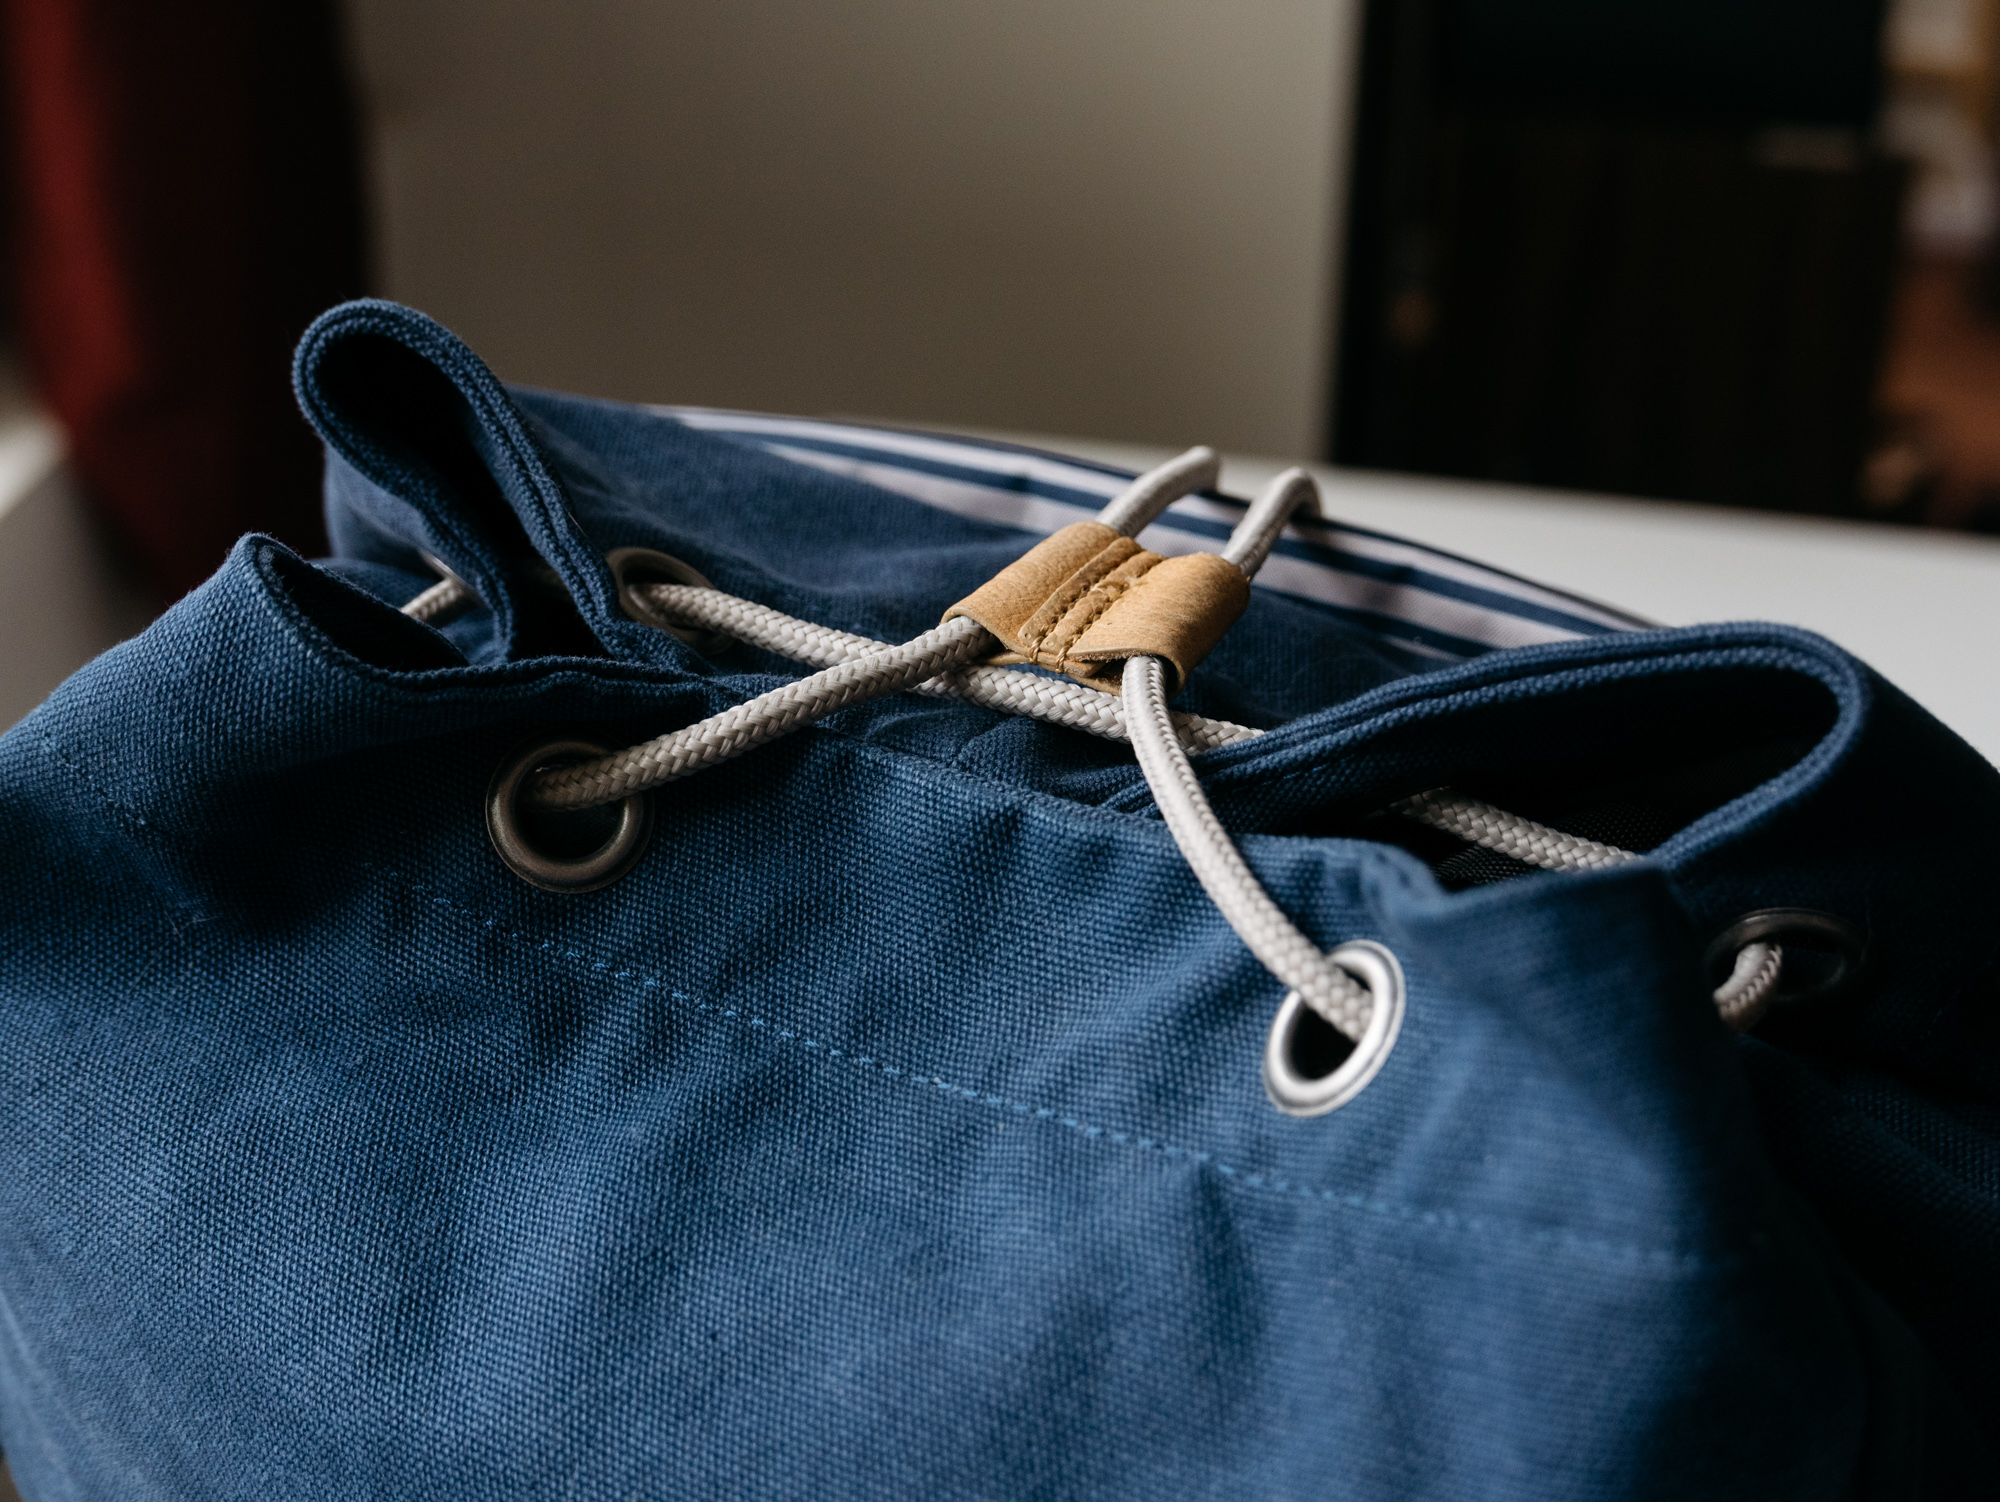
Once you open it up, you can see the opening cinches closed with a simple cord.
Leather bit to keep it closed(ish).
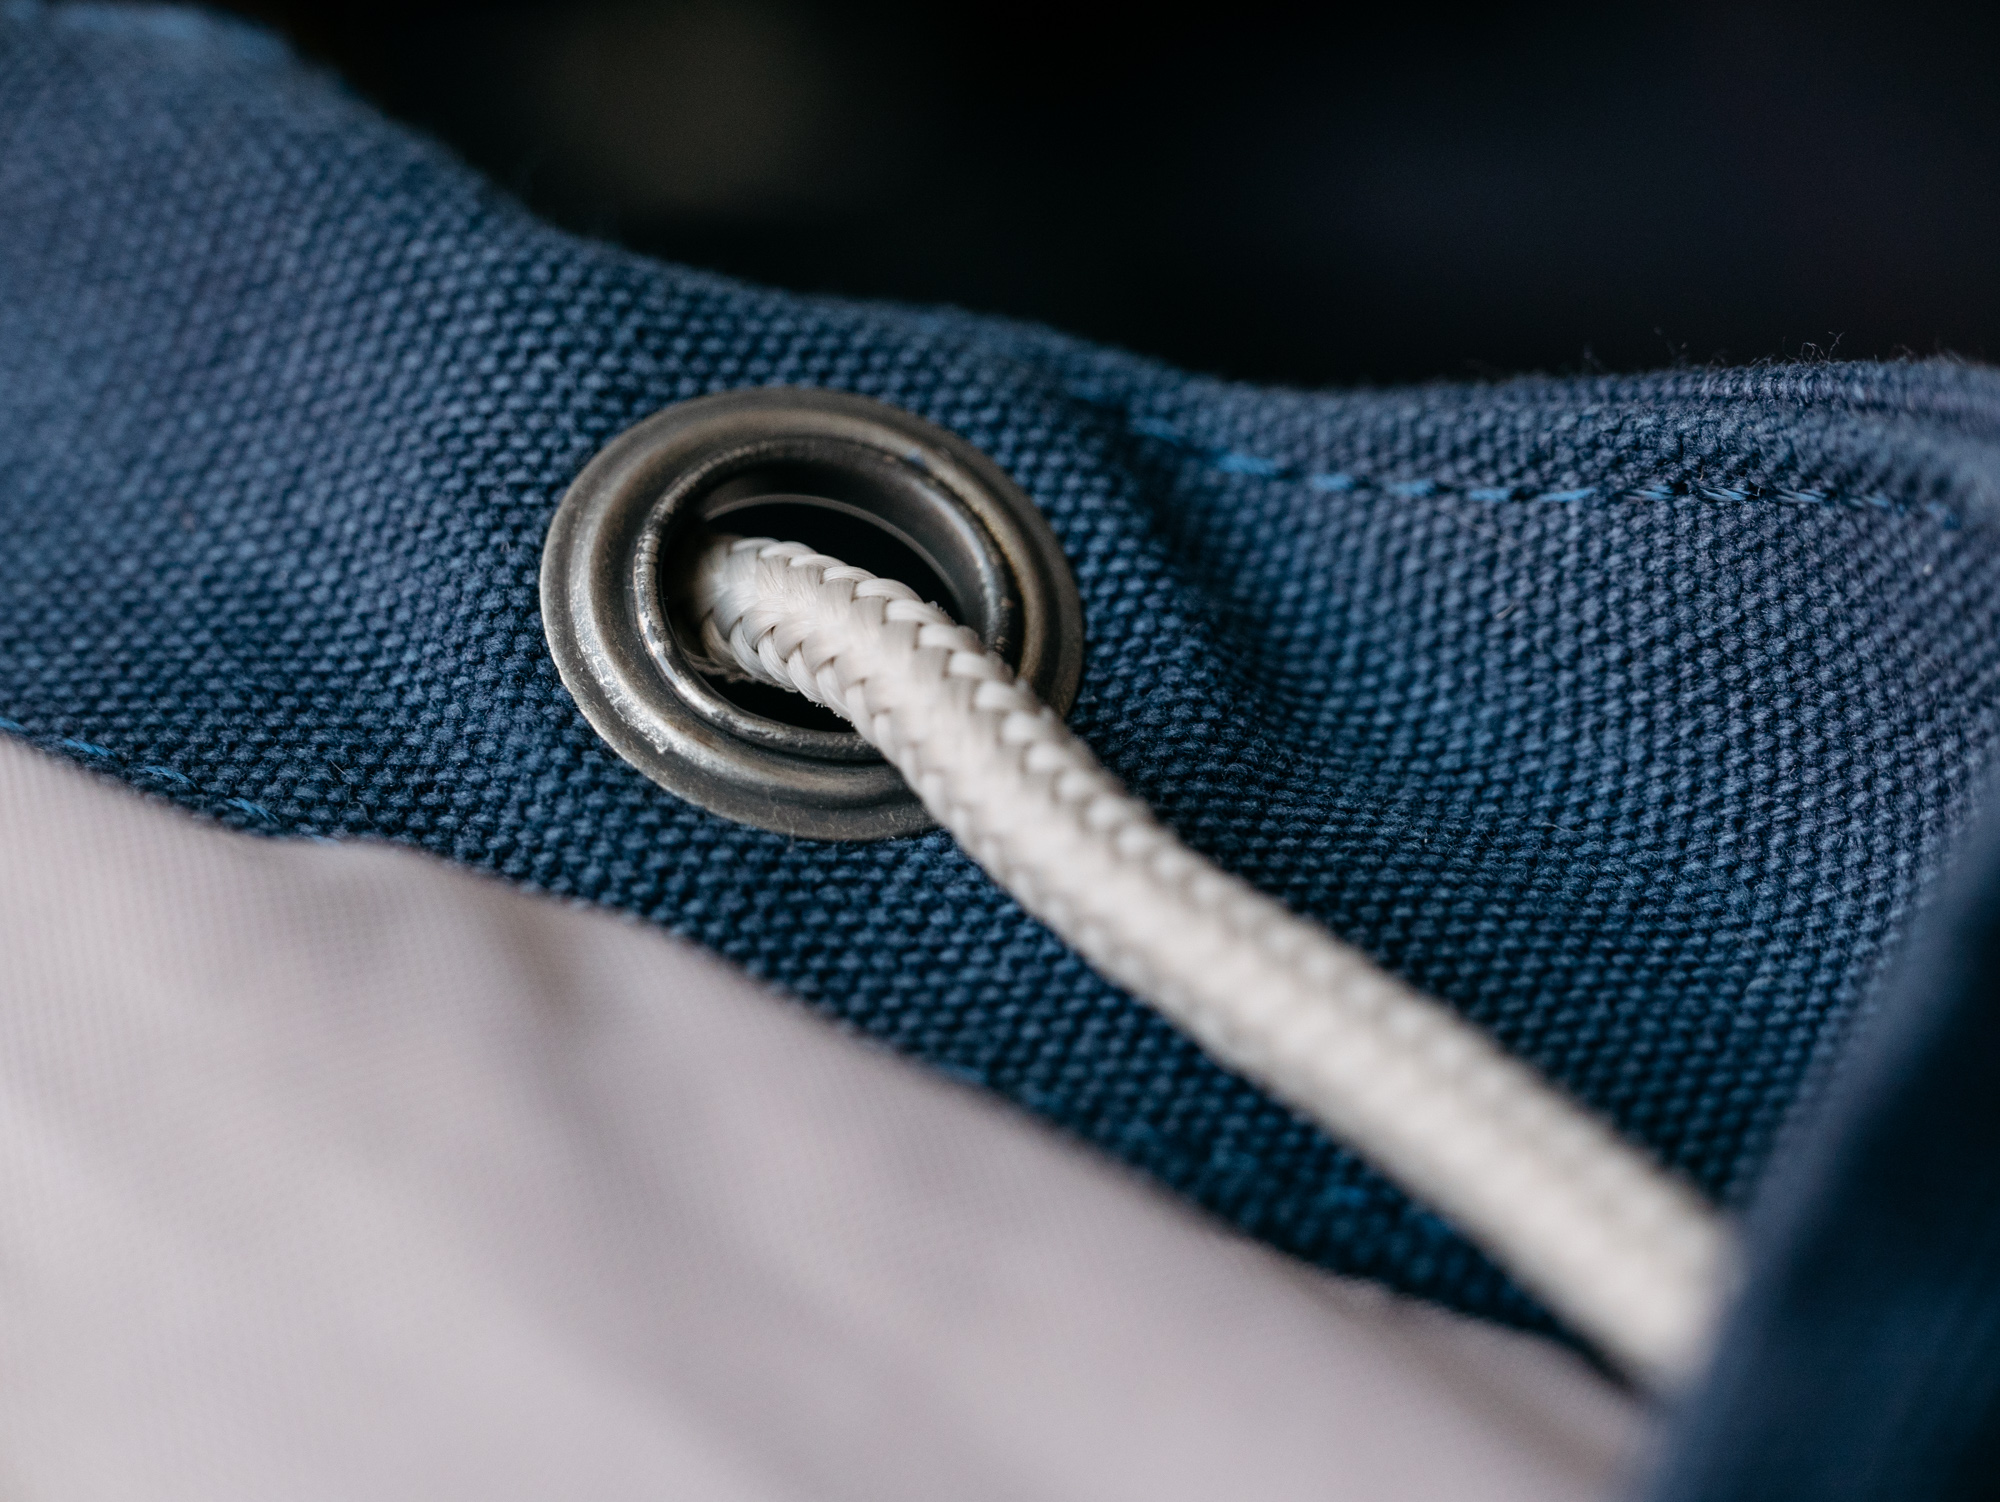
Metal to reinforce where the strap holds the fabric.
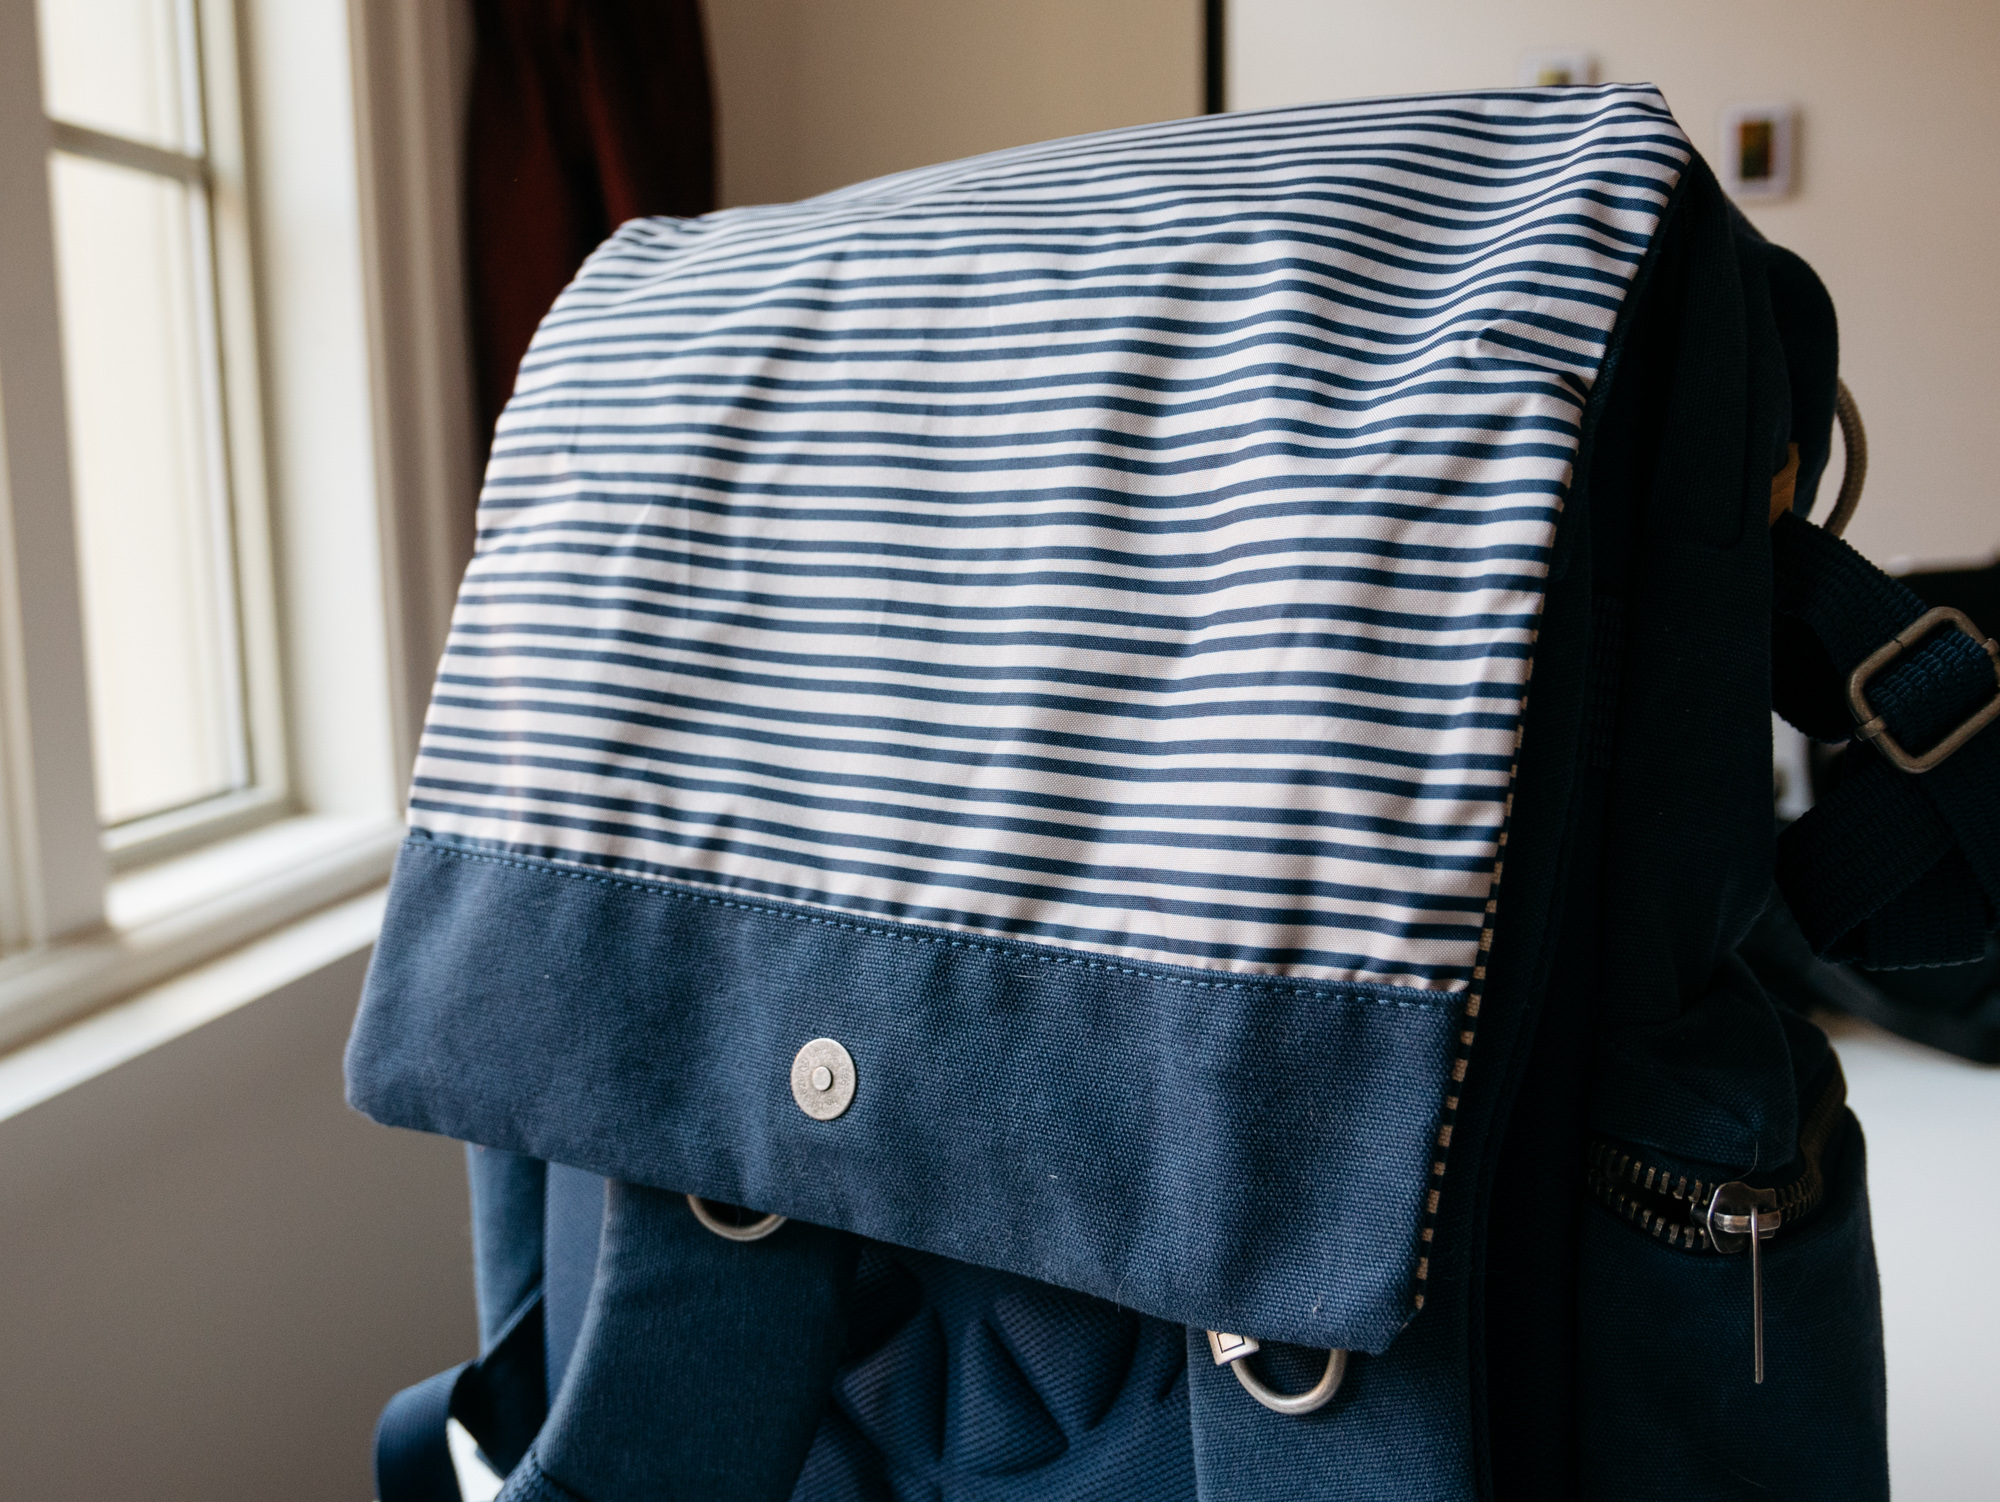
The underside of the flap has the same striped pattern.
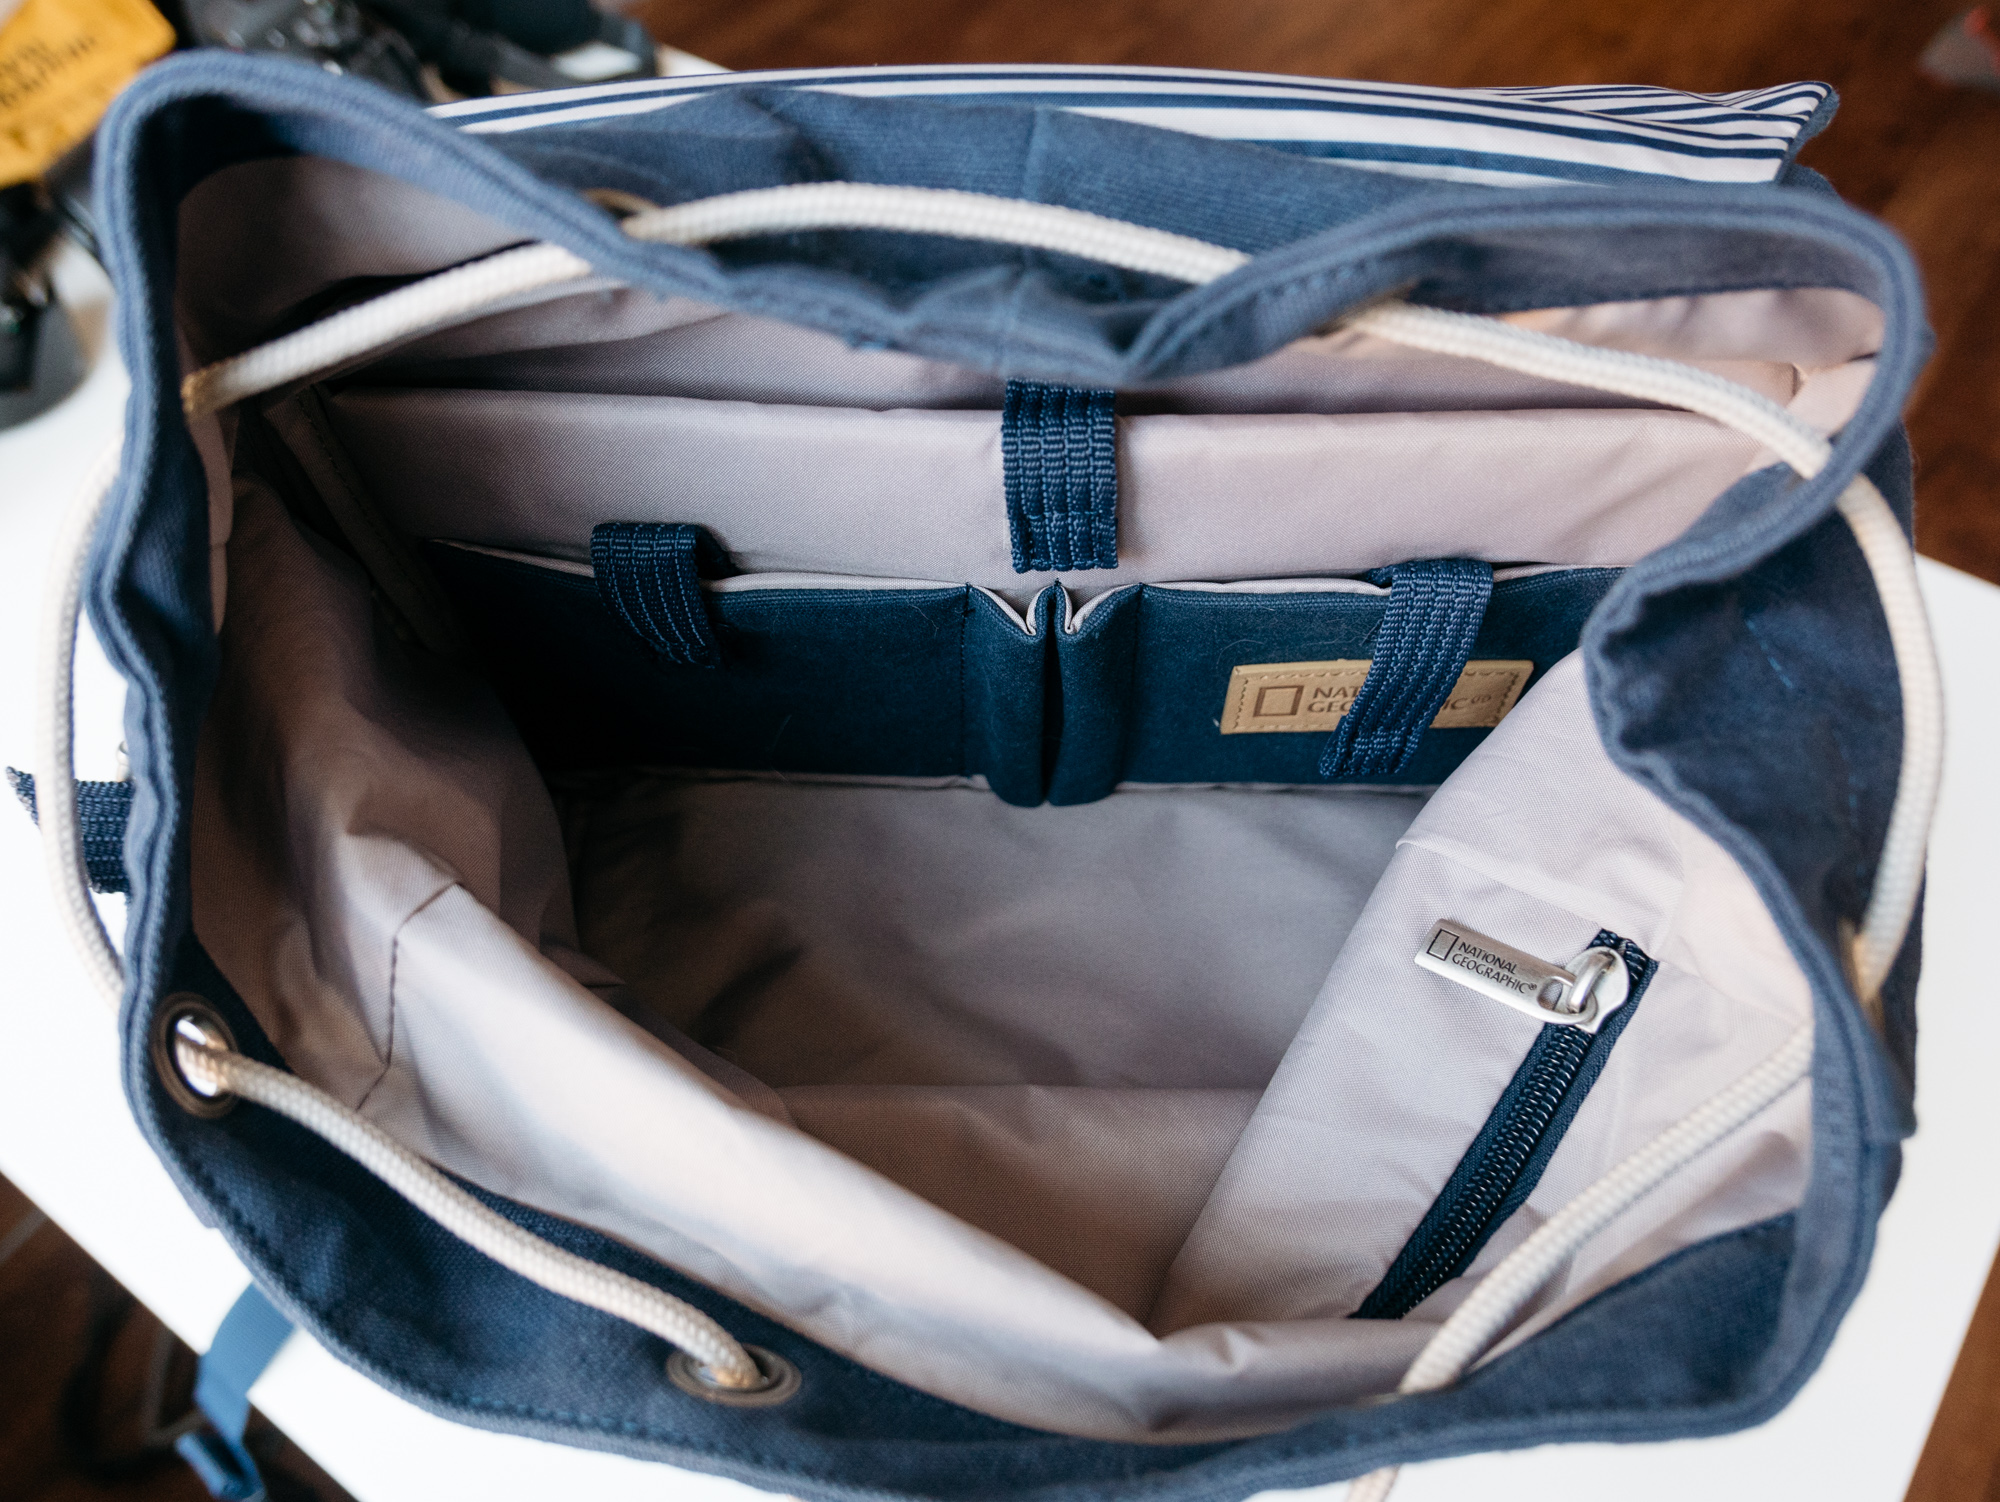
The bag is divided into two sections of roughly equal size. The top section has a few flaps and pockets for minor organization.

Zipper pouch.

The flaps don't open very much.
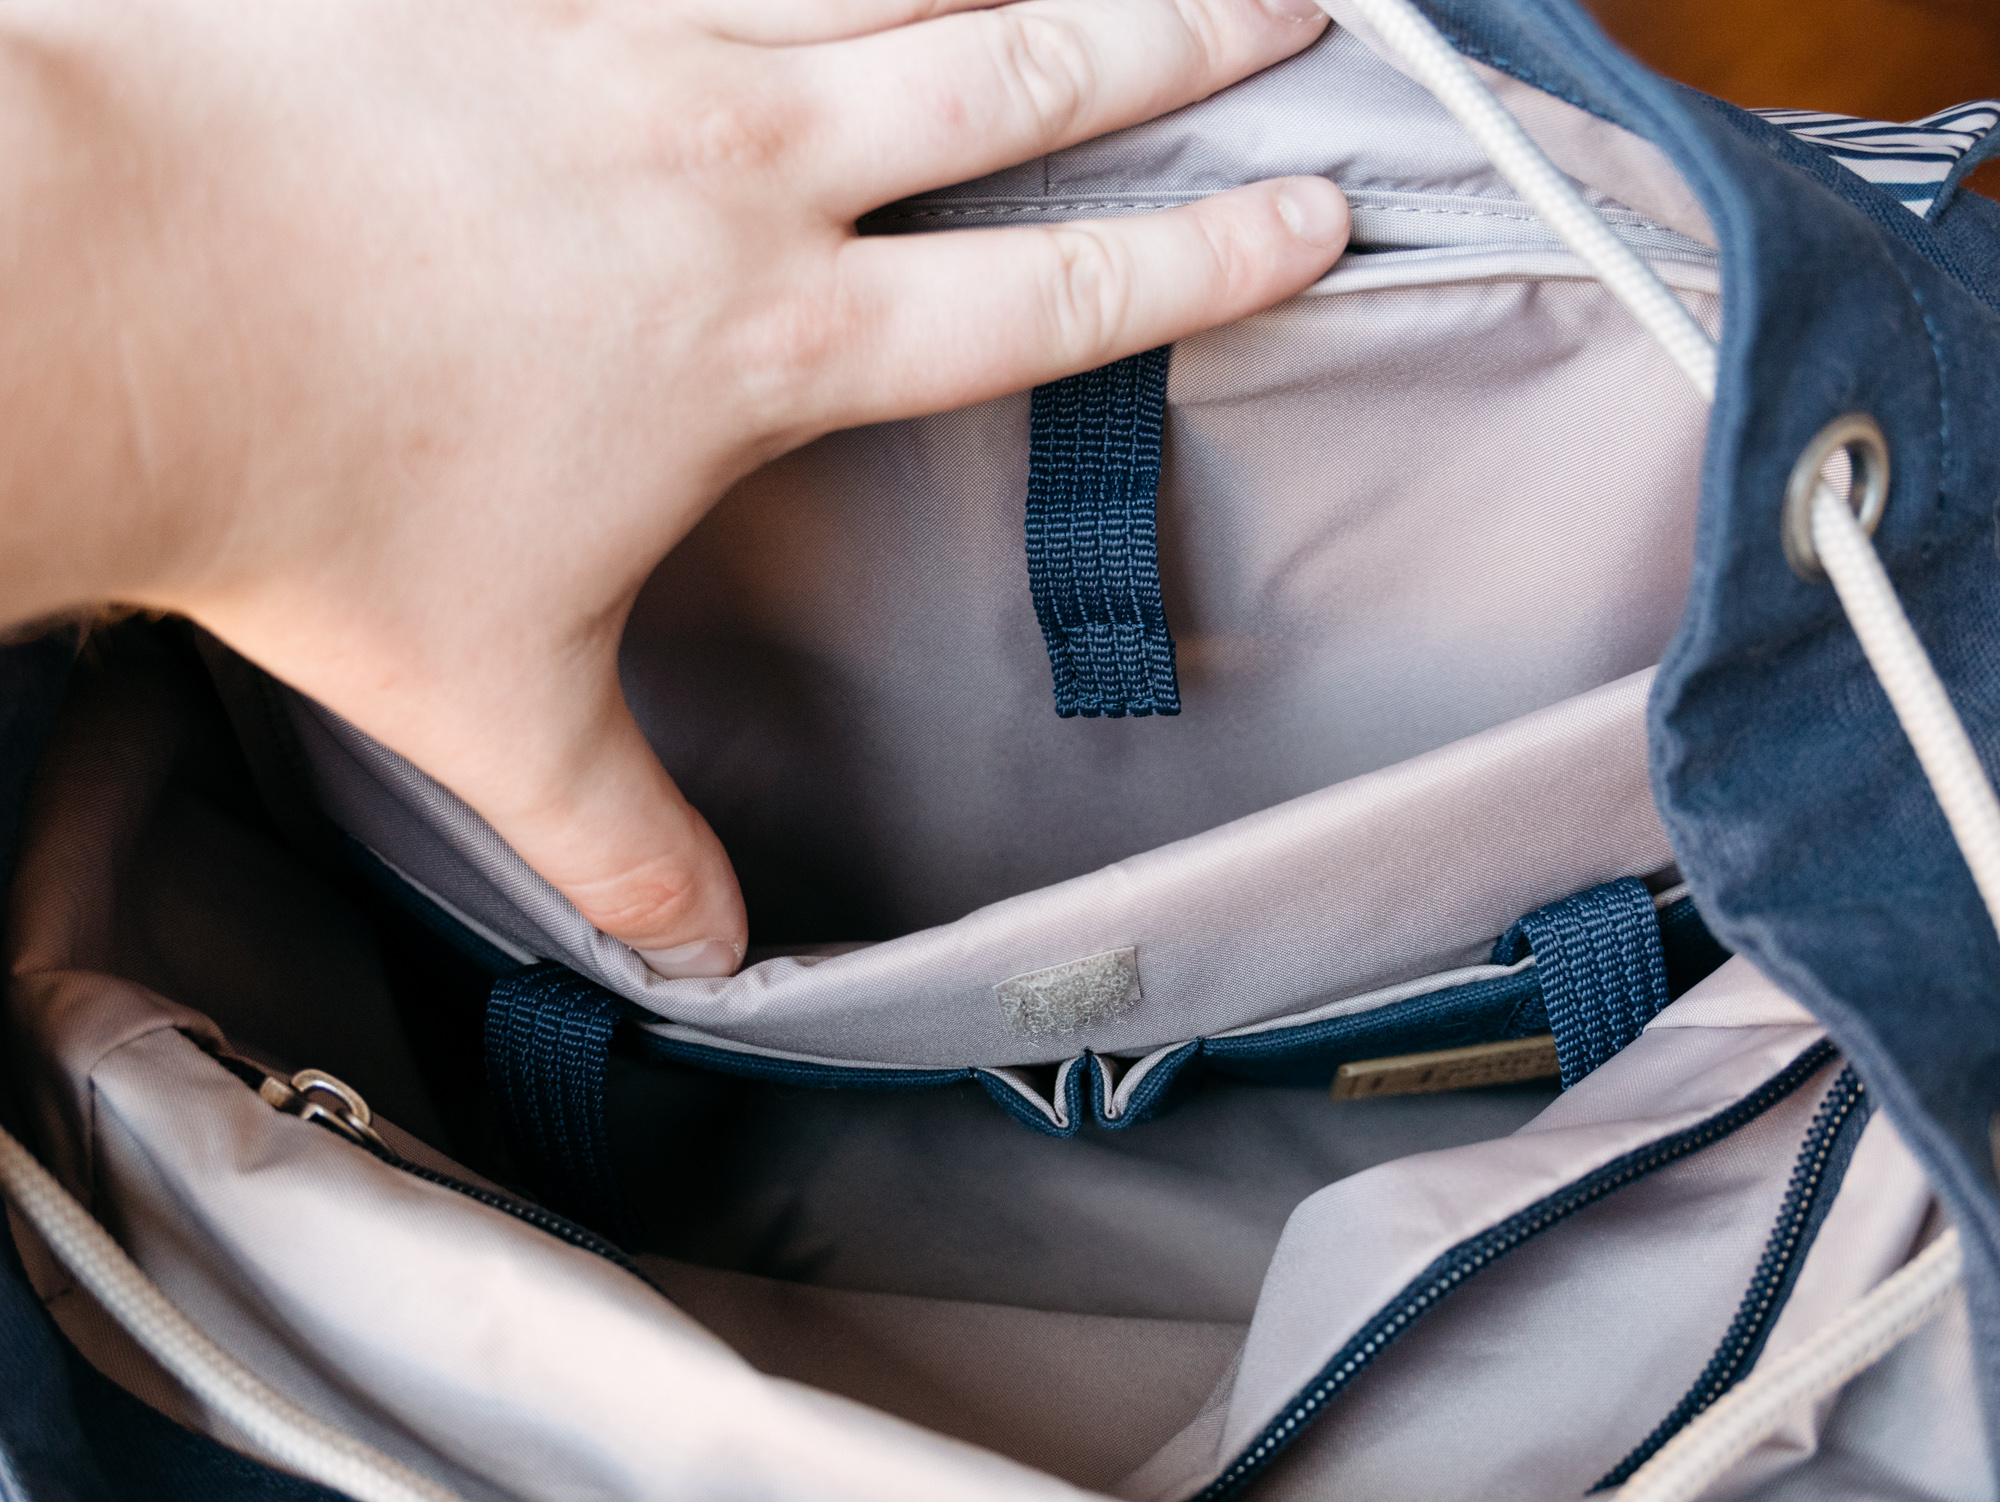
Anything you put in the would need to be pretty flat (e.g.: a Kindle).
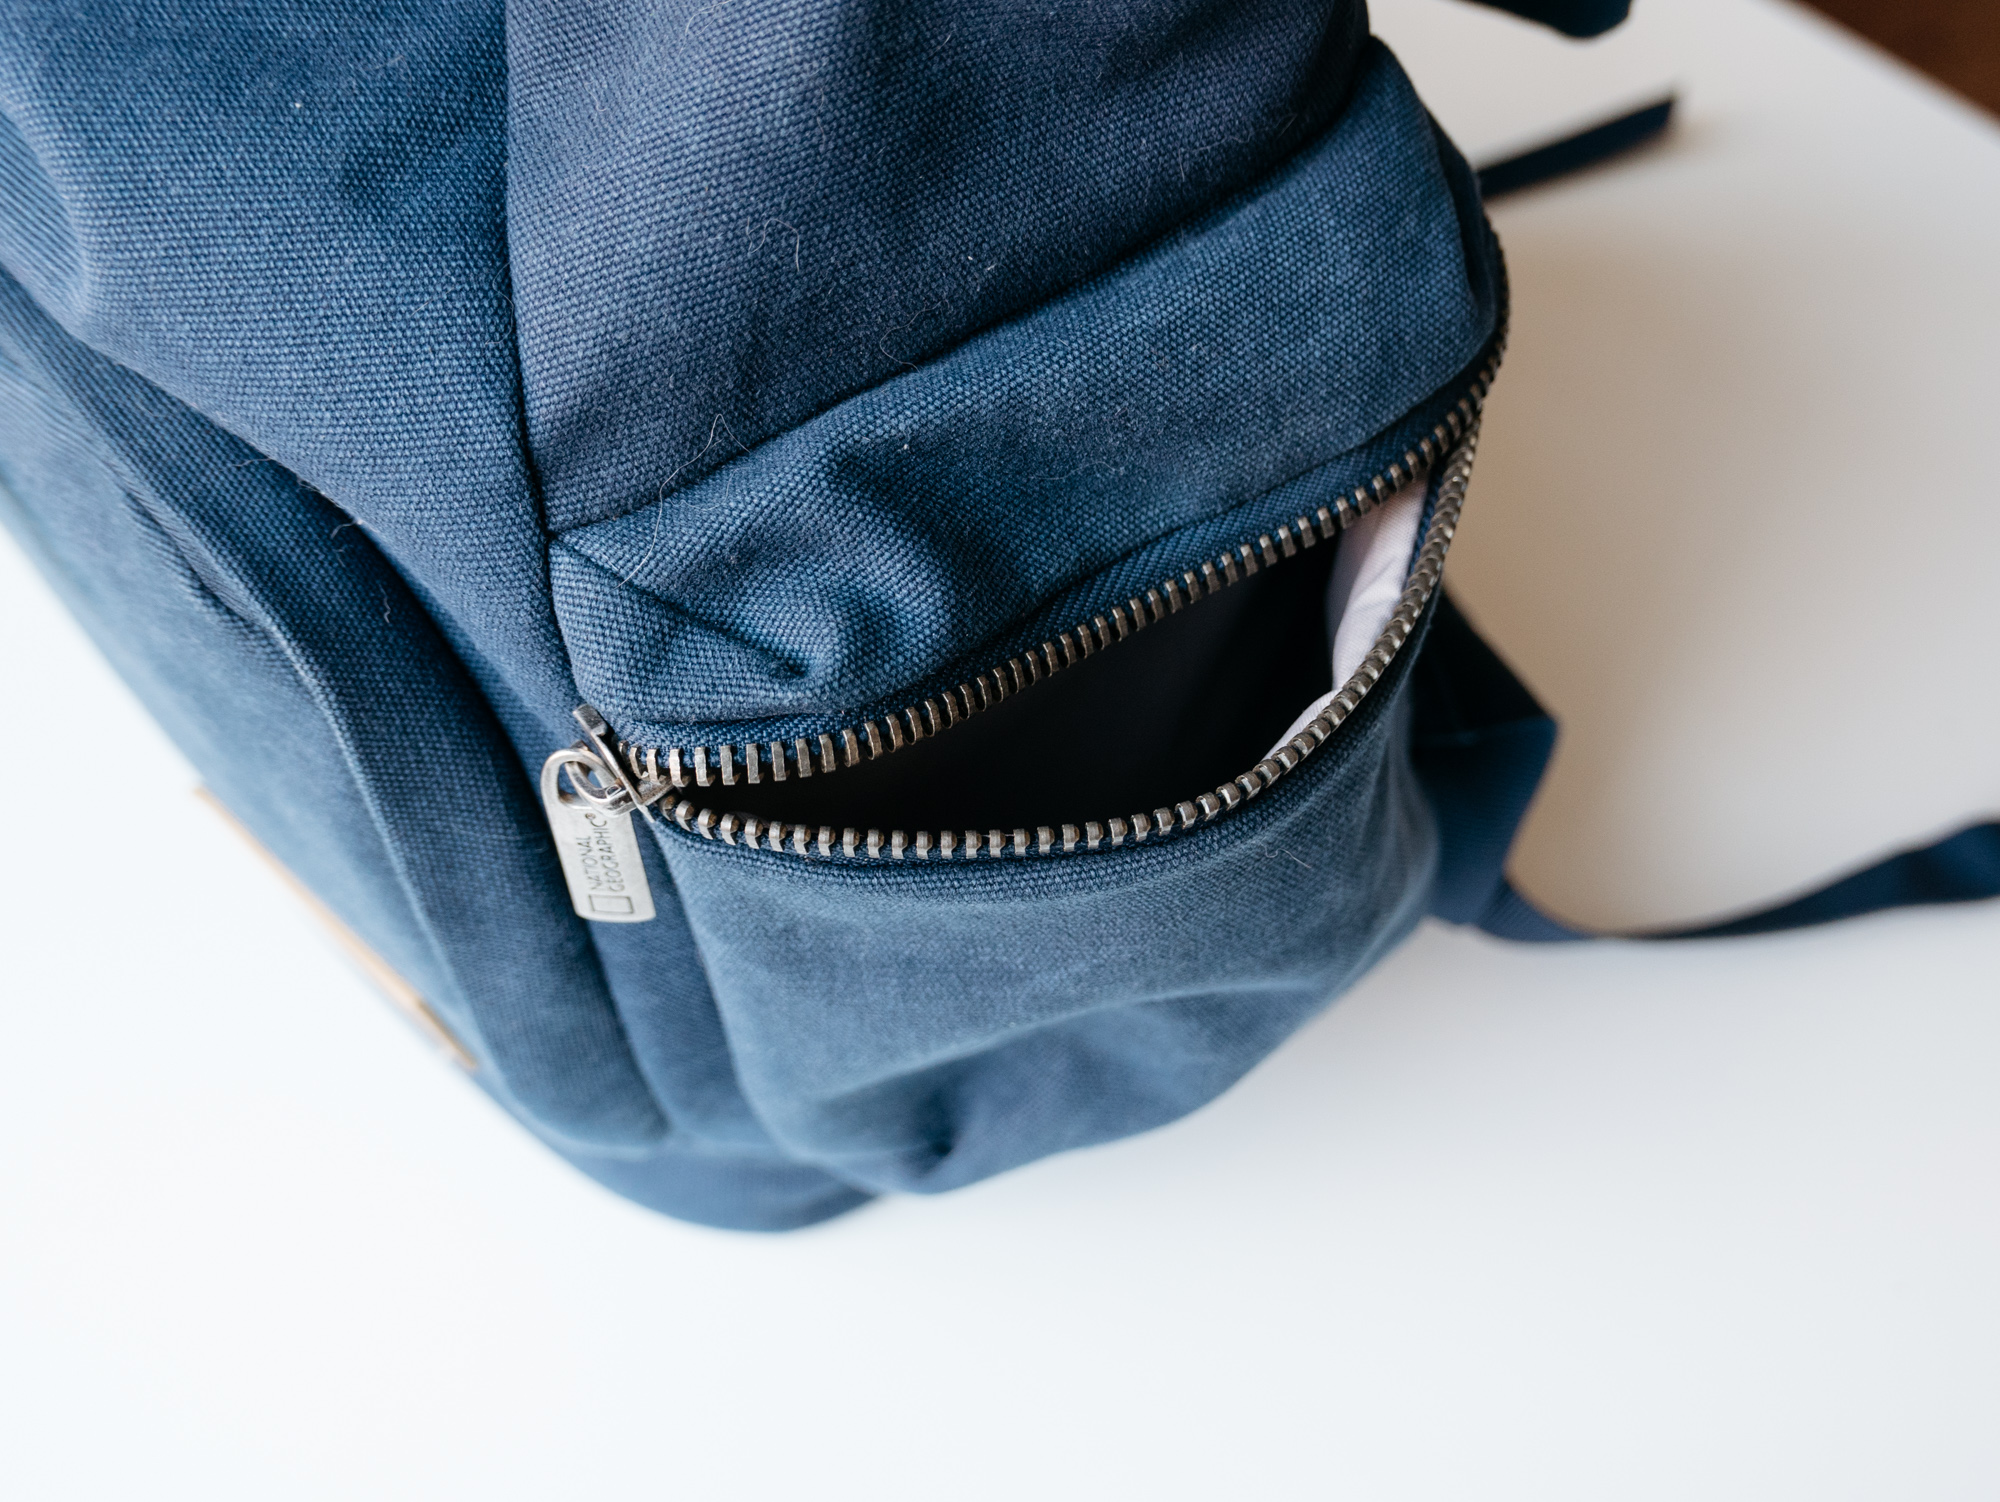
The side pockets stick out from the body of the bag.
A few example objects for scale.
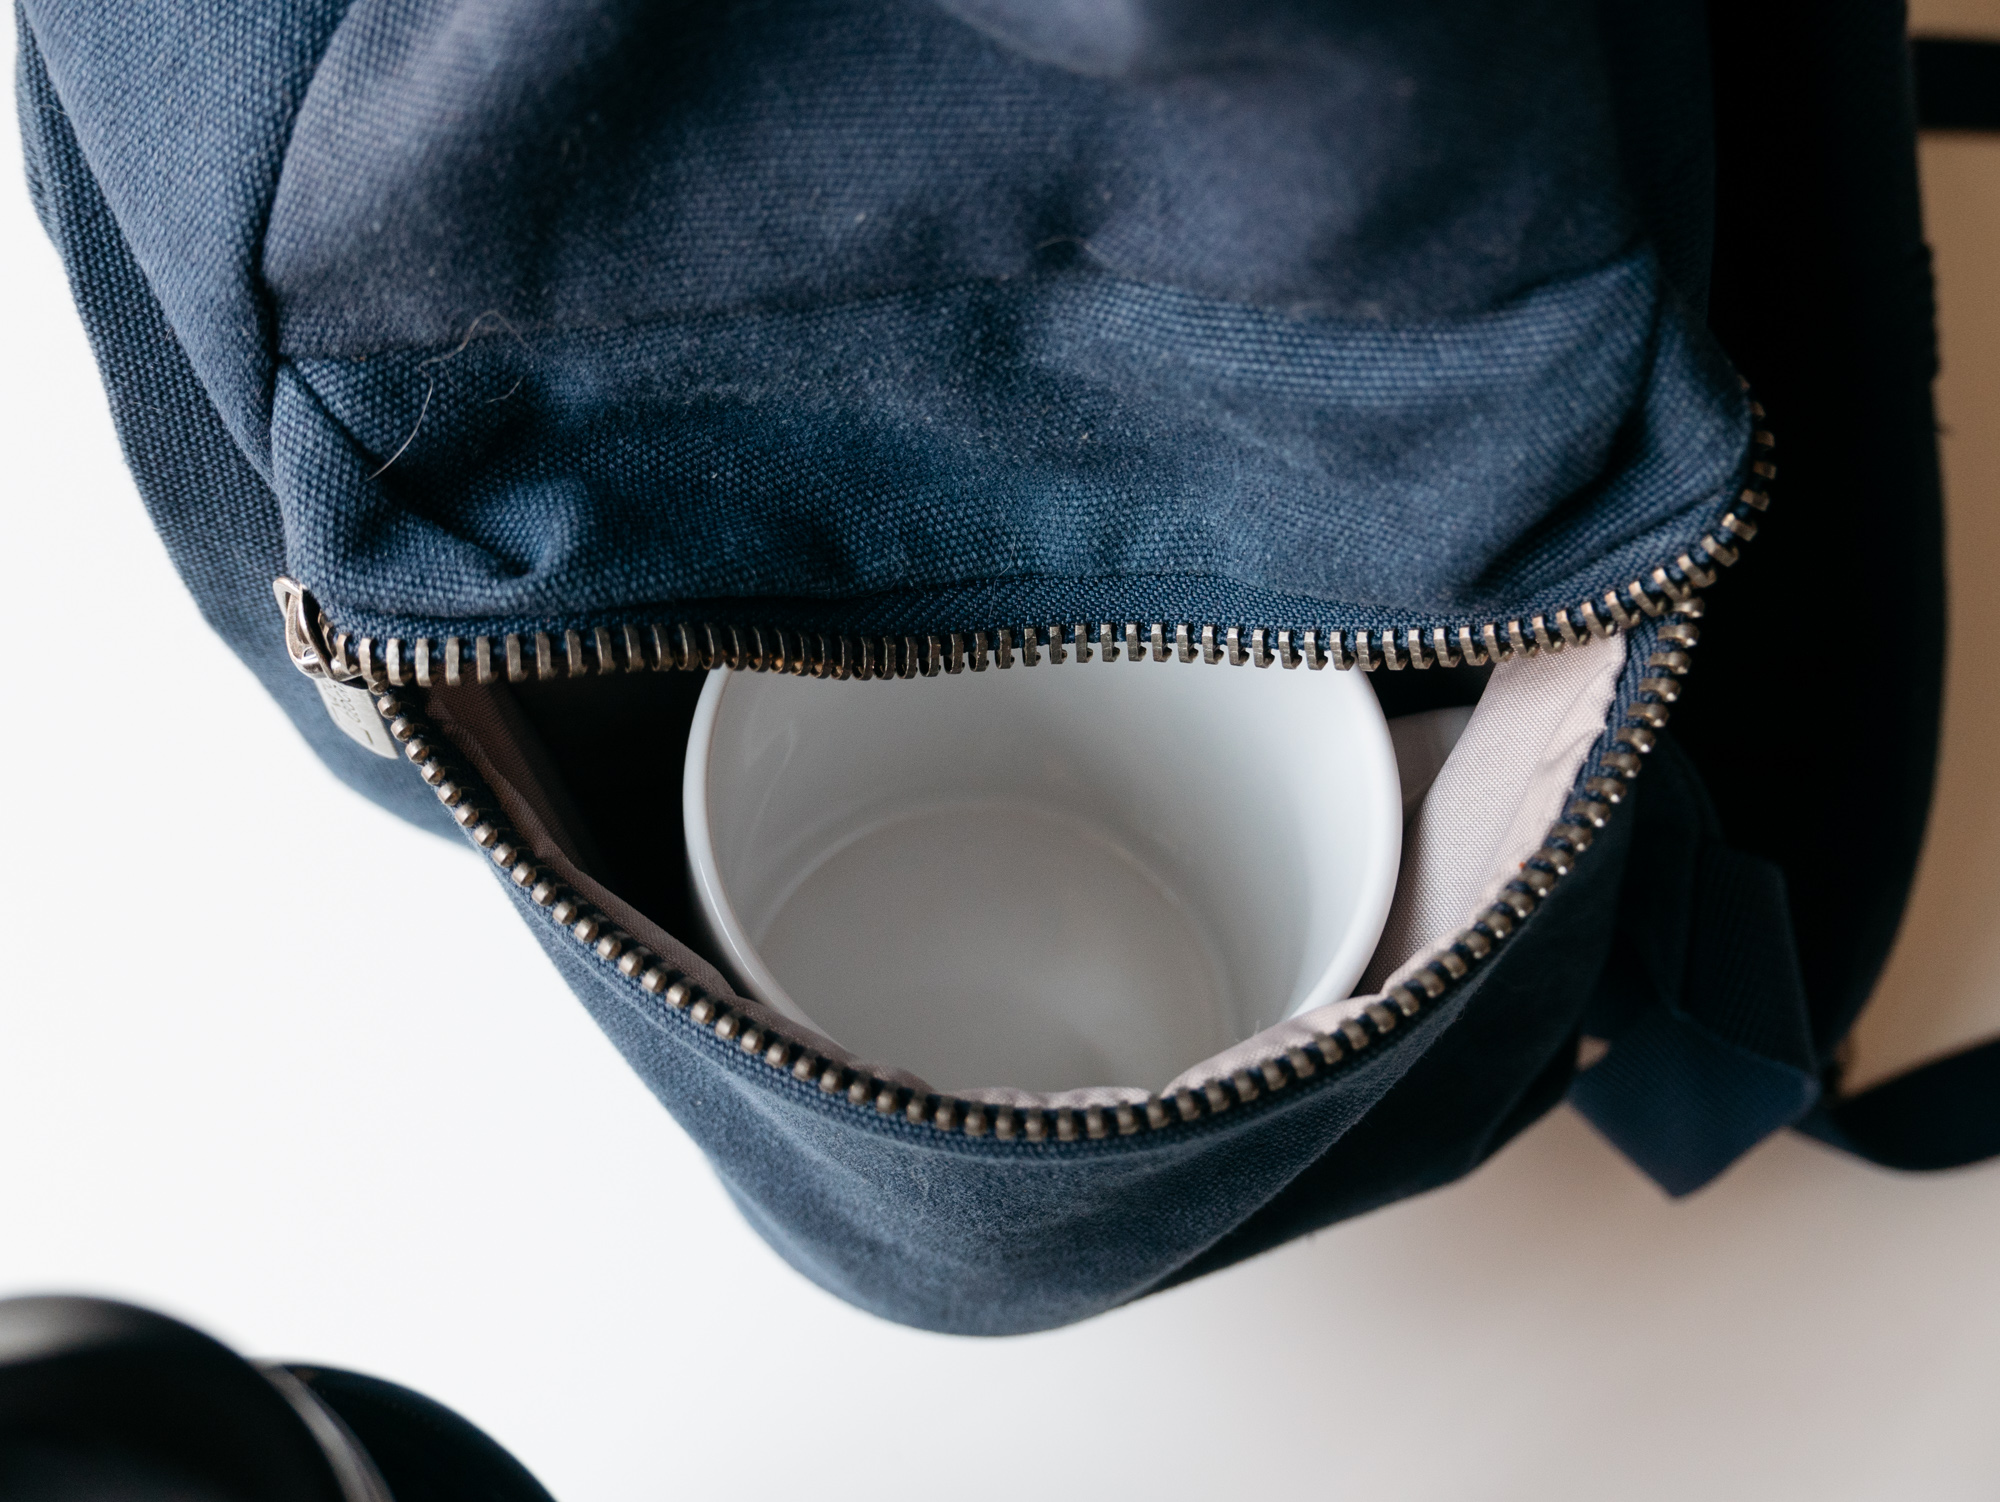
They're about a big as a standard-sized coffee mug.
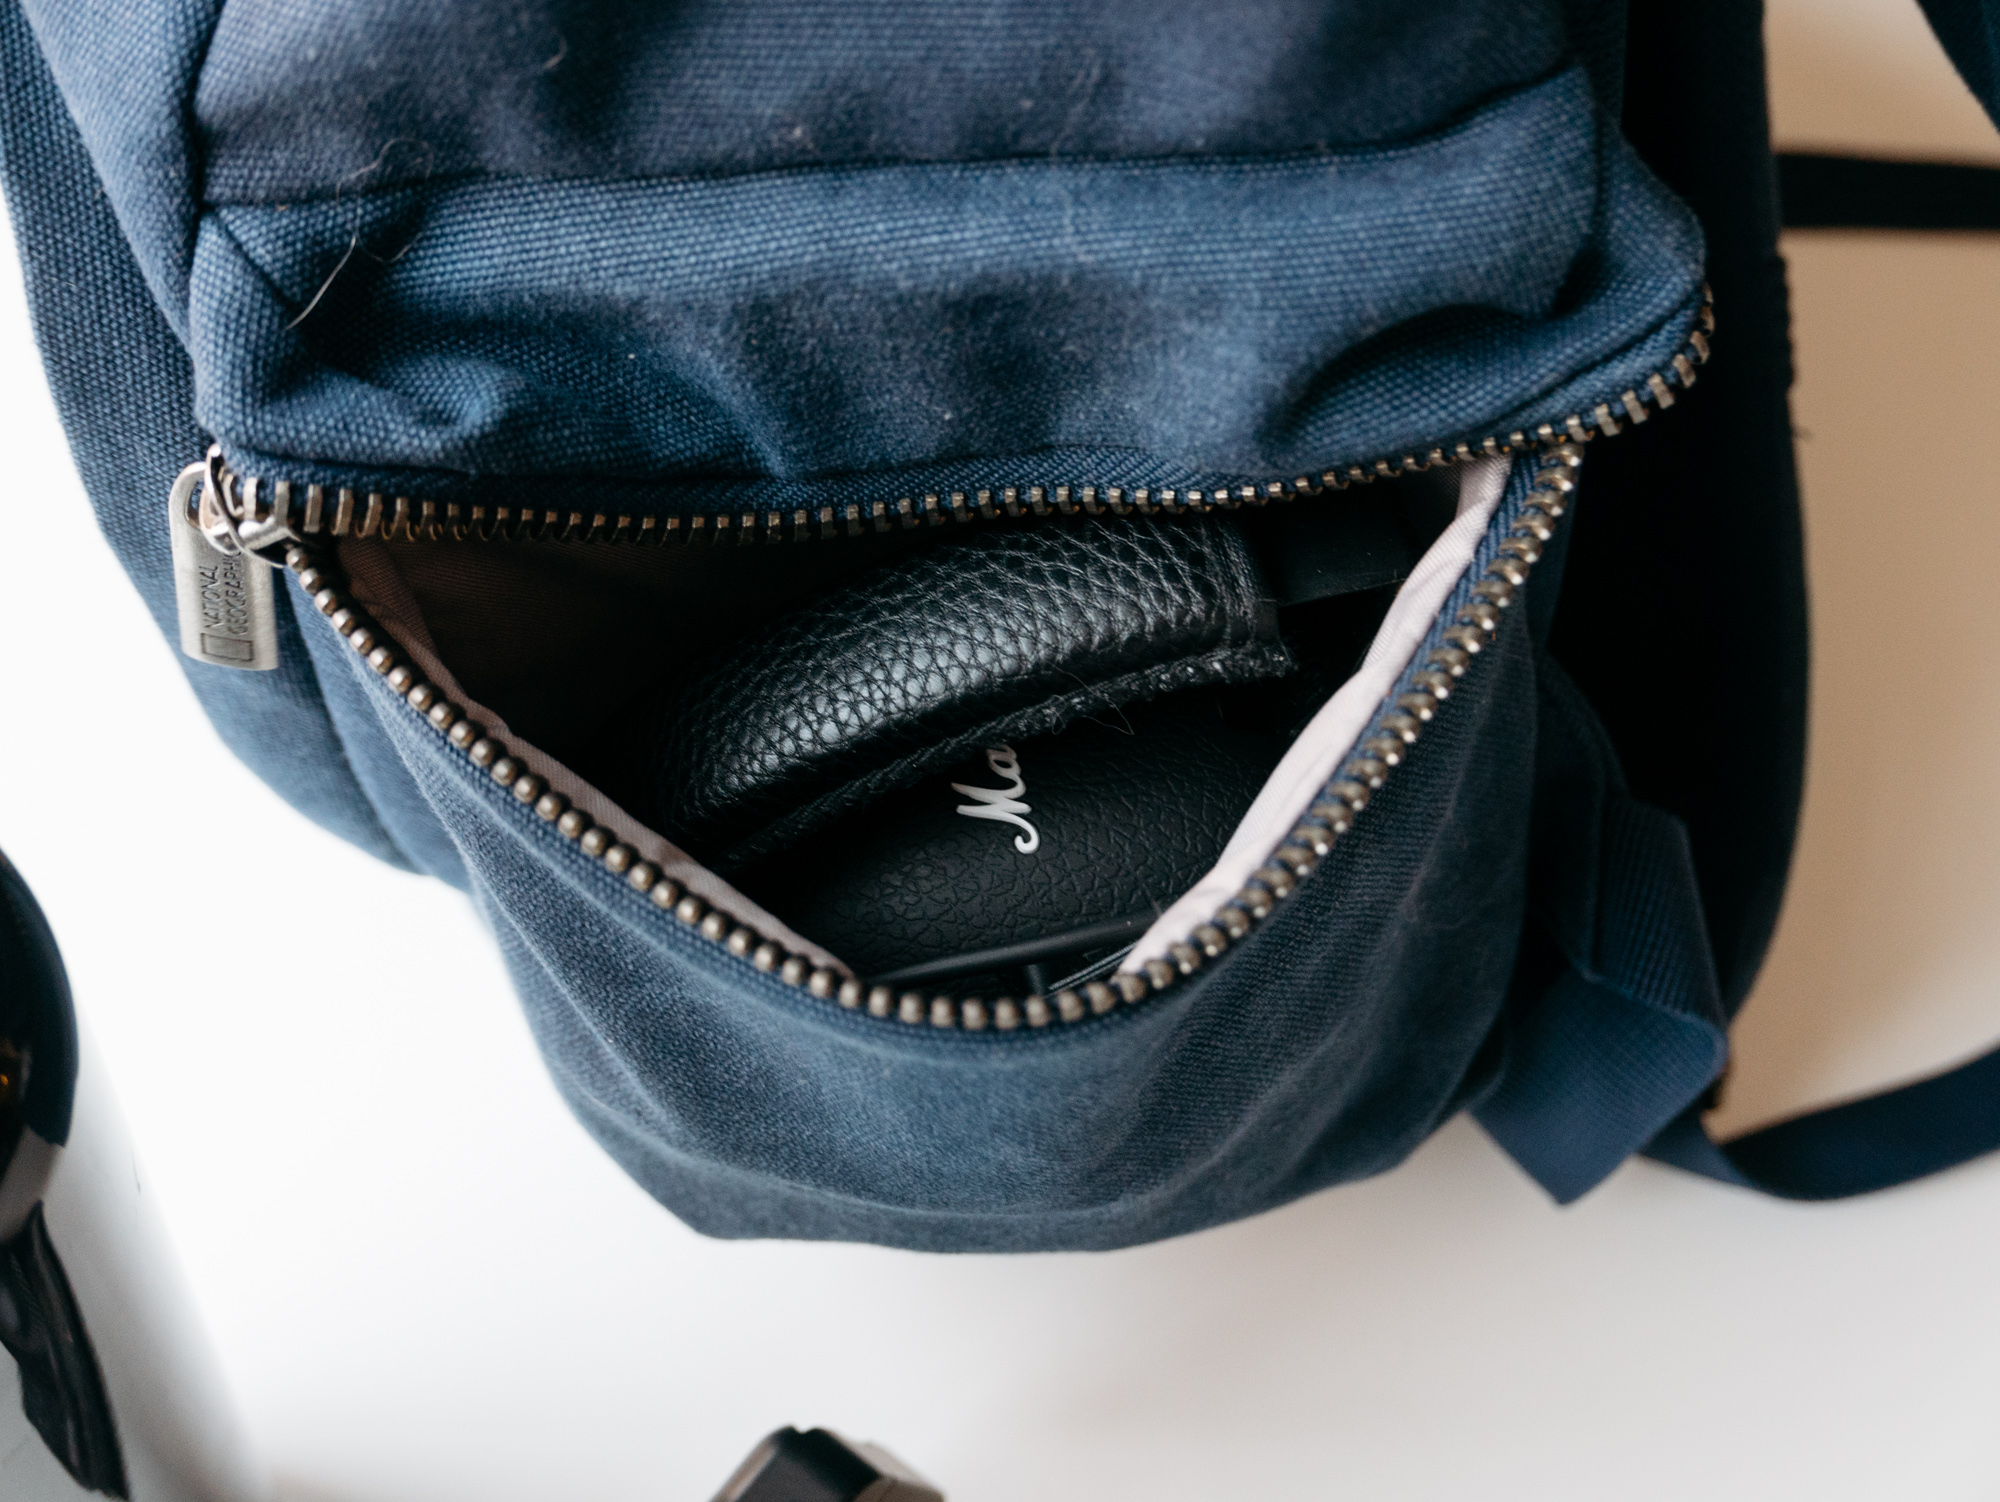
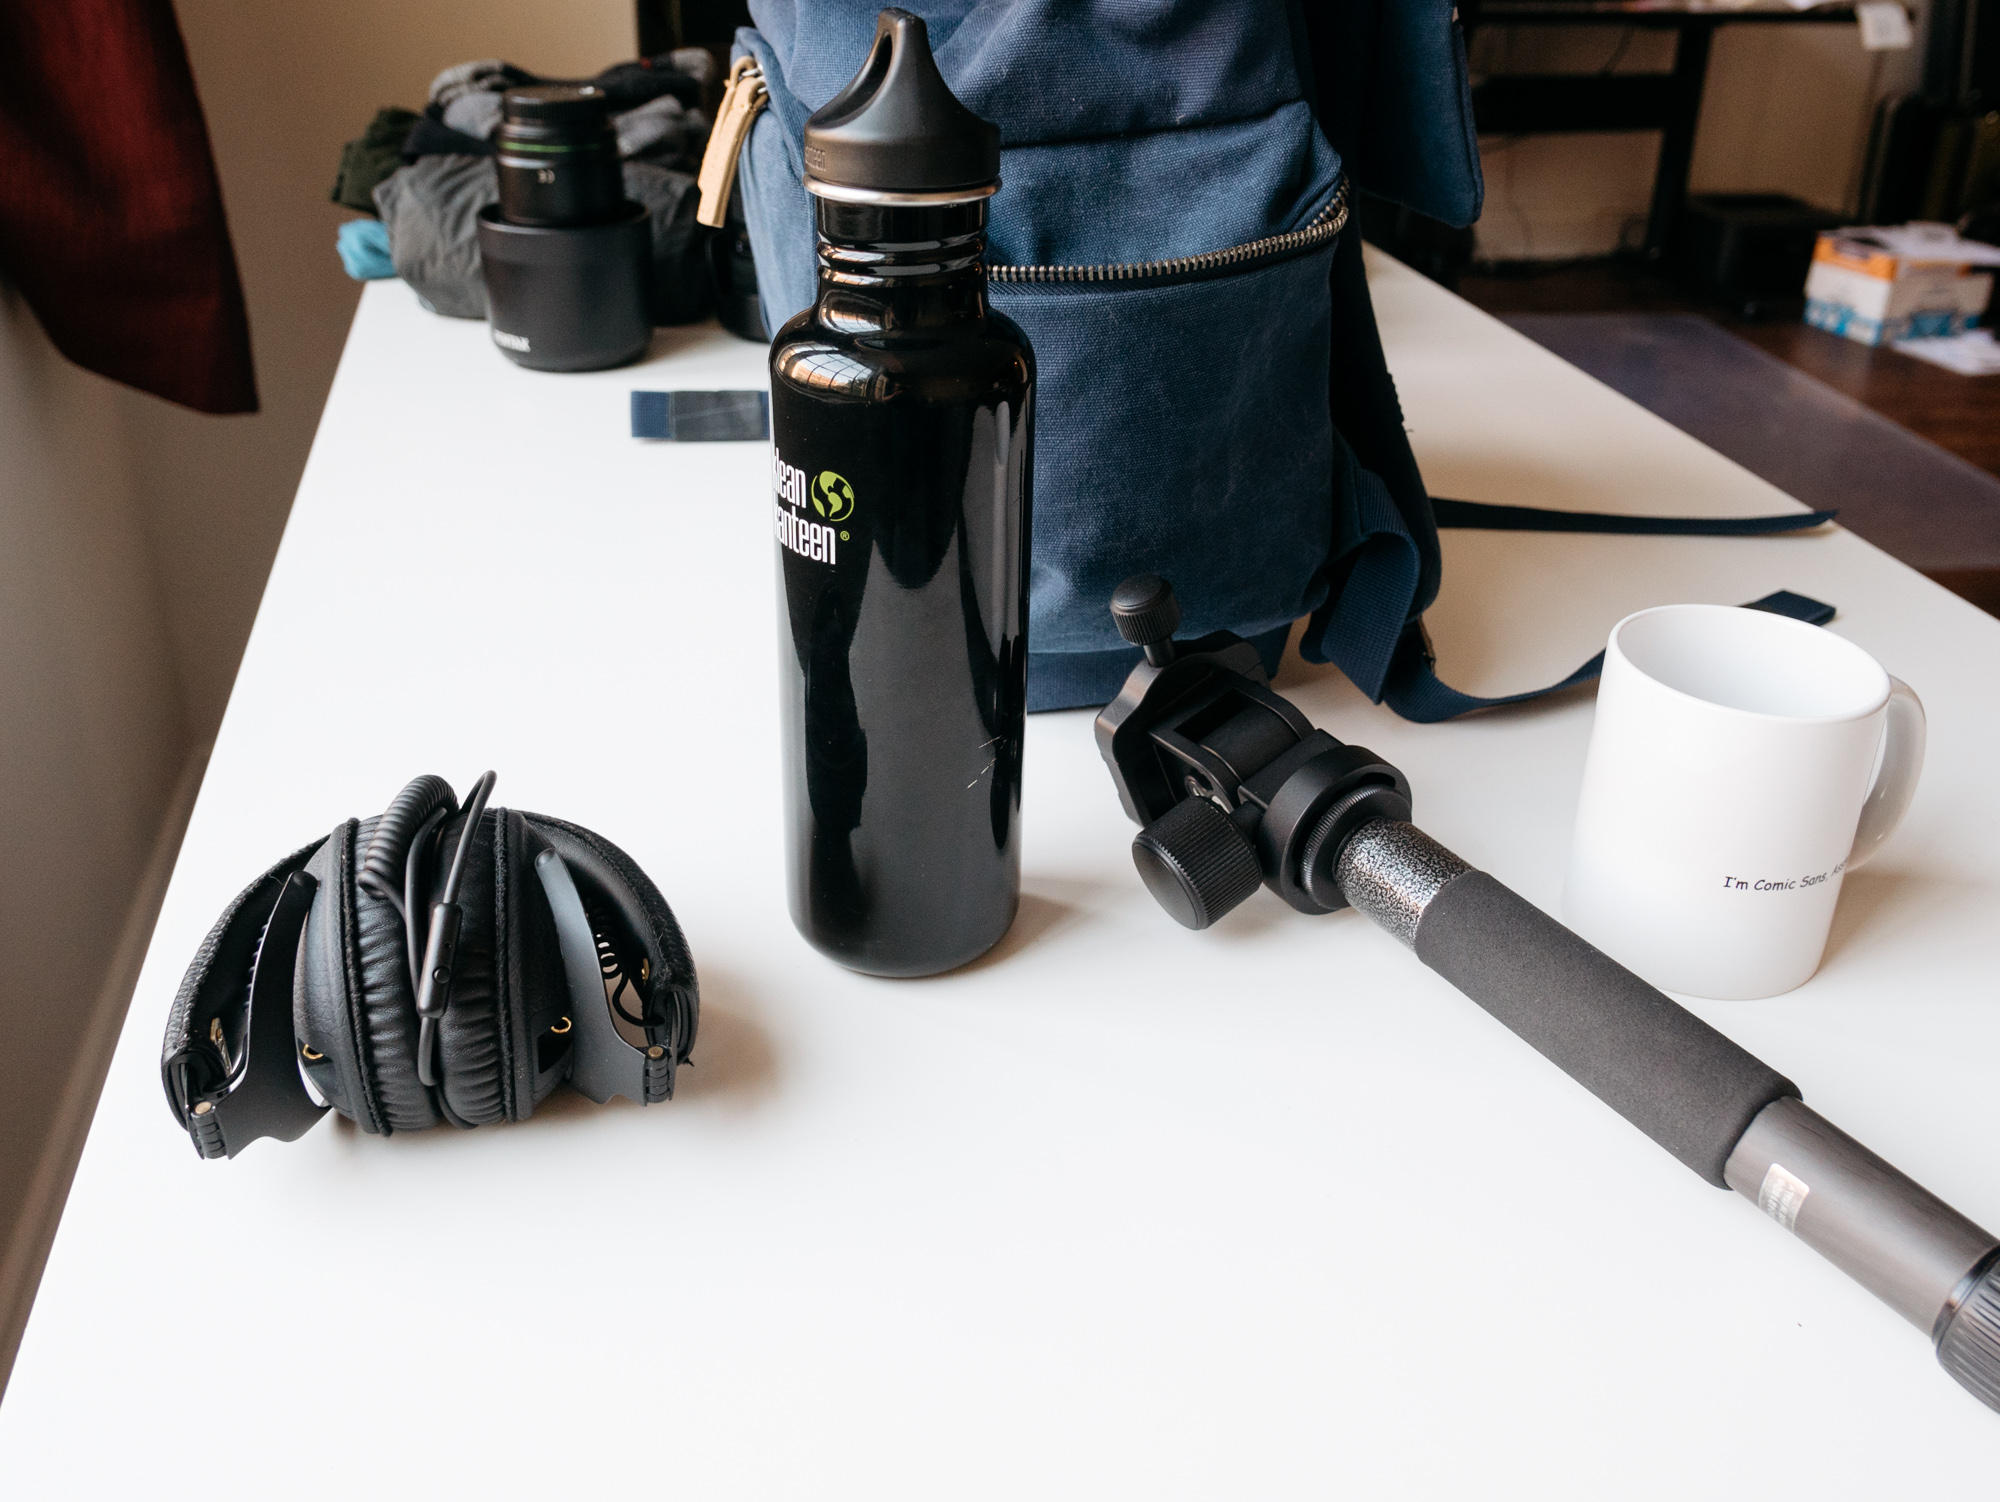
They'll just barely hold a folding set of Marshall Monitor headphones.

They'll hold a water bottle, though if it's tall it can be a bit precarious.

They do work well for holding a monopod, in conjunction with the lashing strap.
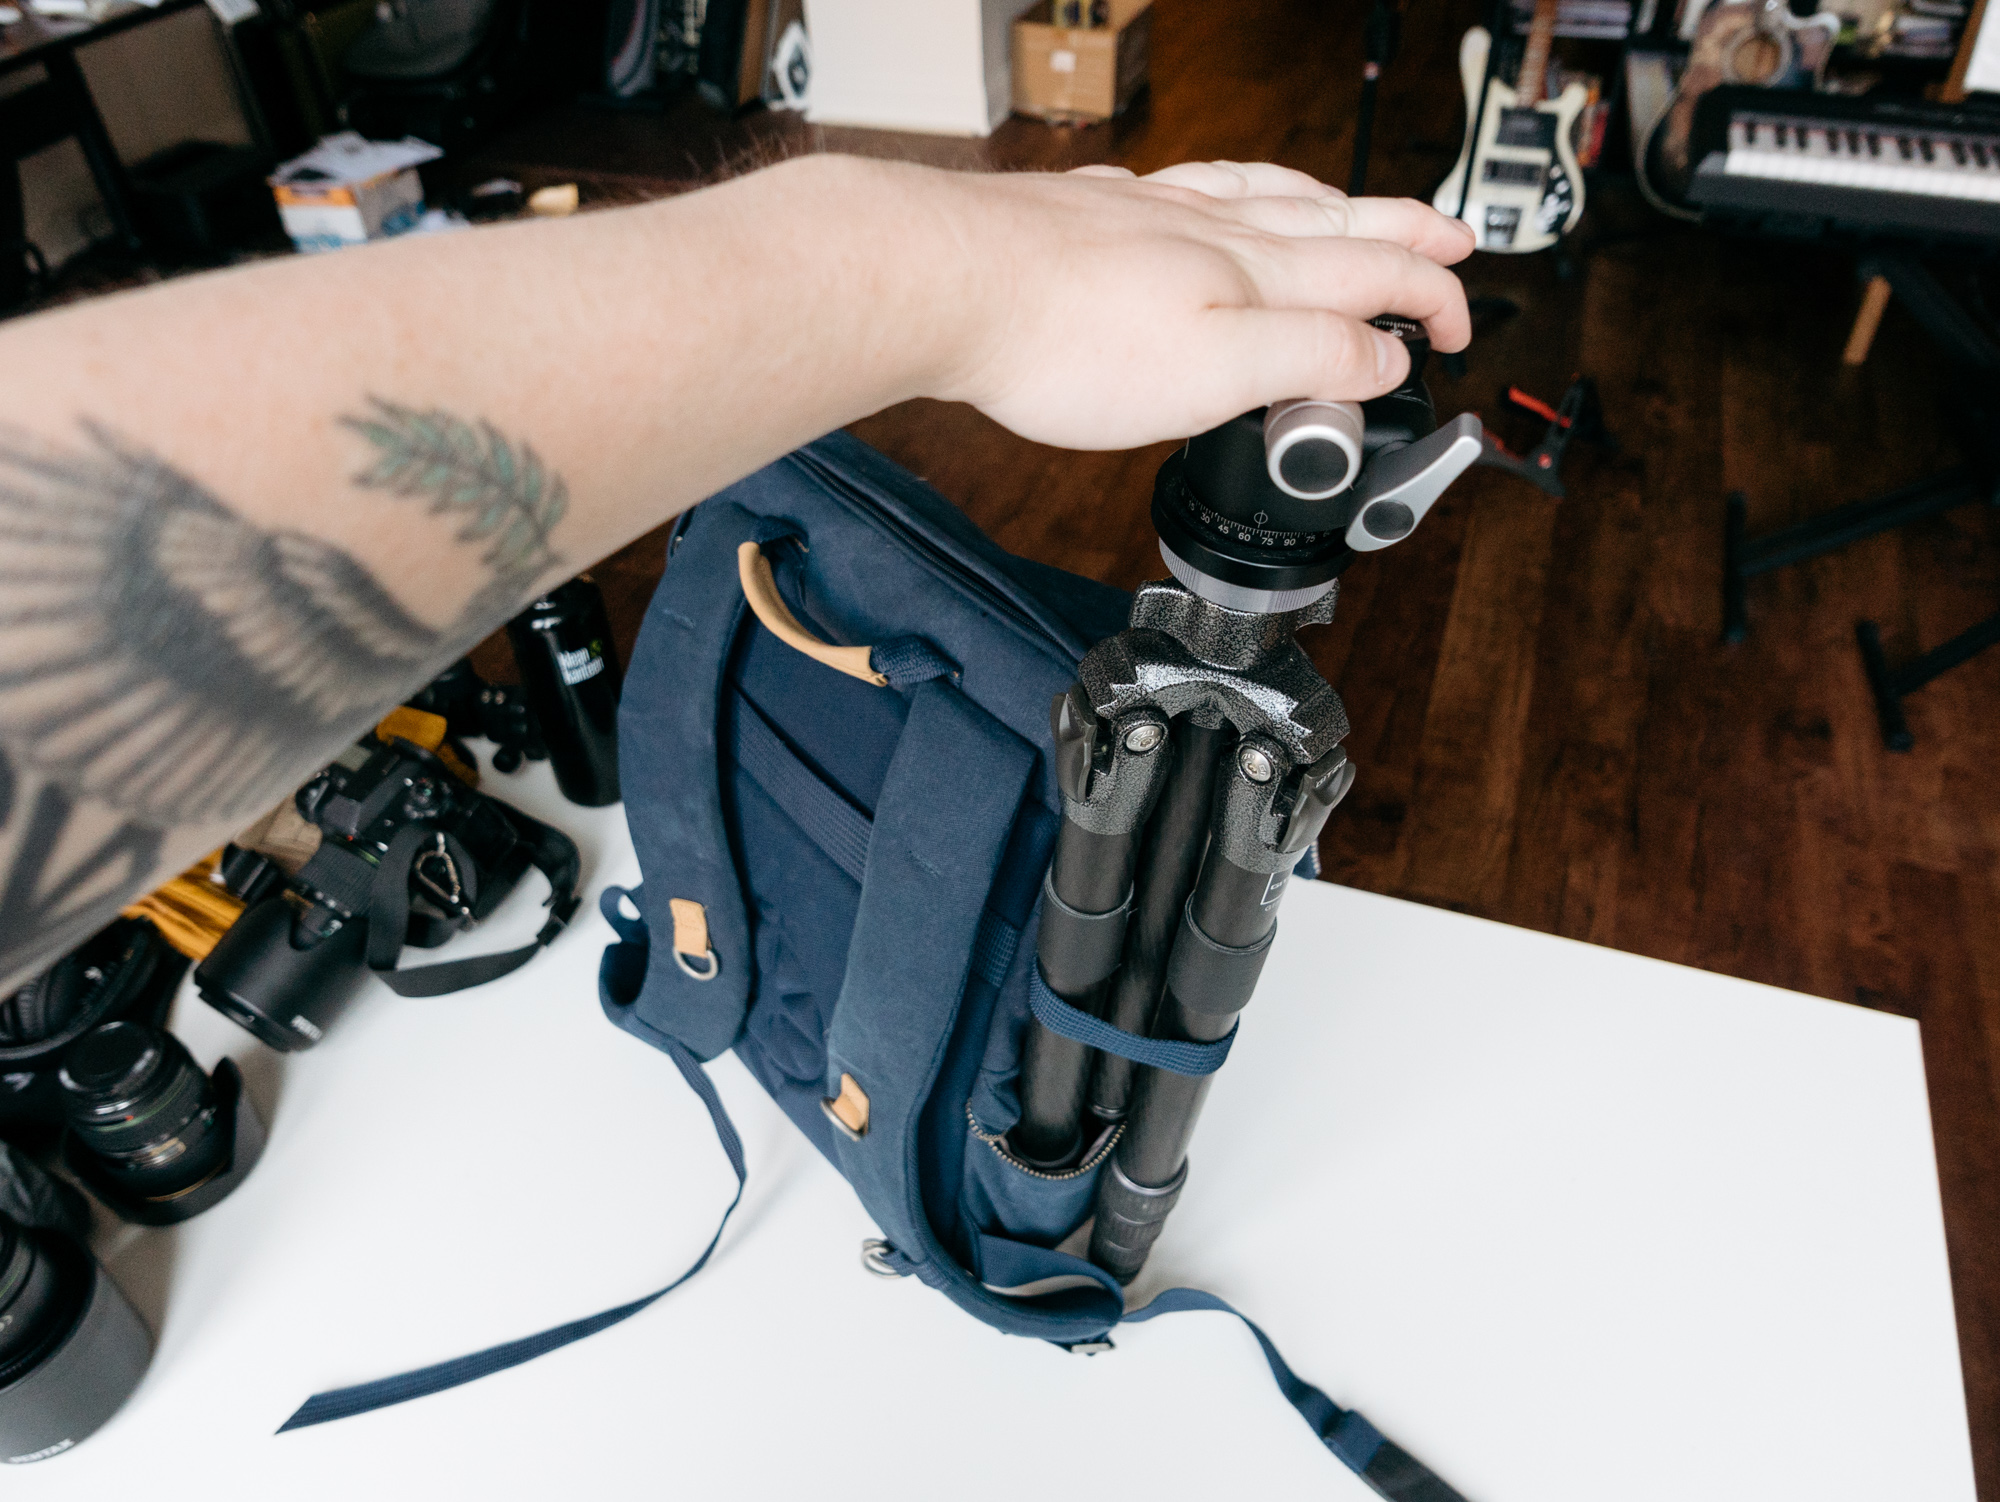
Unfortunately this backpack really can't handle a decent tripod. It's too tall for the side, and there's no attachment rings you could use to lash it to the bottom or back.
This is one thing that does bother me about the bag. A couple of extra D rings on the side and bottom would solve the tripod carrying problem.
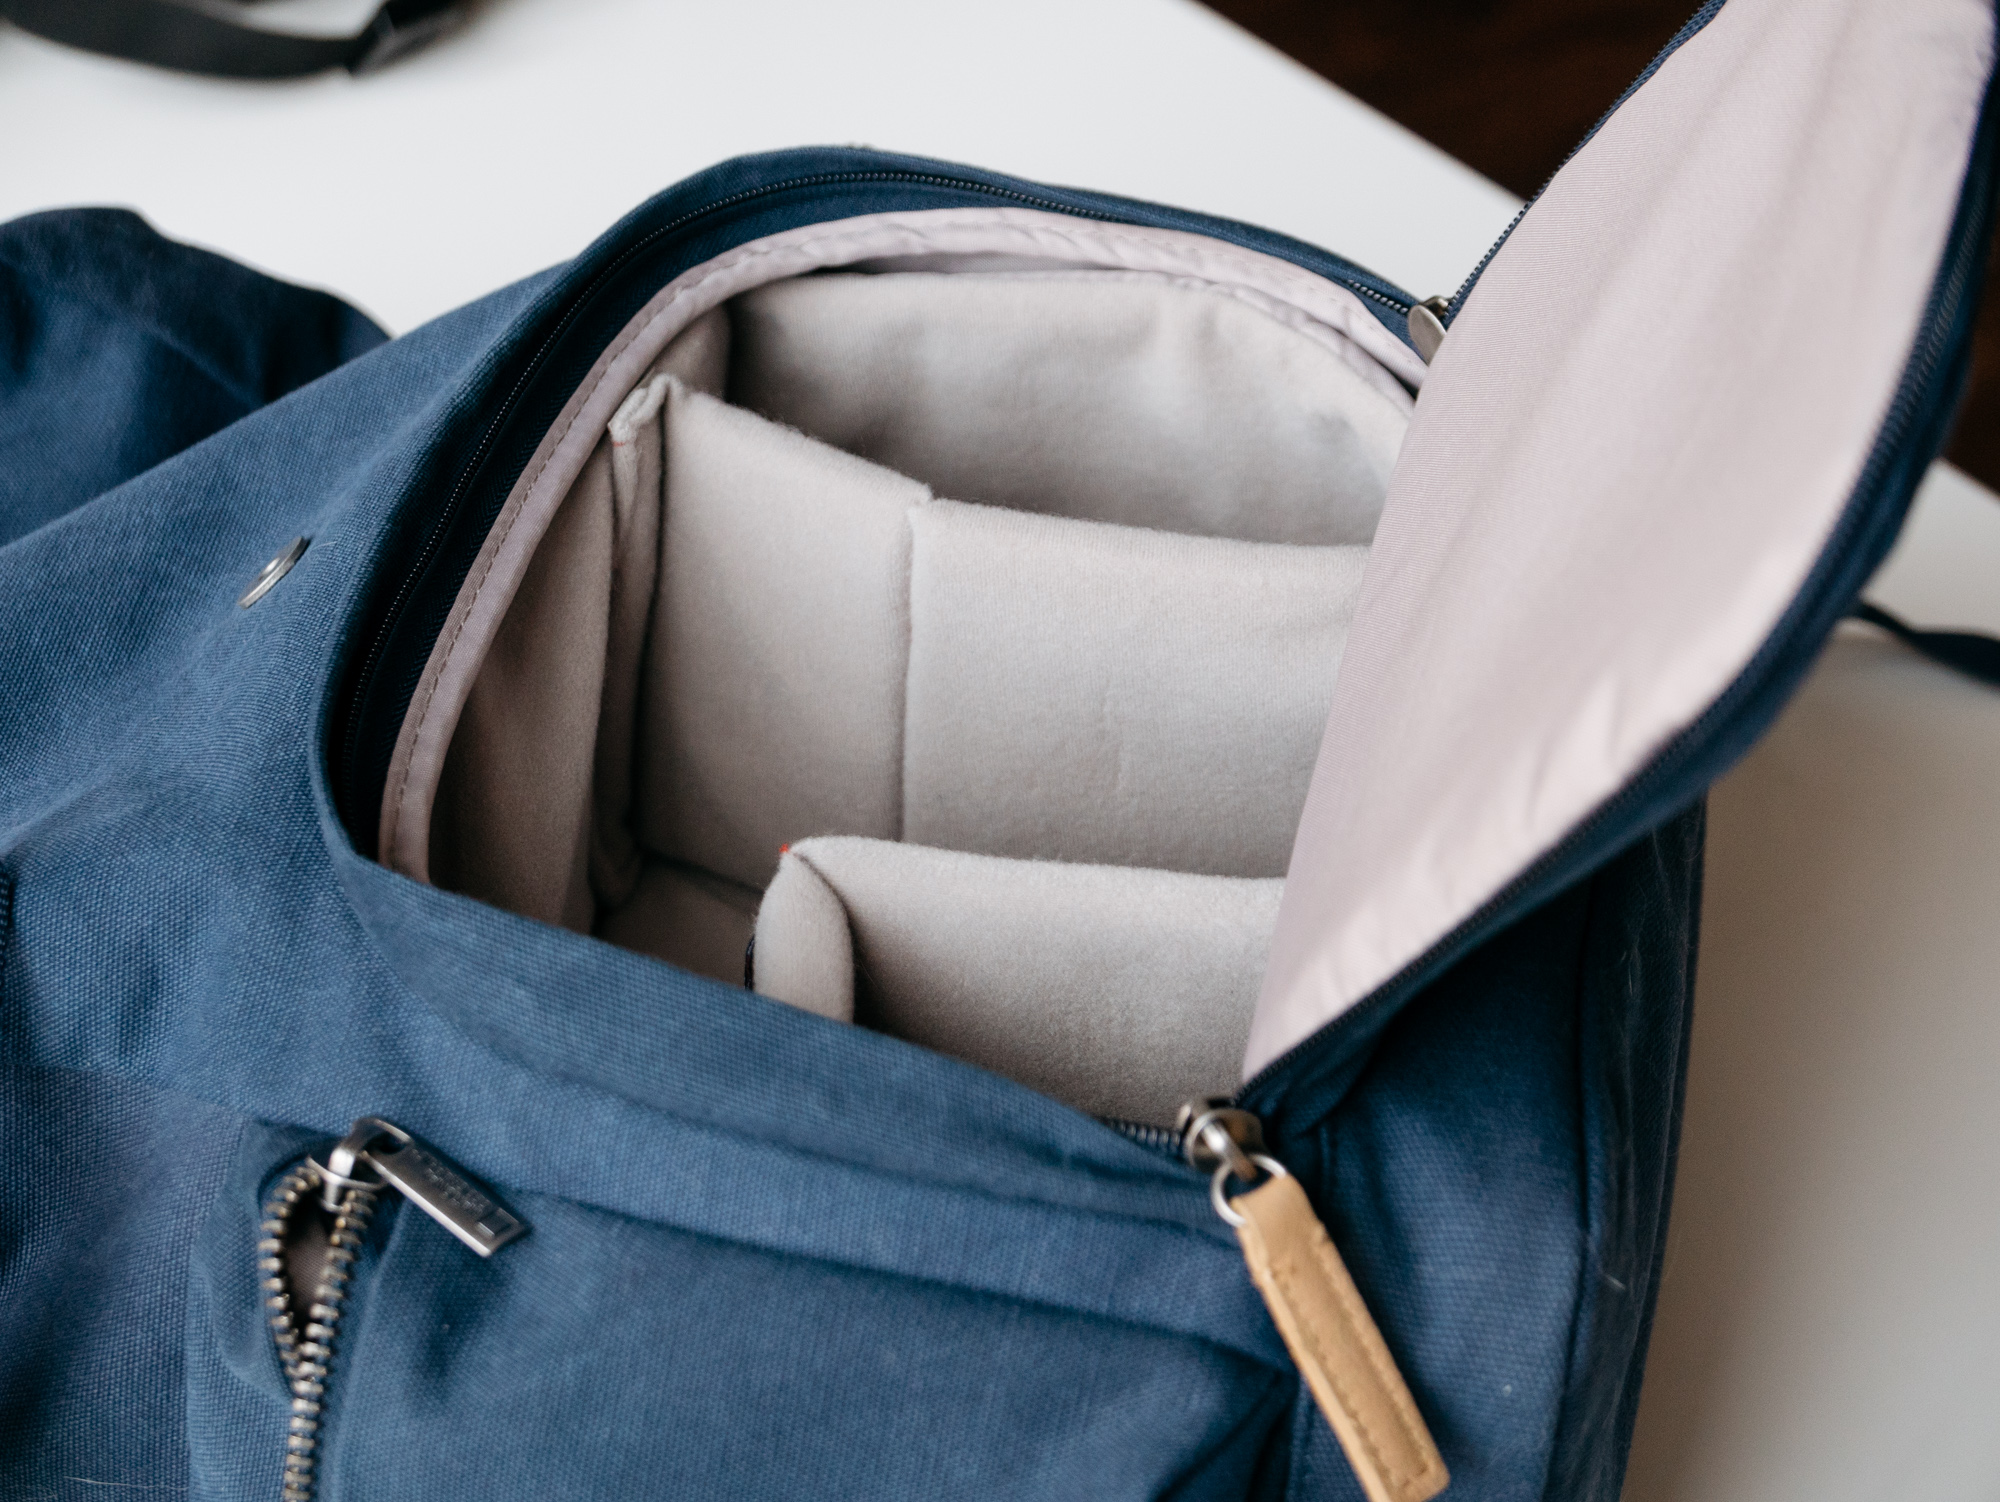
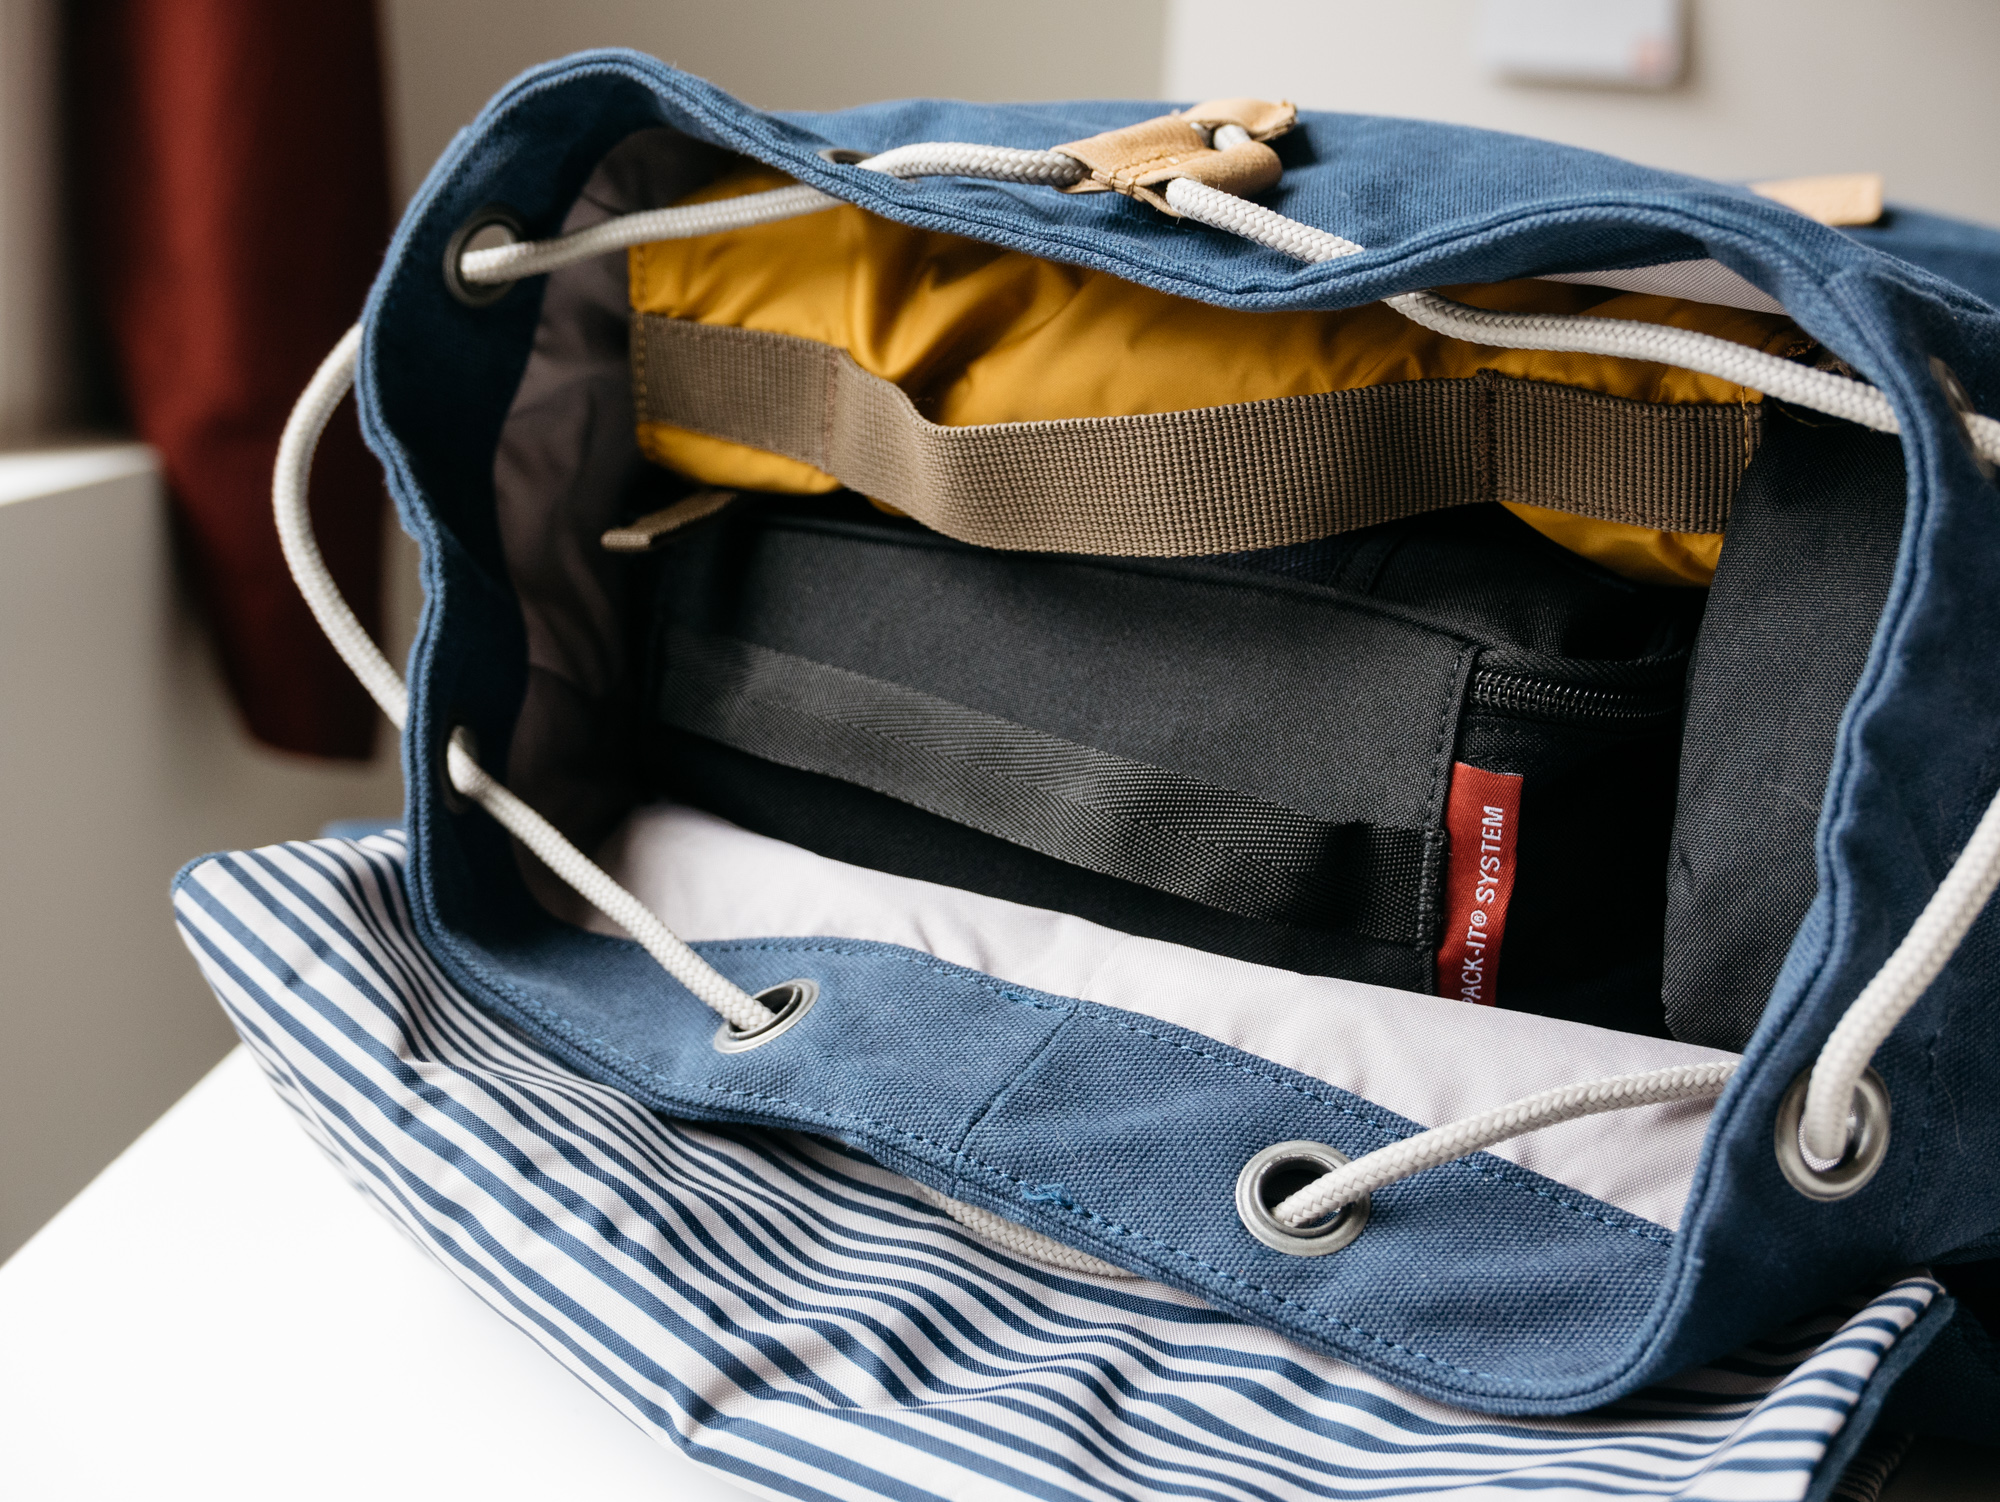
On to the bottom compartment. This is designed as a DSLR bag, so the bottom is padded and has dividers like any typical camera backpack.

It comes with two big, fluffy, padded inserts that are velcroed in.
It may have come with a third divider that I removed, but if so it's mixed in with all my other spare dividers and I can't remember. Sorry.
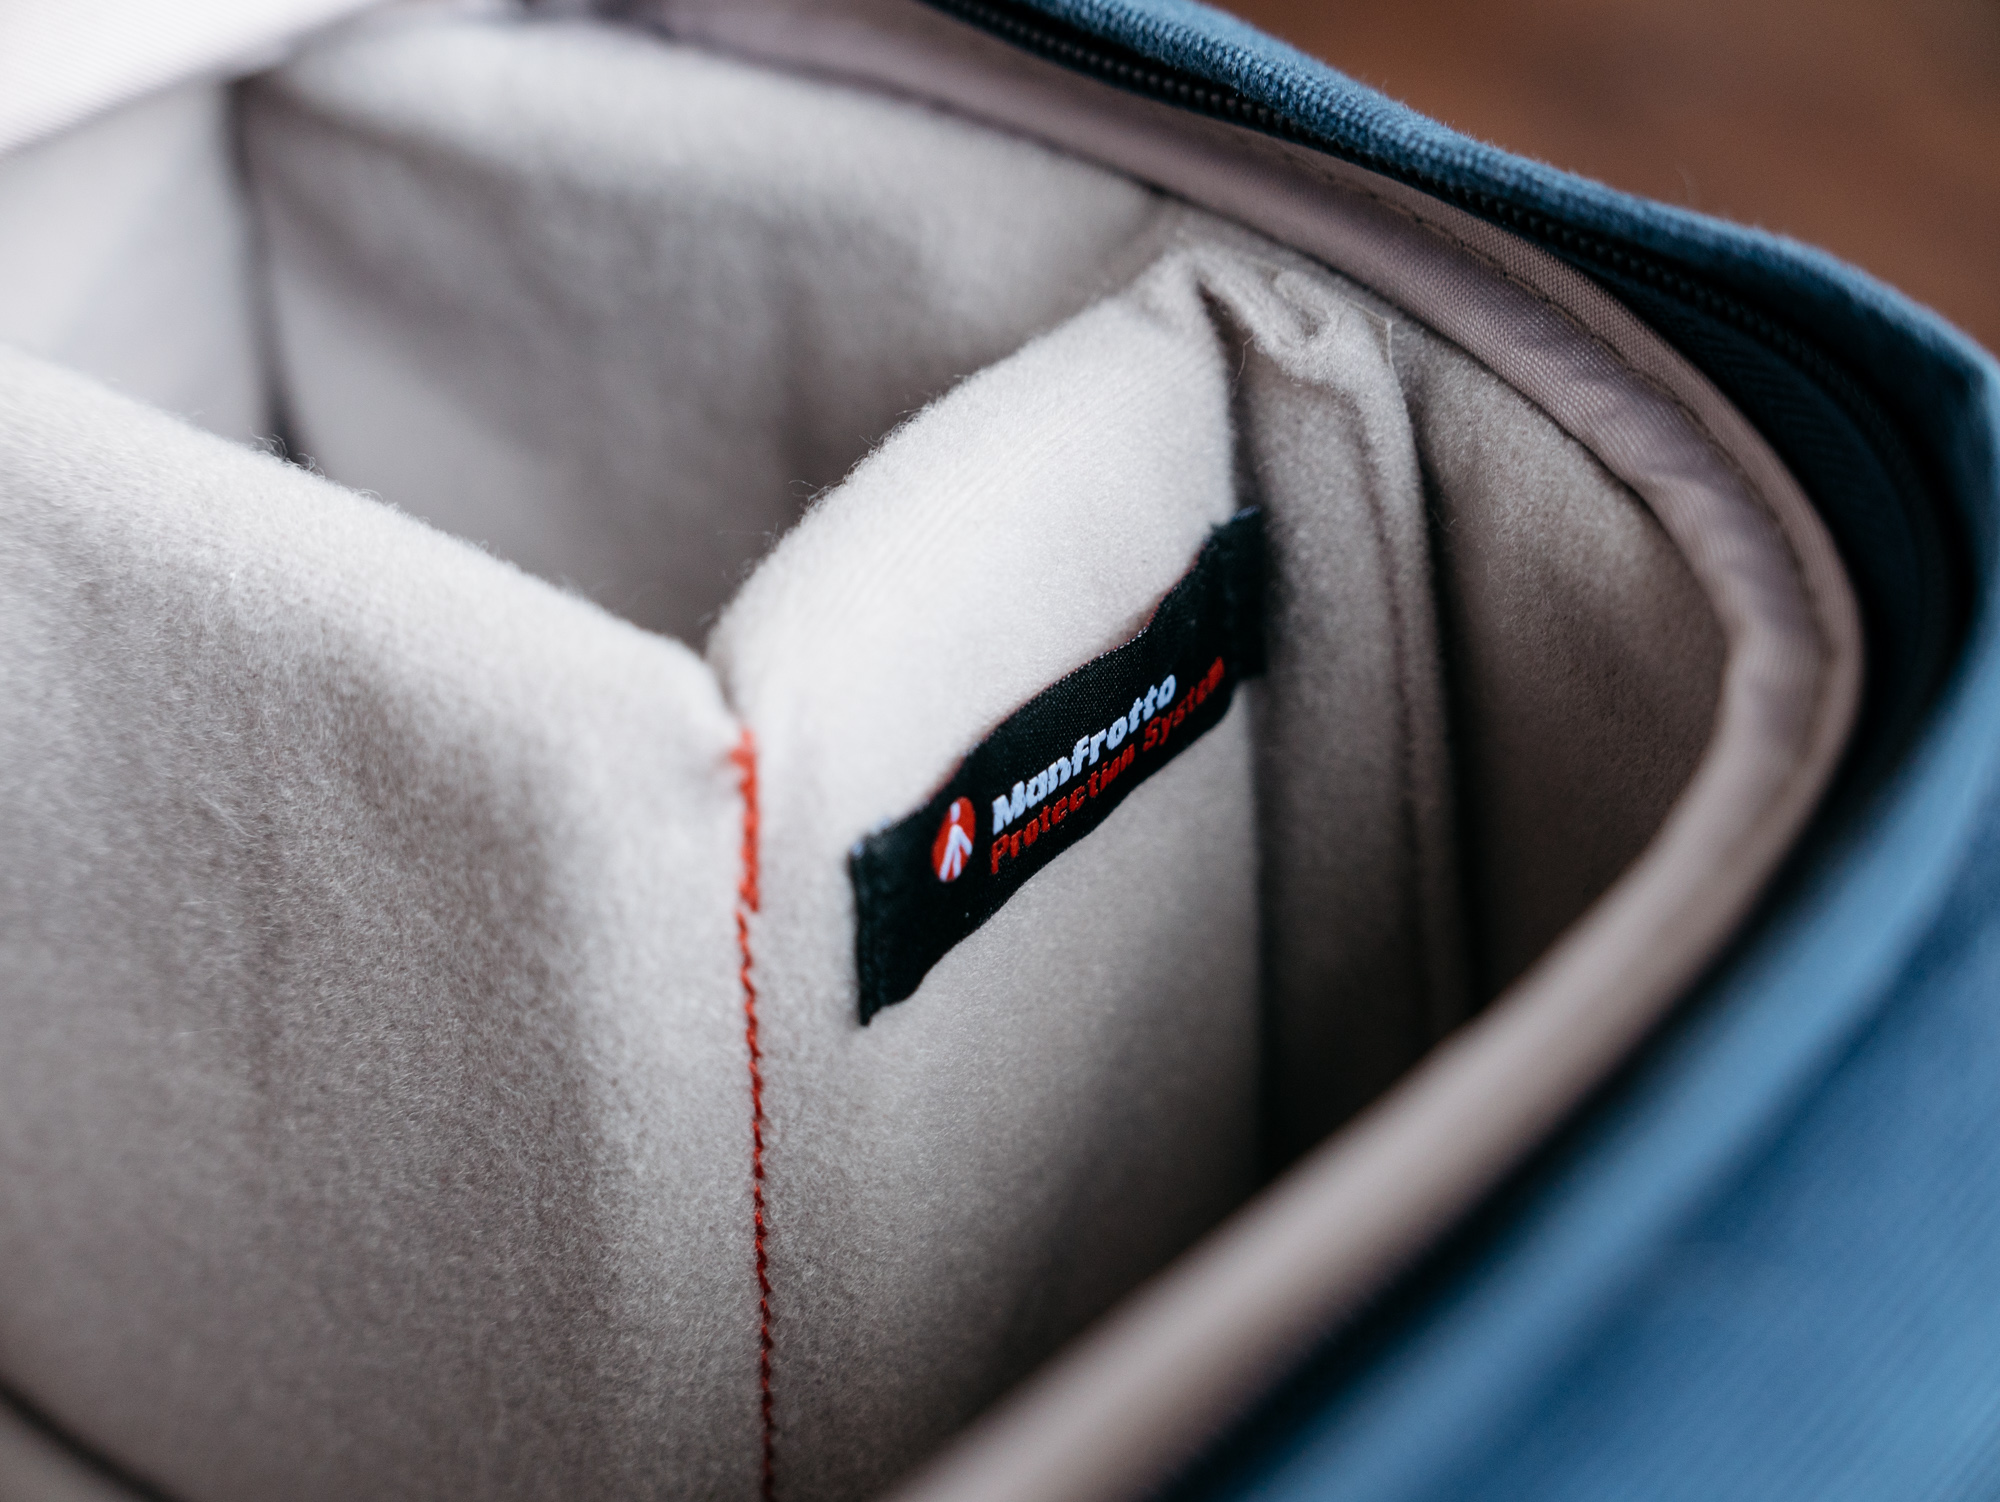
The camera dividers are actually Manfrotto-braded.

If you're not a photographer (or just aren't bringing a DSLR), the entire camera padding bit can come out of the bag.
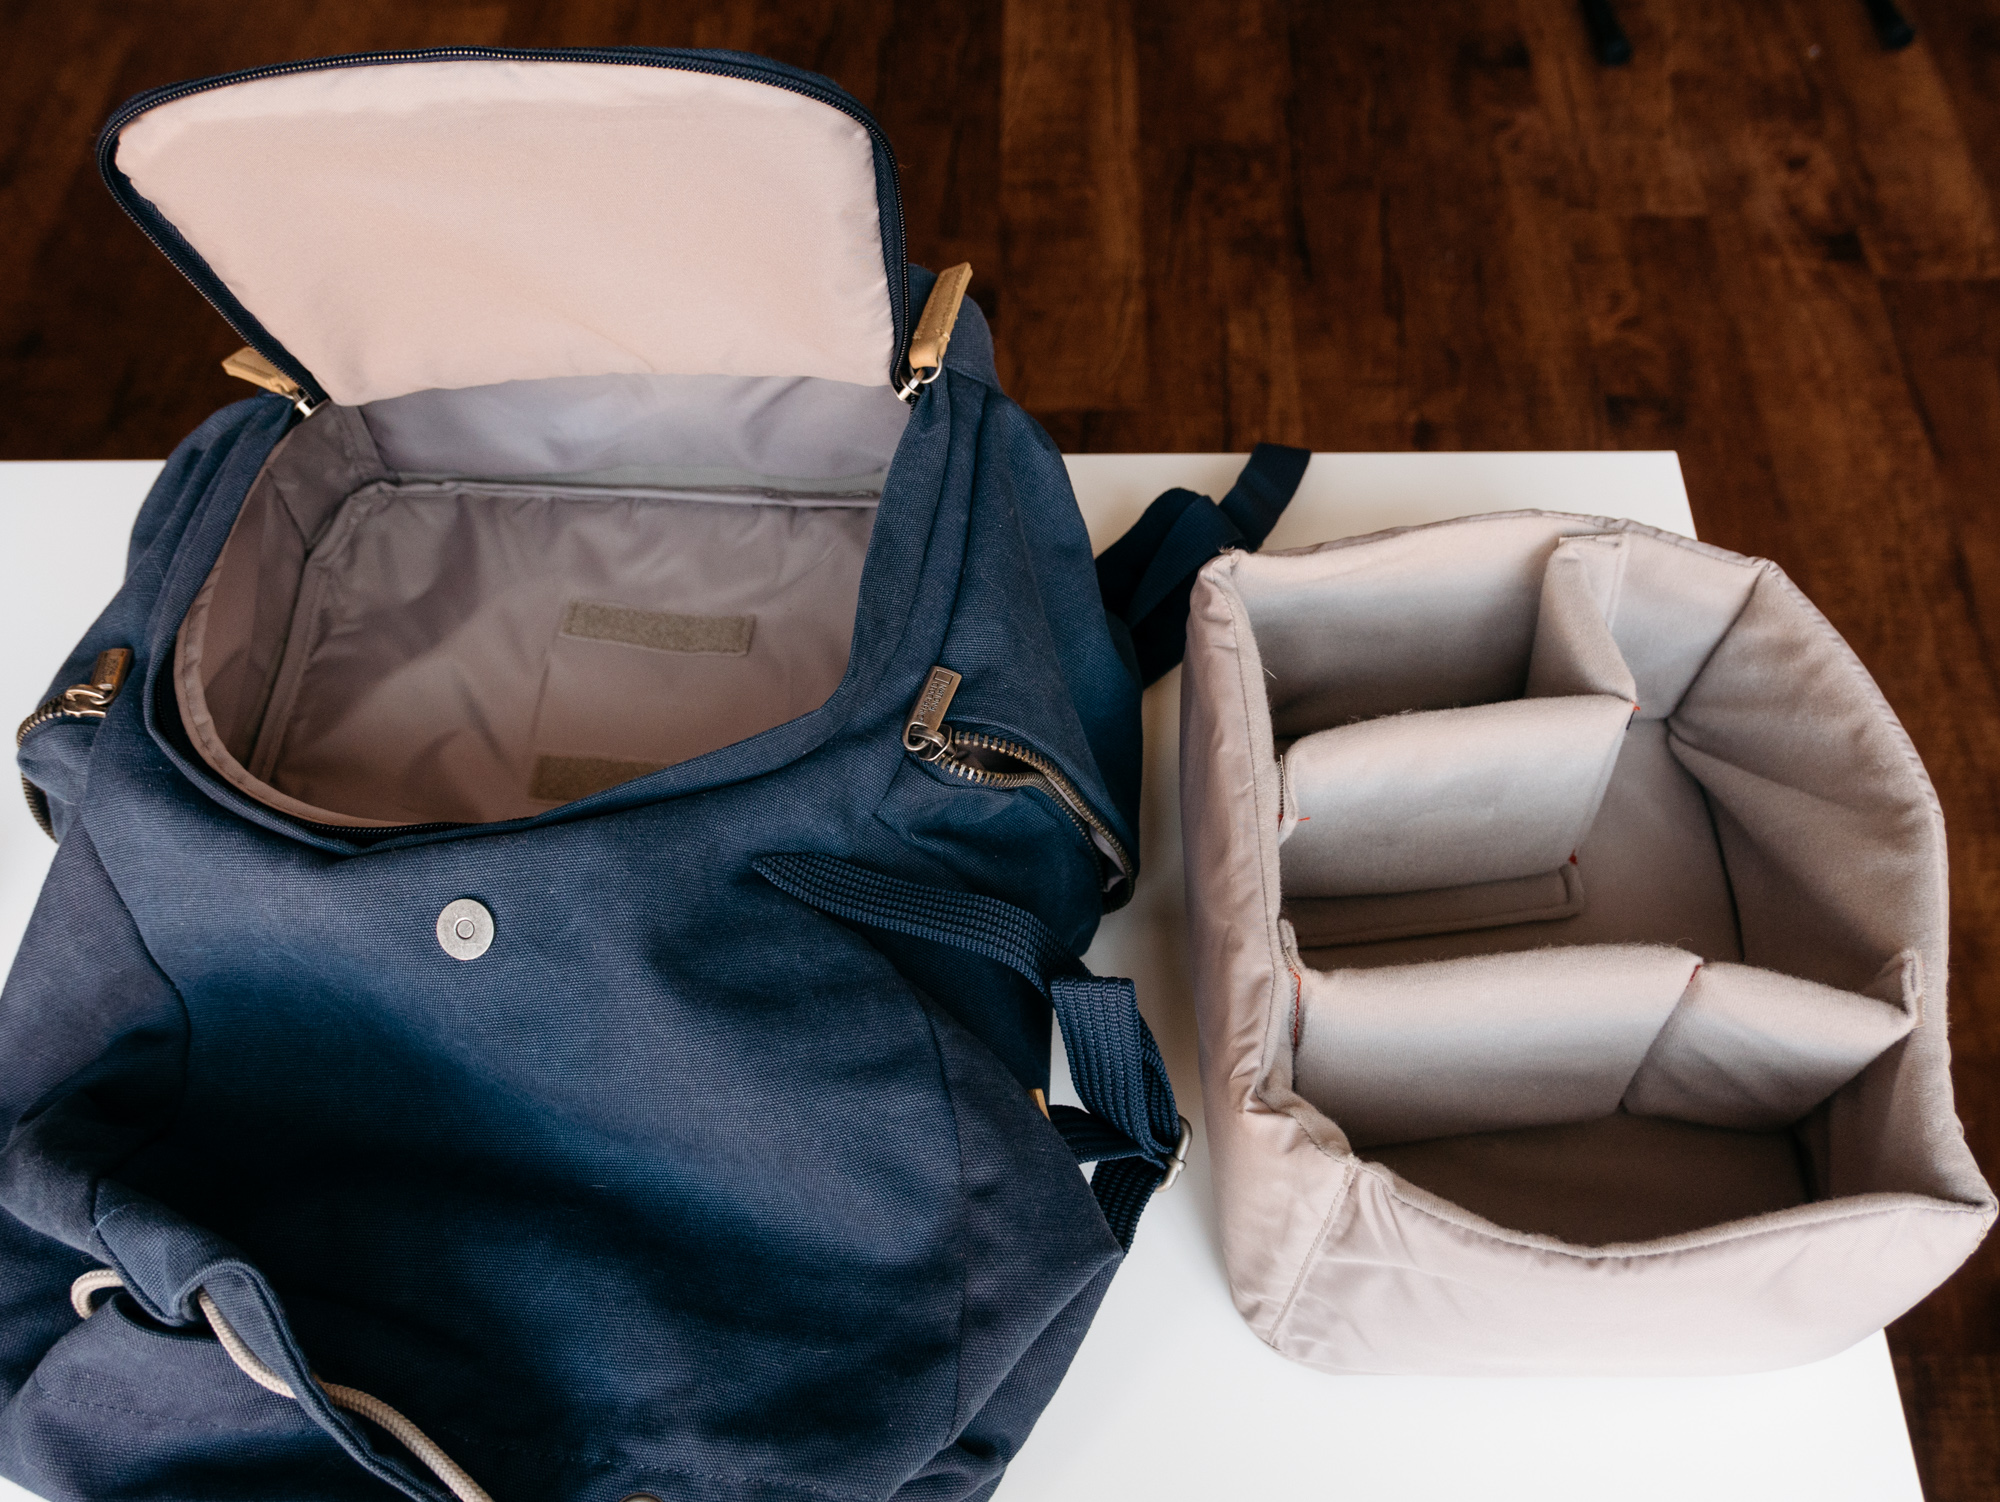
It's just held in by a few strips of velcro at the bottom (and a lot of squishing). So you can have two separate sections for all your stuff.
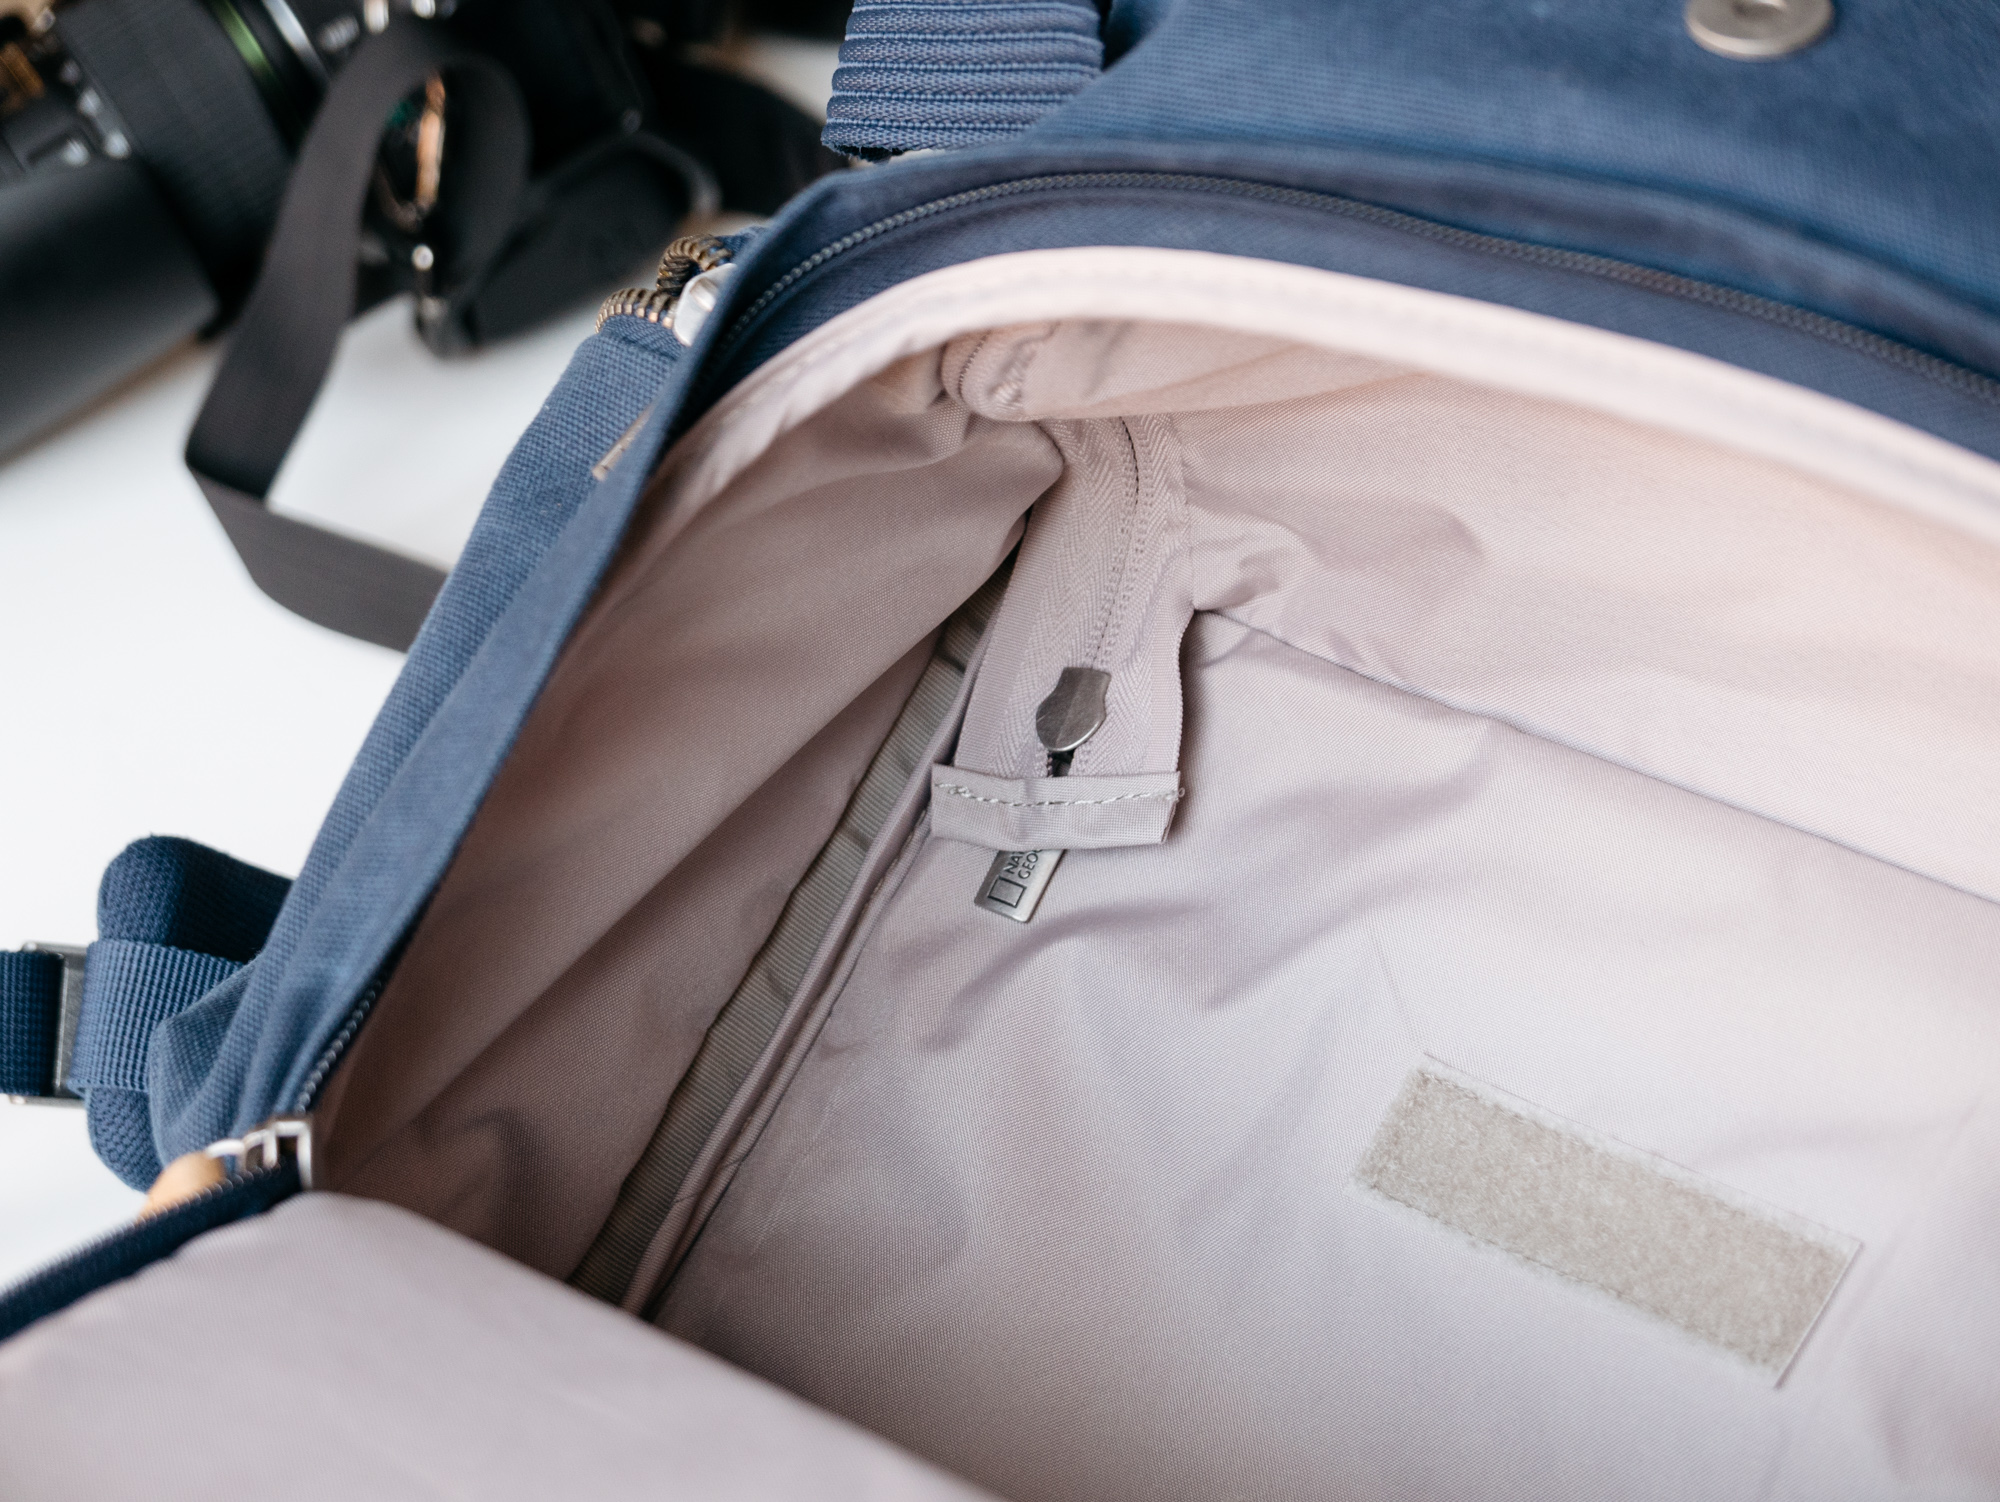
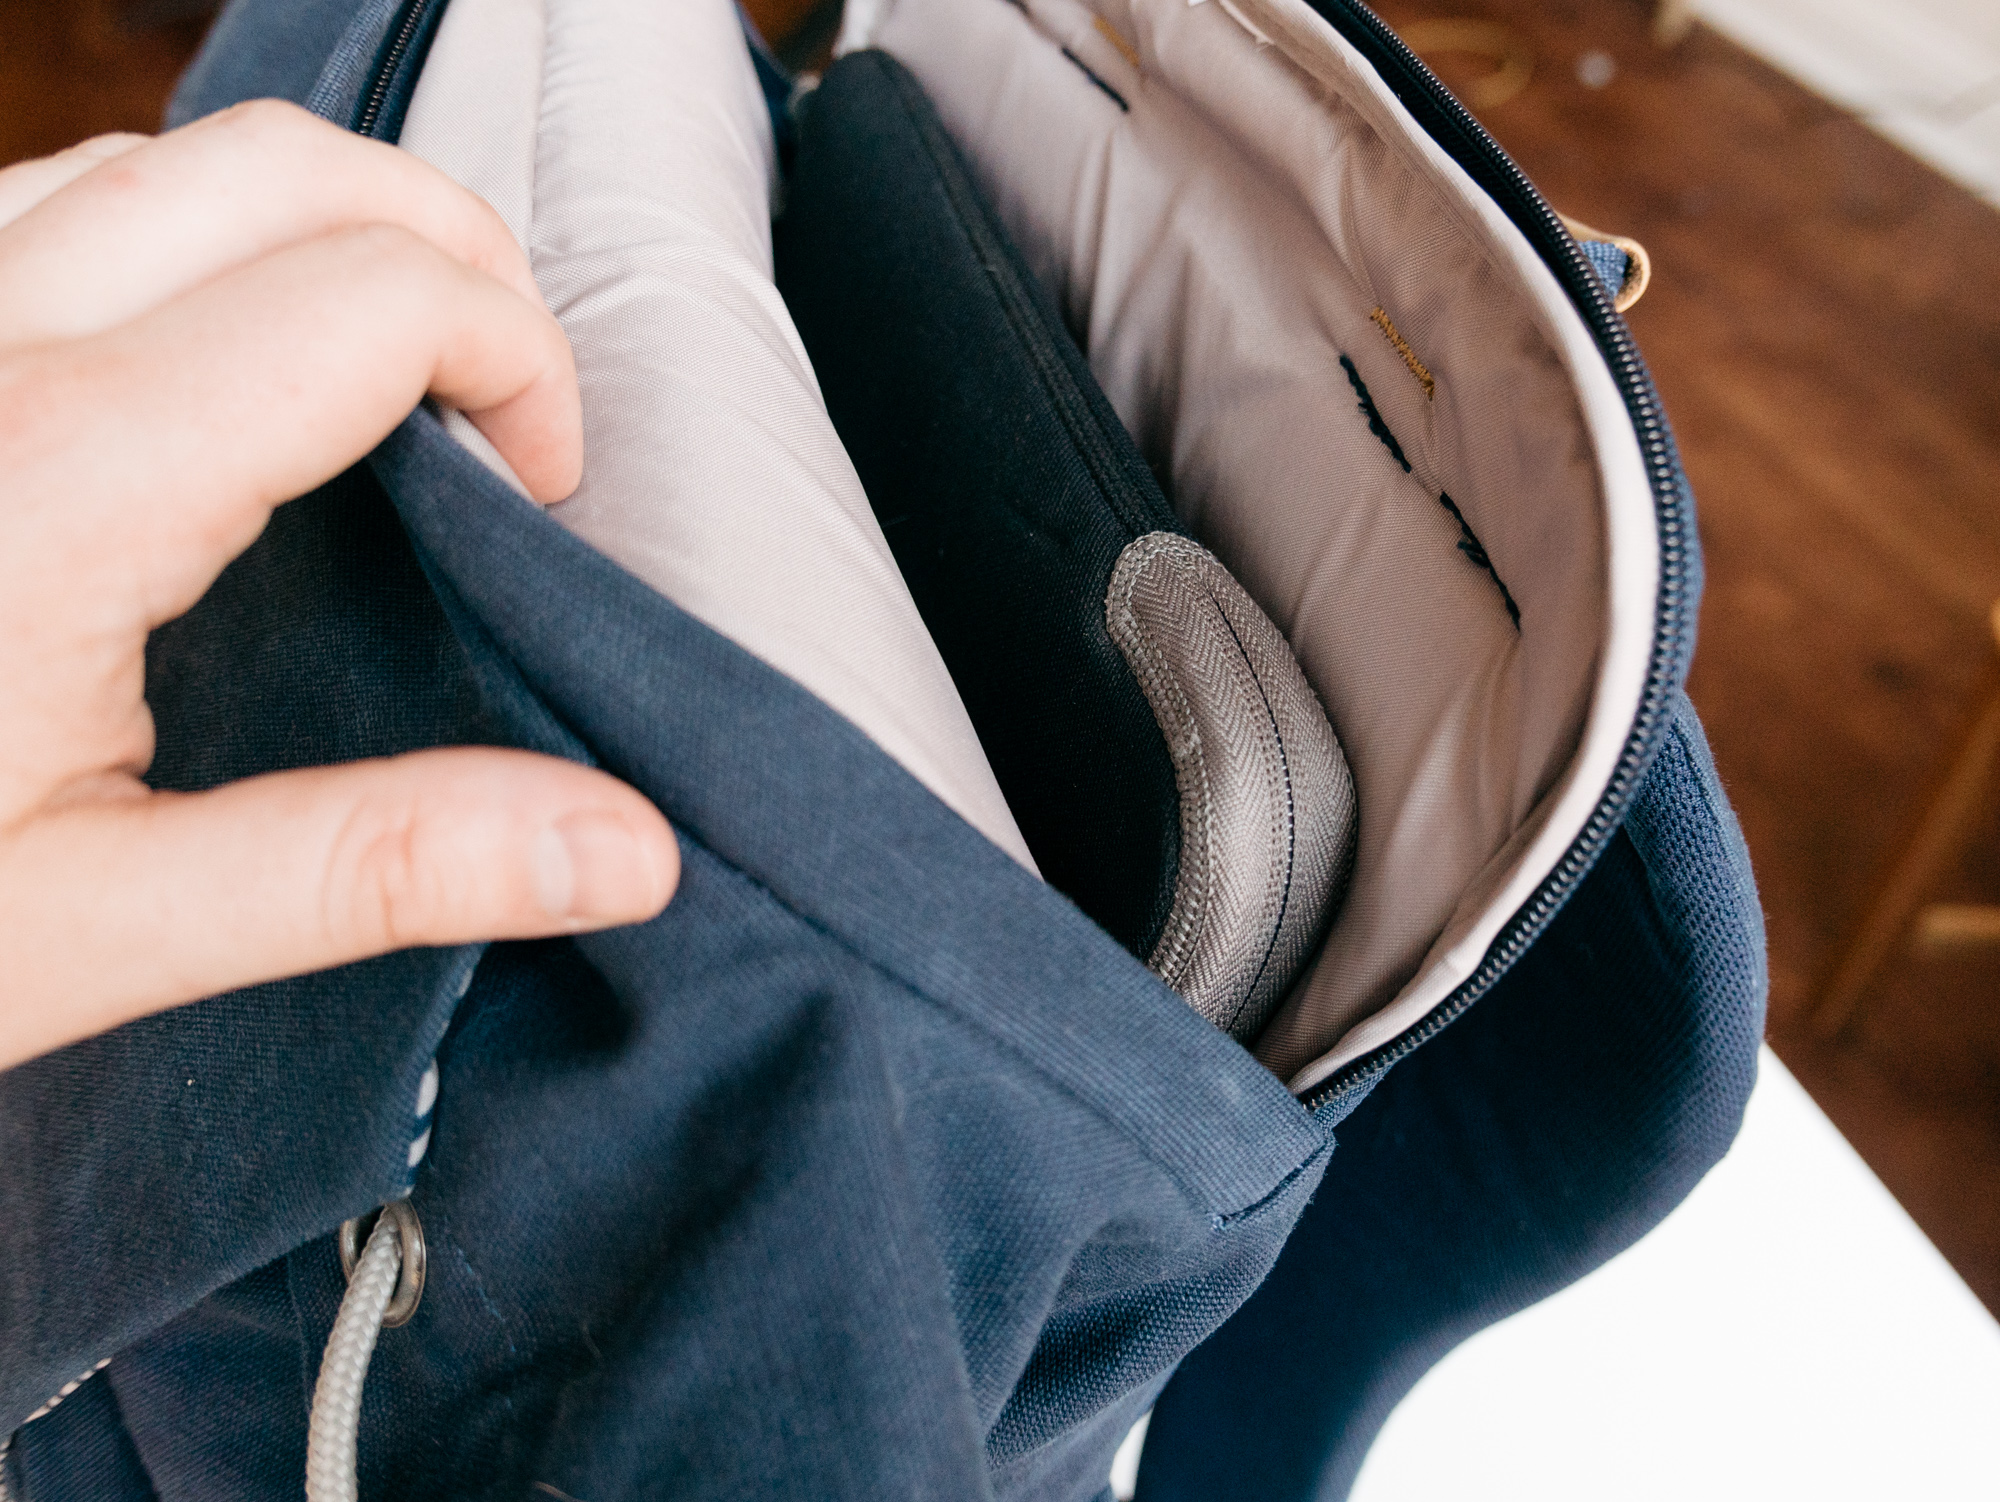
But wait: once you take out the camera divider there seems to be a zipper...
You can unzip the middle divider and turn the bag into one big space, like a normal backpack, if you need to carry something big and bulky. I don't do this much, but it's great to have the option!
That's about it for the bag itself. Let's pack it!
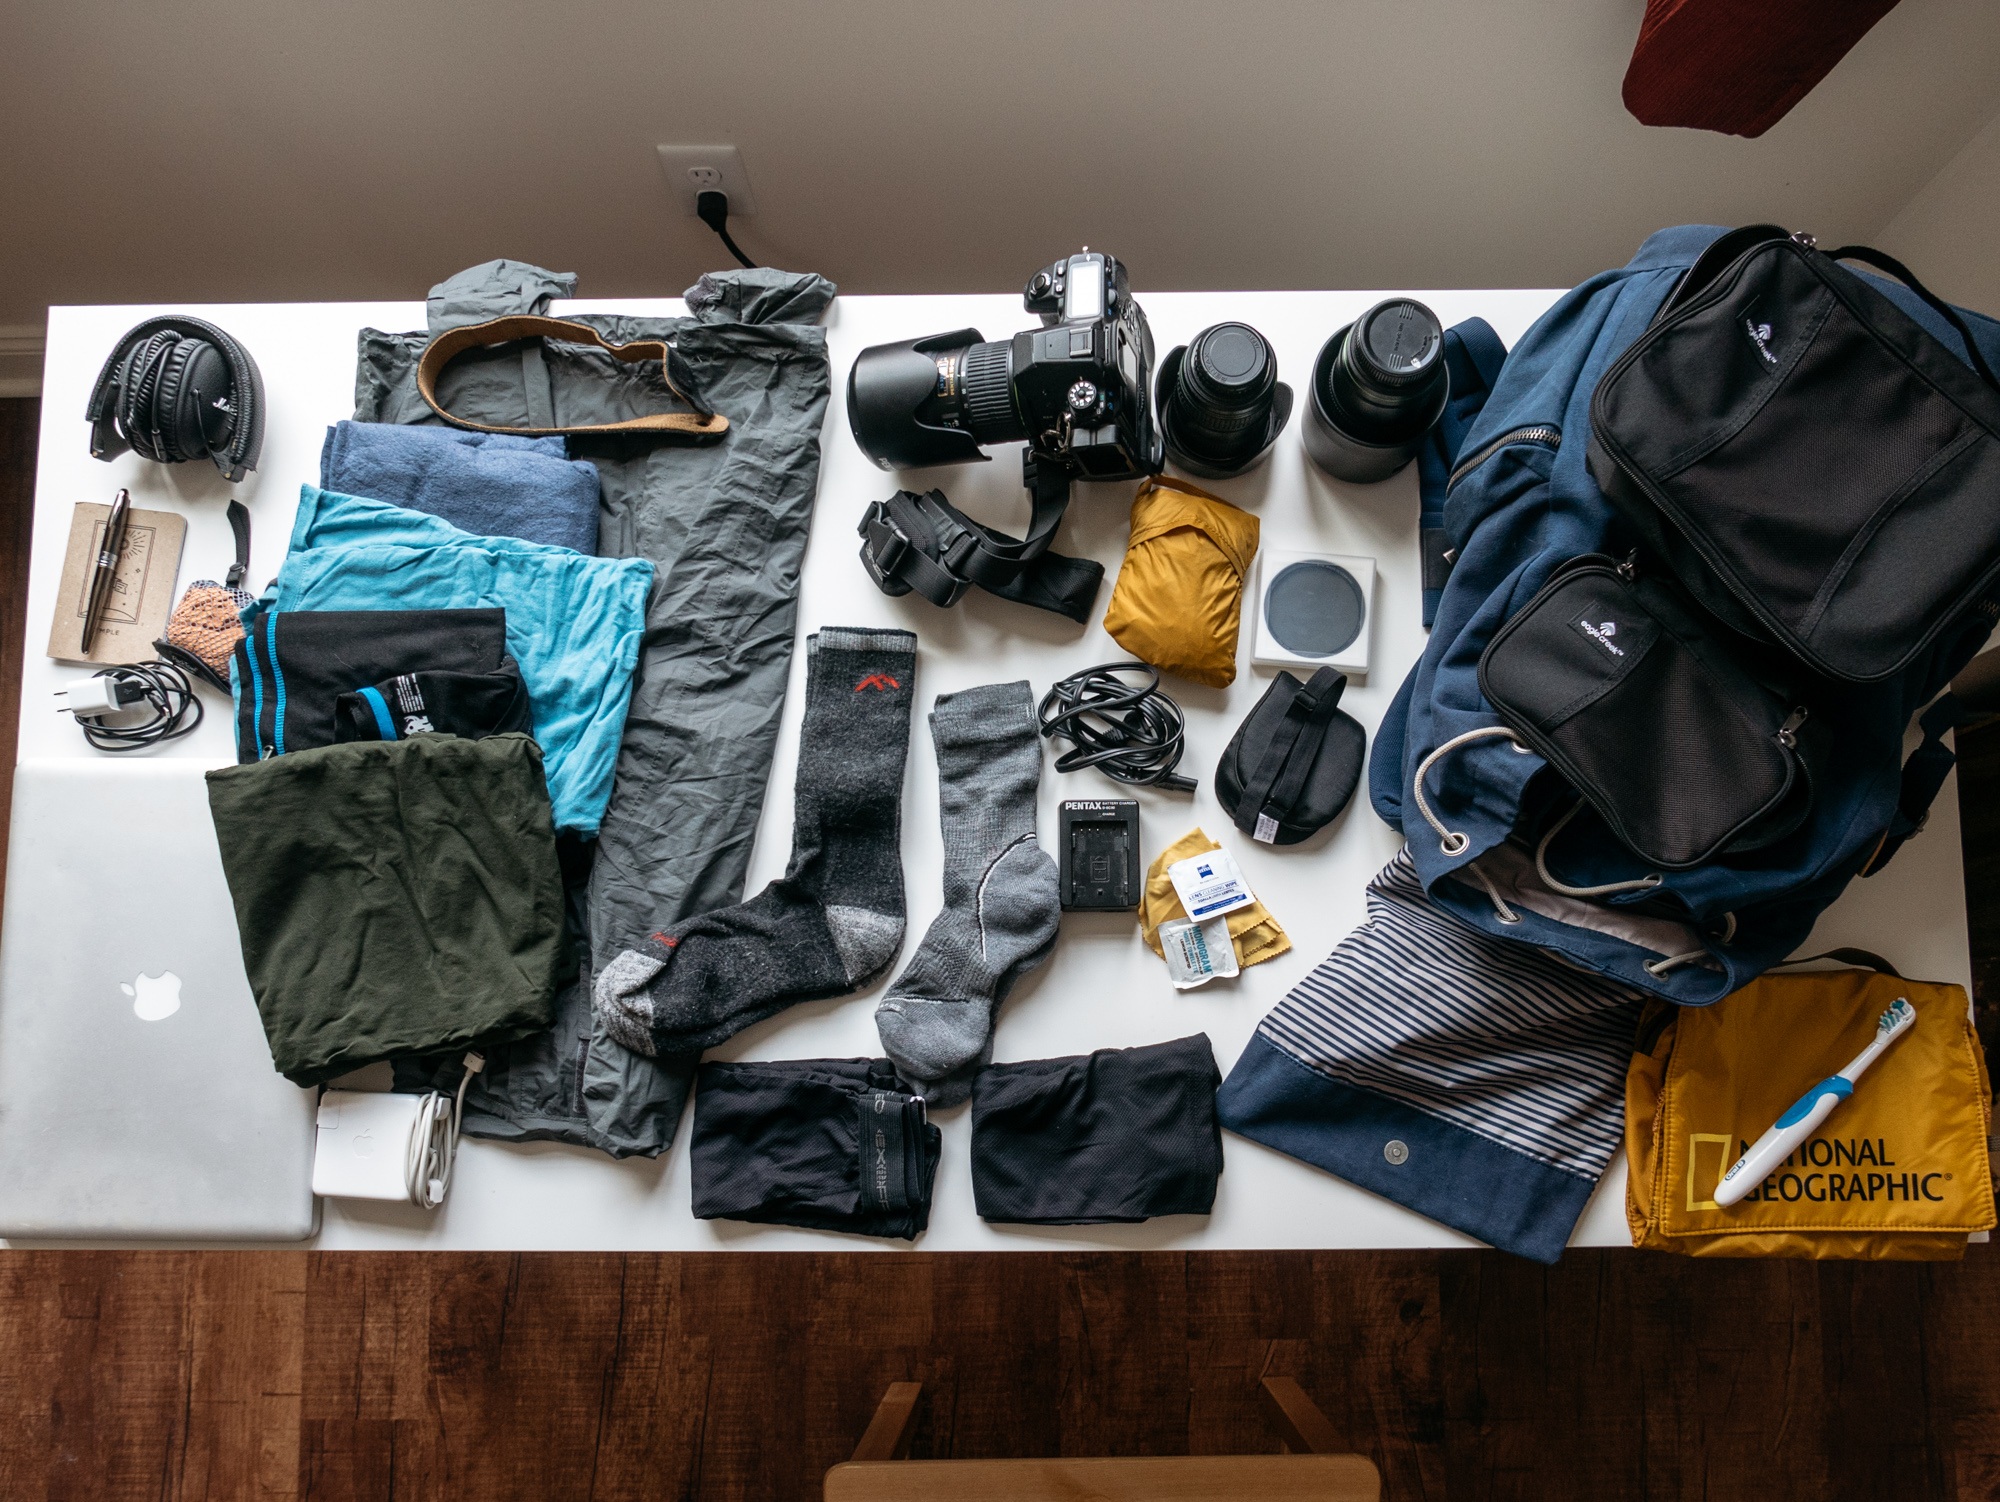
I'm going to pack a lot of stuff into it here to give you an idea of the maximum the bag will hold. I wouldn't normally take all this on a weekend trip, but if you're a packrat this bag will let you cram a surprising amount into it.
We'll start with a laptop. There's a separate section for a laptop right against your back.
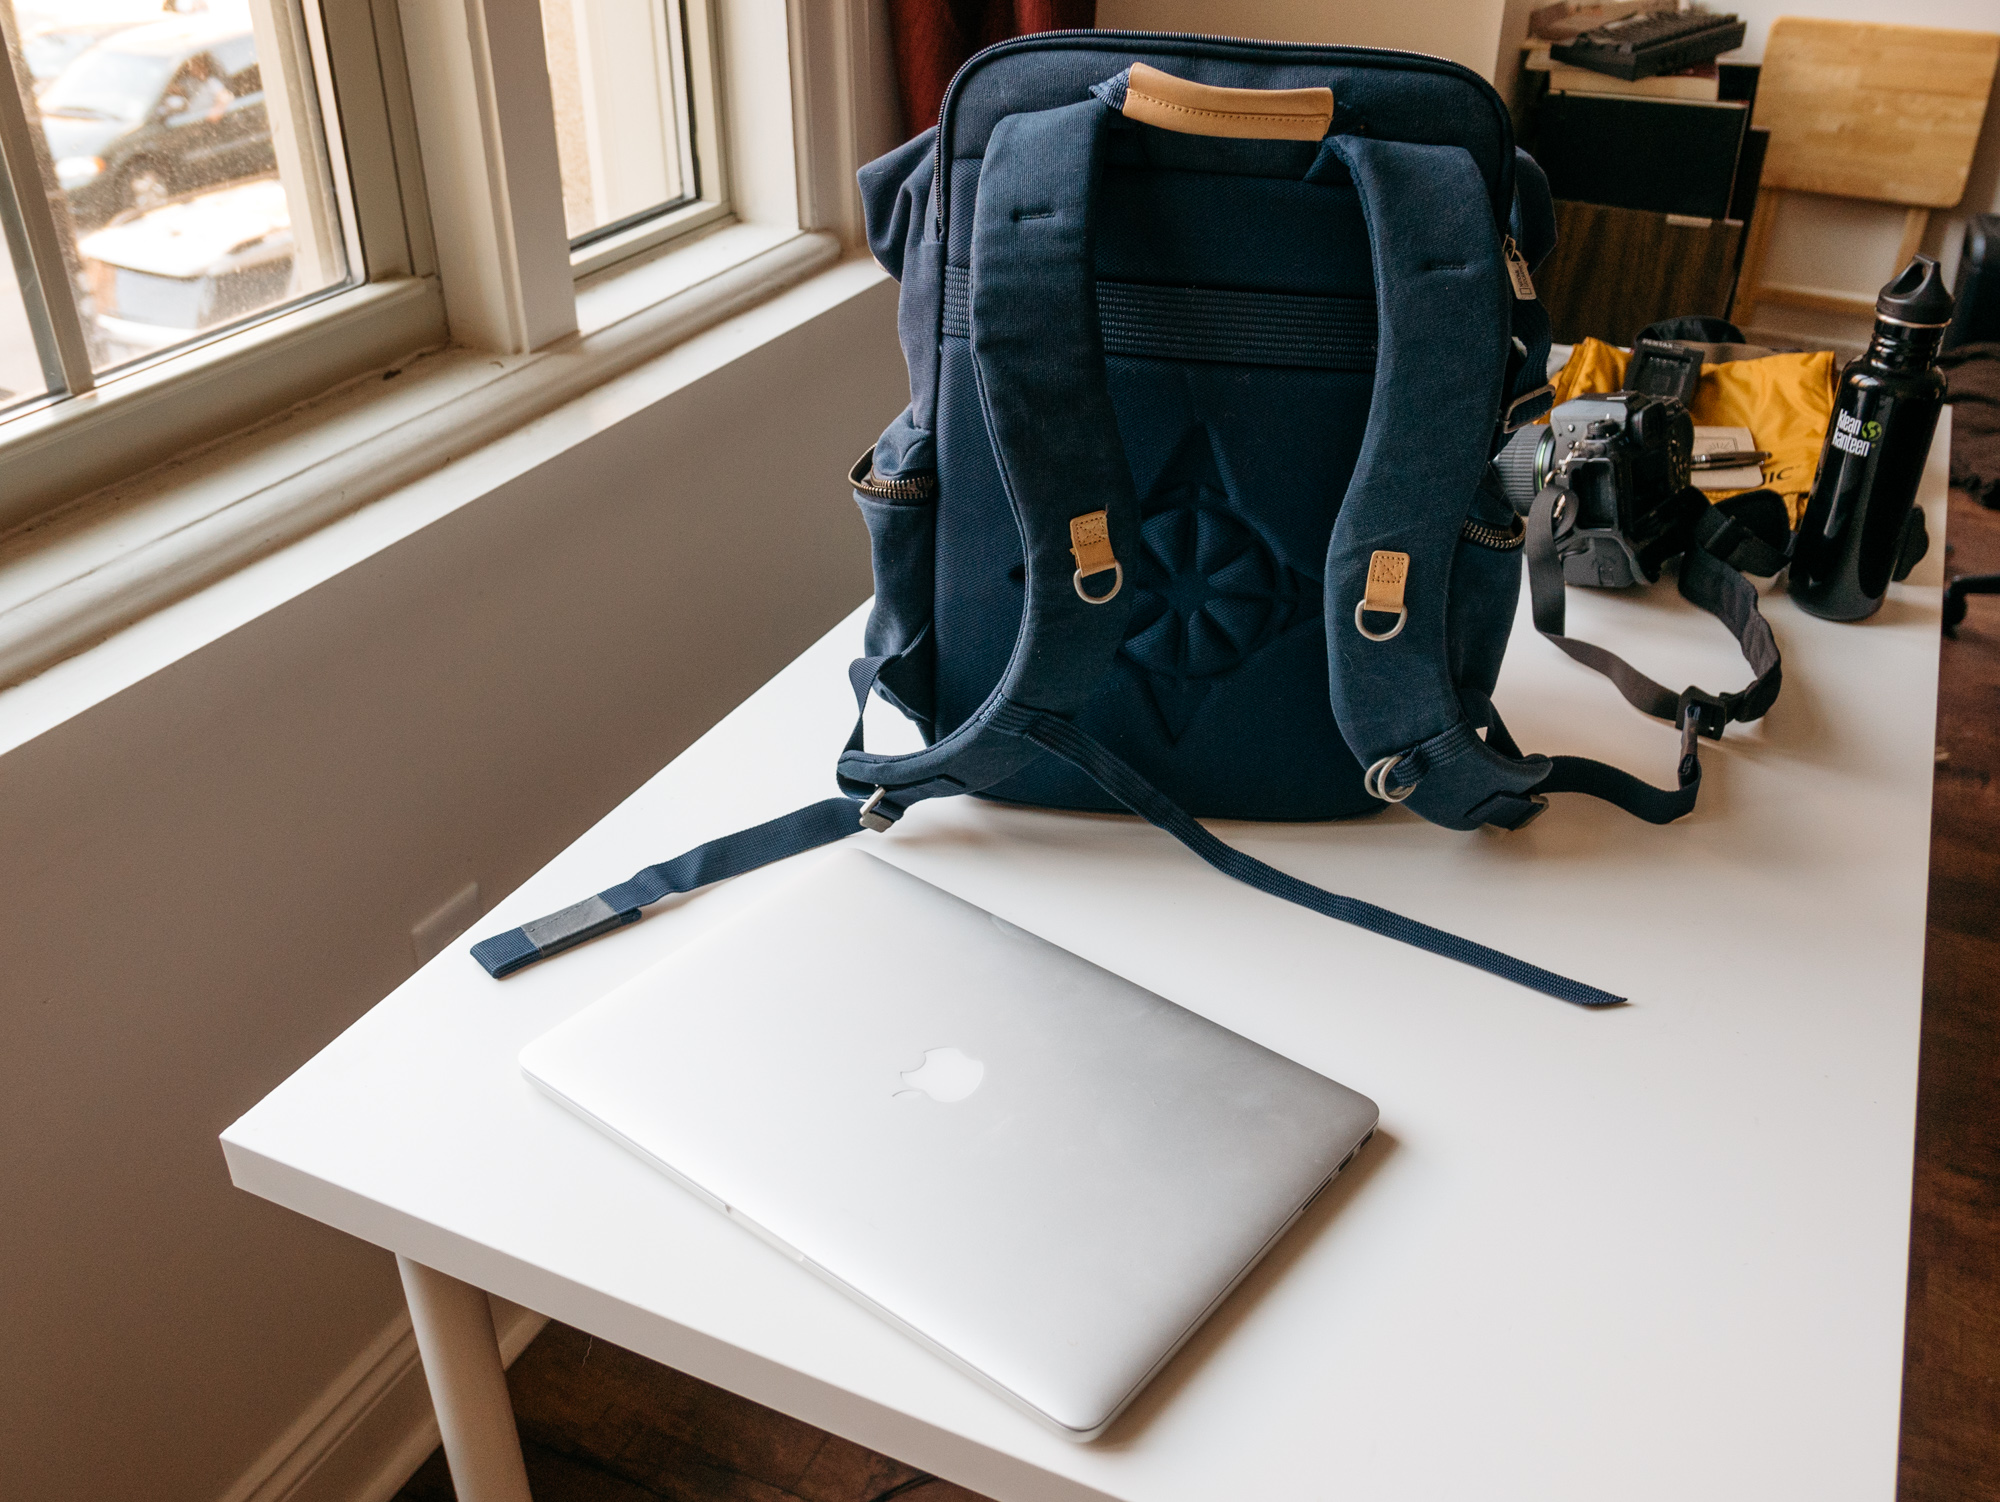
15" Retina Macbook Pro.
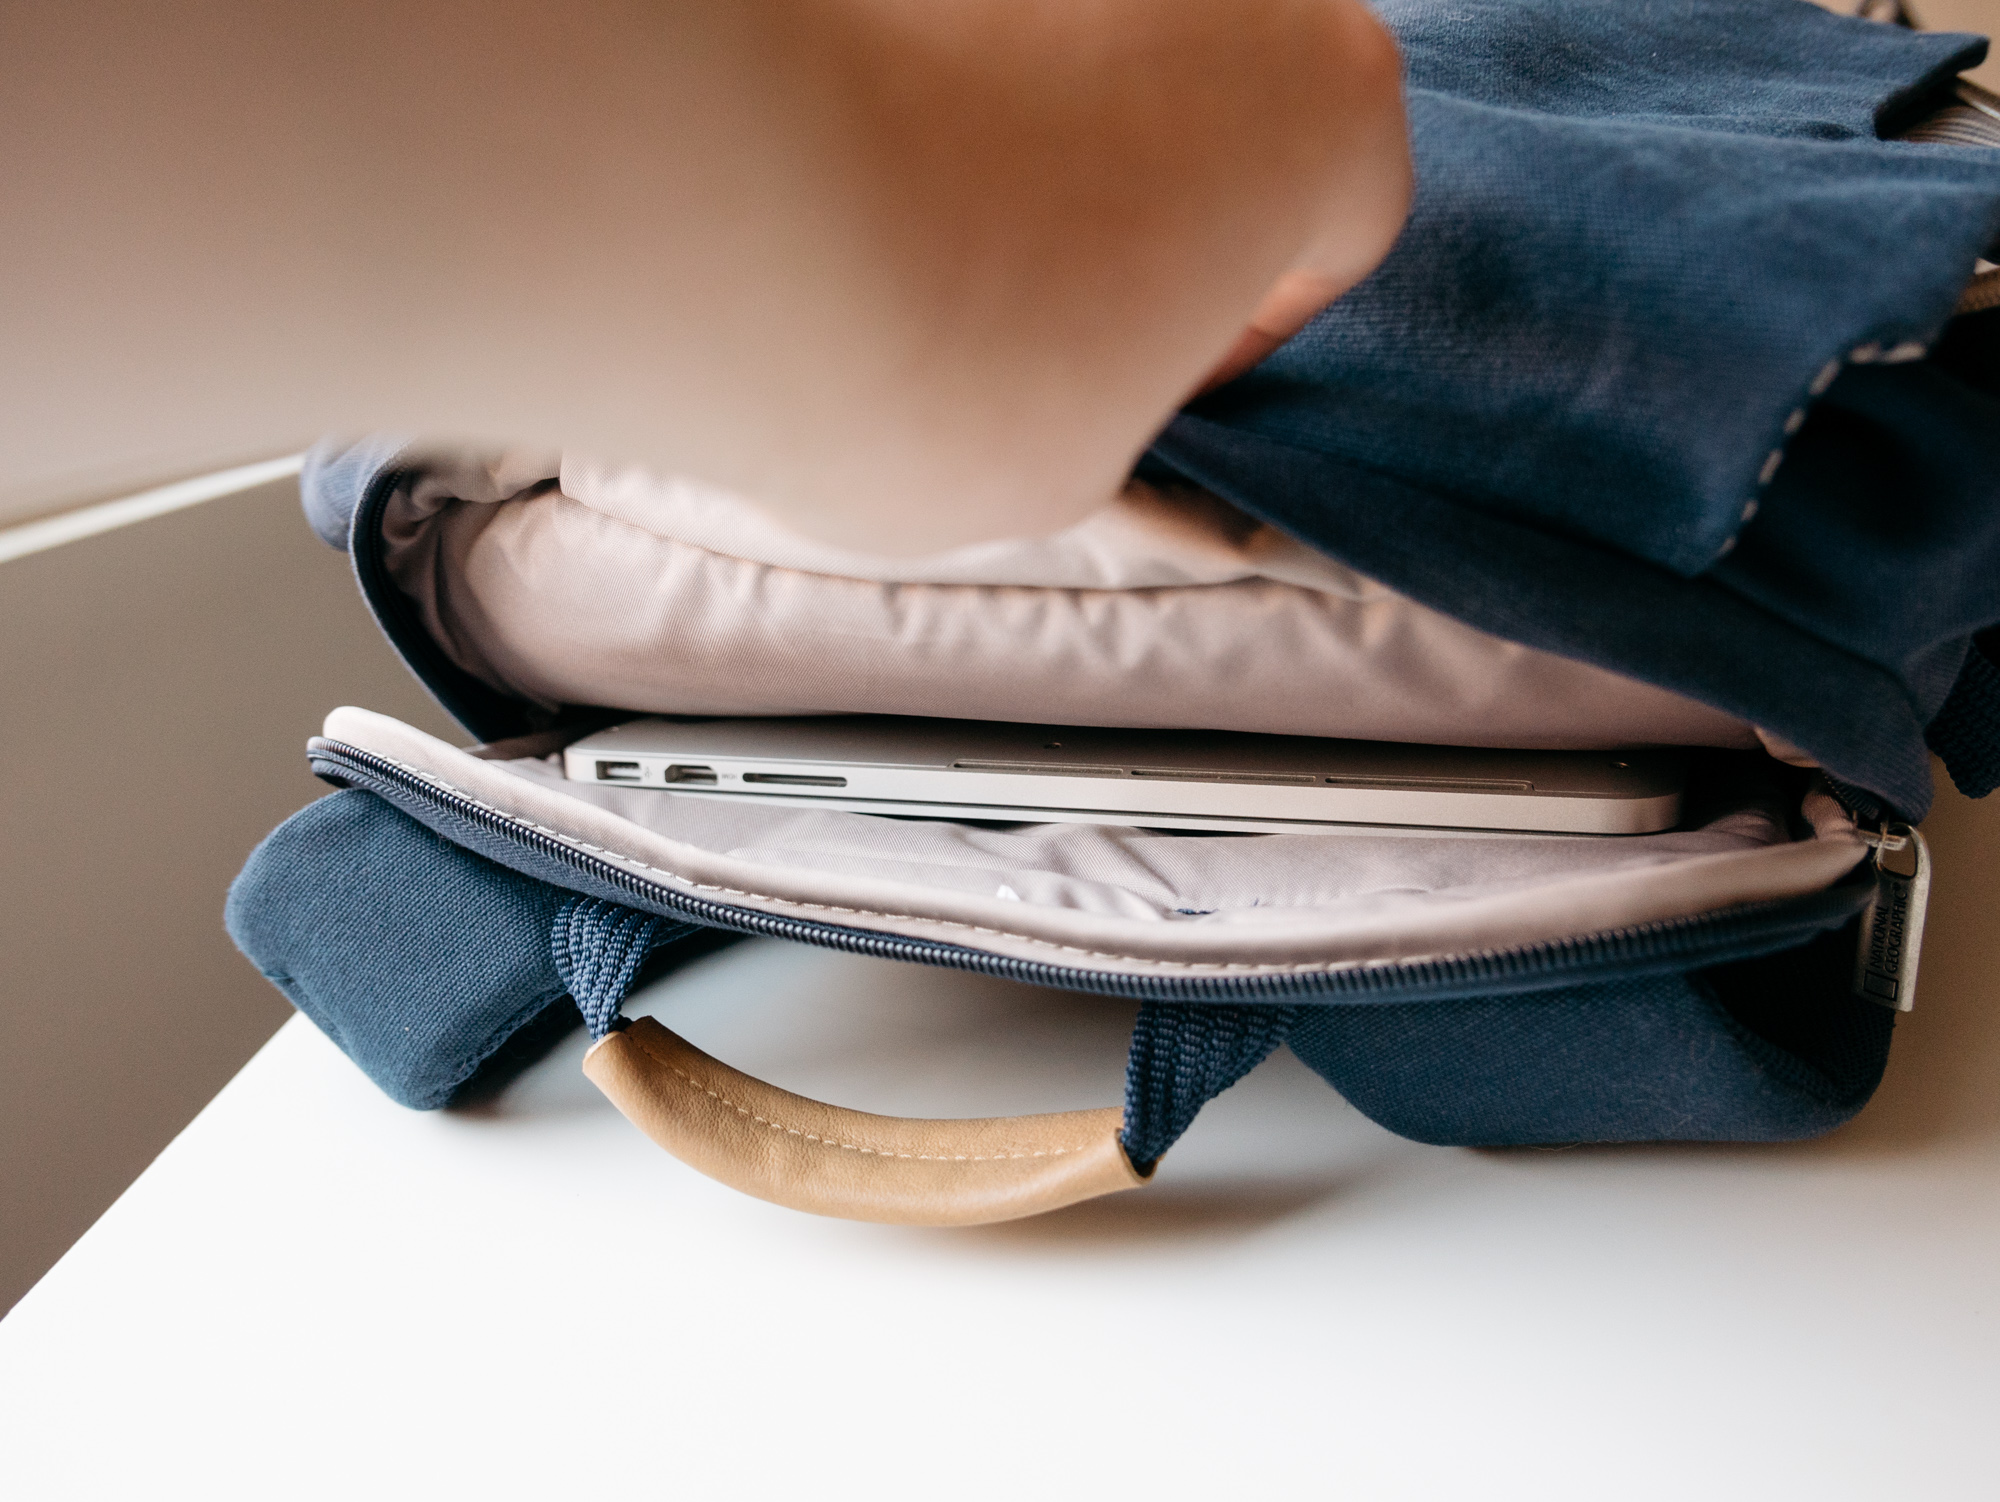
Fits in the laptop pocket with plenty of room to spare. Nat Geo says this bag will hold a 17" laptop and I believe it.
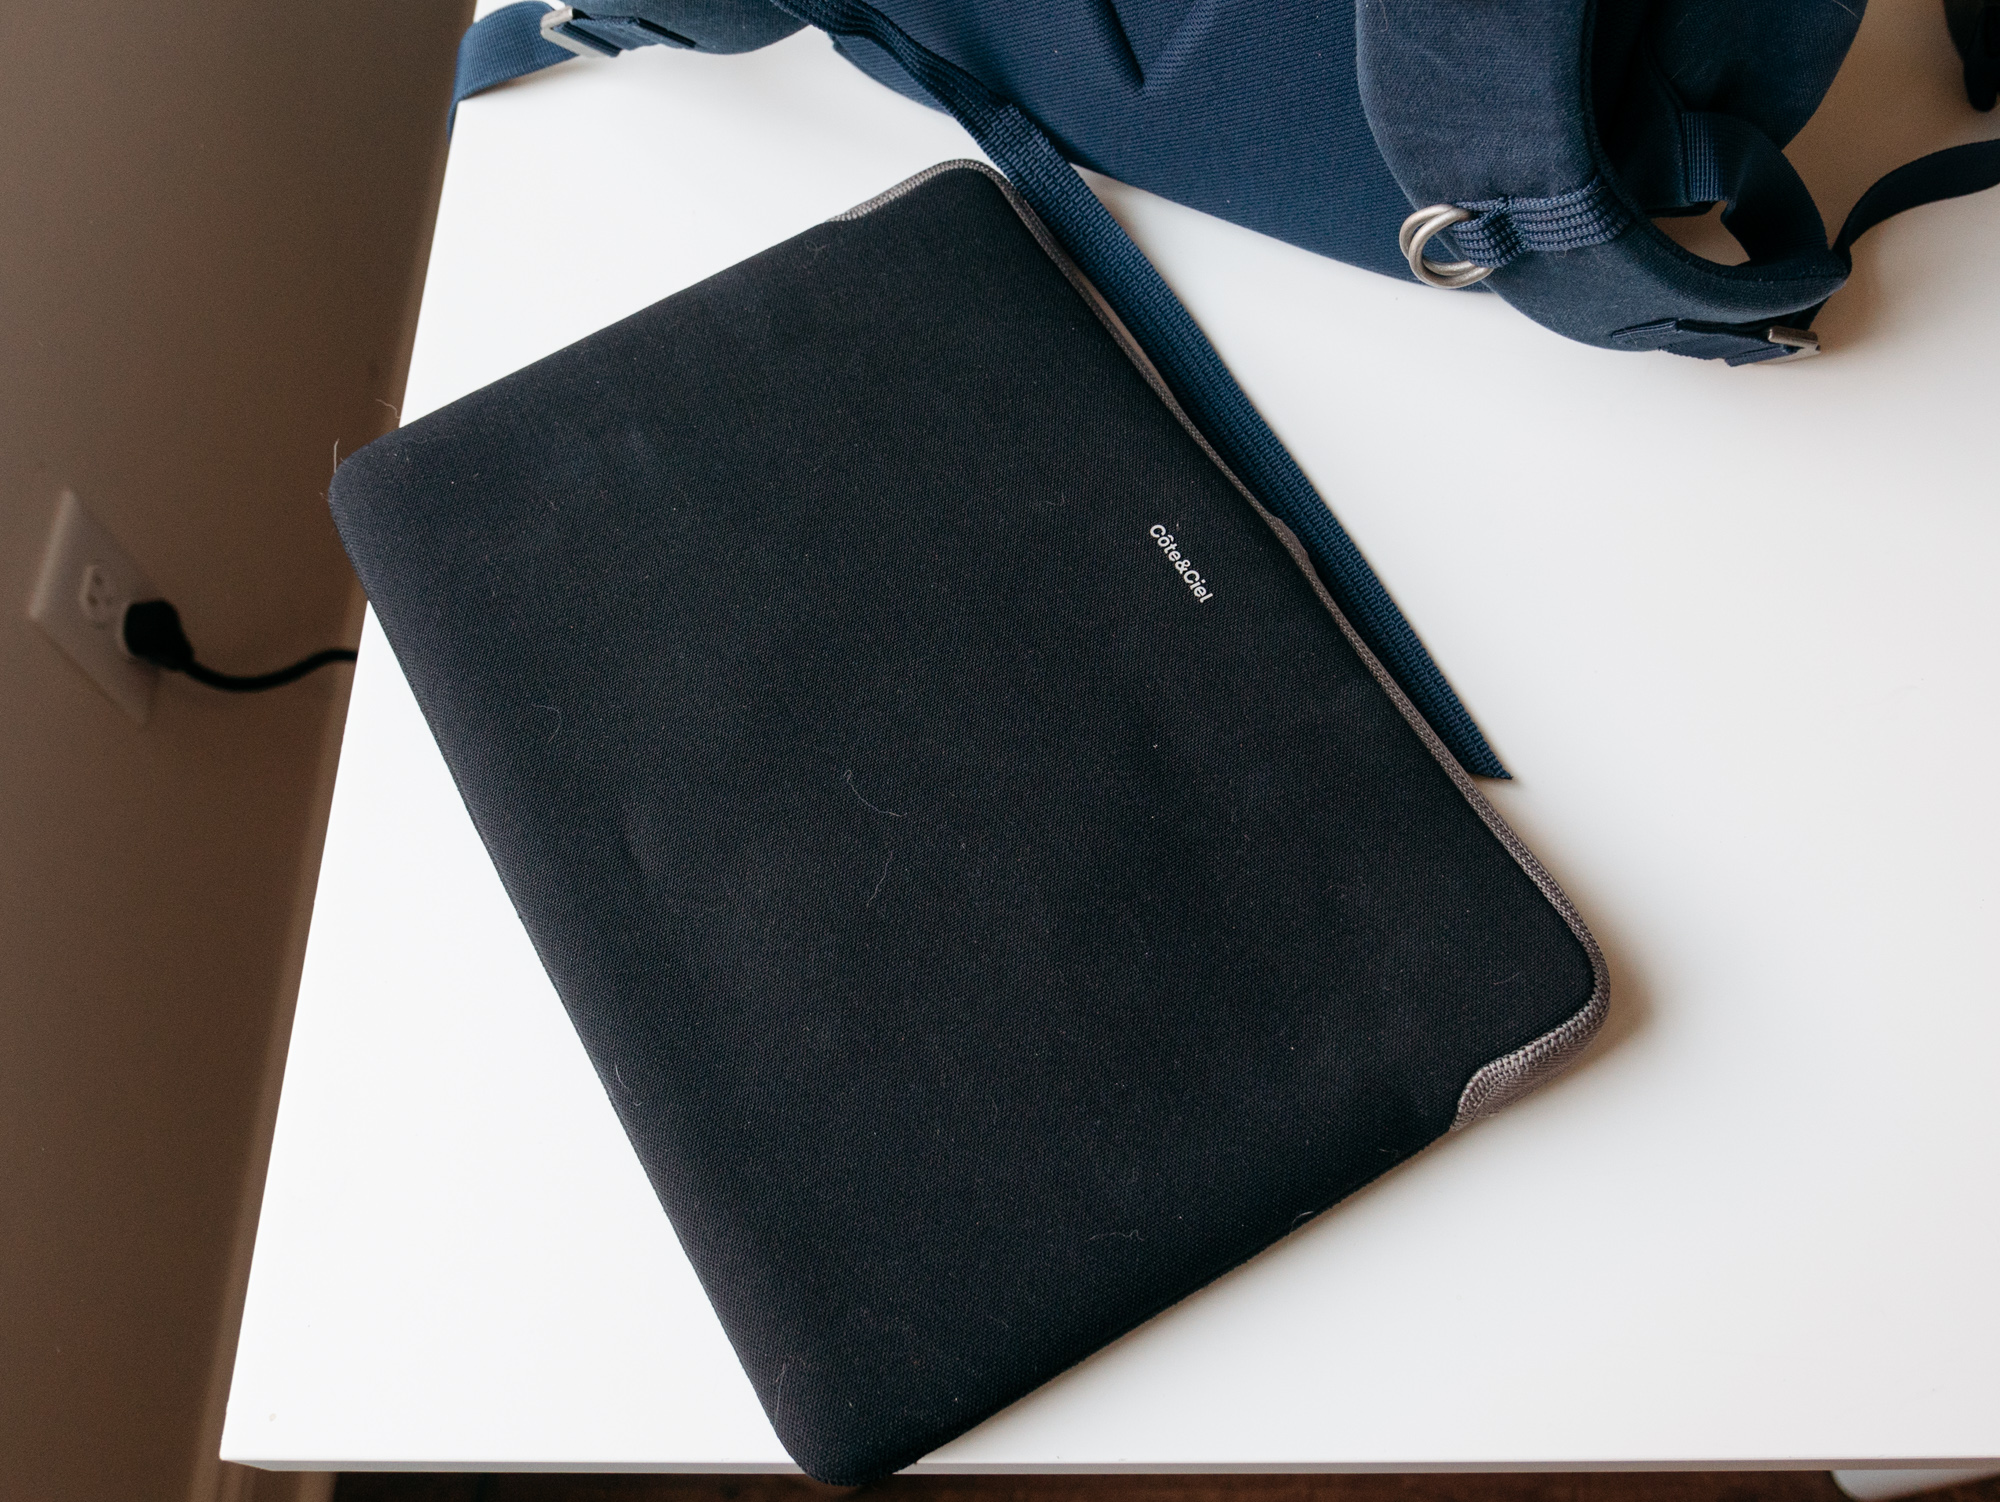
The laptop pocket is nicely padded, but if you want even more protection you could use a laptop sleeve as well.
Sleeved Macbook will fit. I generally don't bother — the pocket has enough padding for me.

Let's load the DSLR. My full kit is usually a gripped, L-plated Pentax K5 II and three lenses: 16-50mm, 50-135mm, and 200mm, all f/2.8 and weather-sealed.
I often leave the 200mm at home to save weight and space.
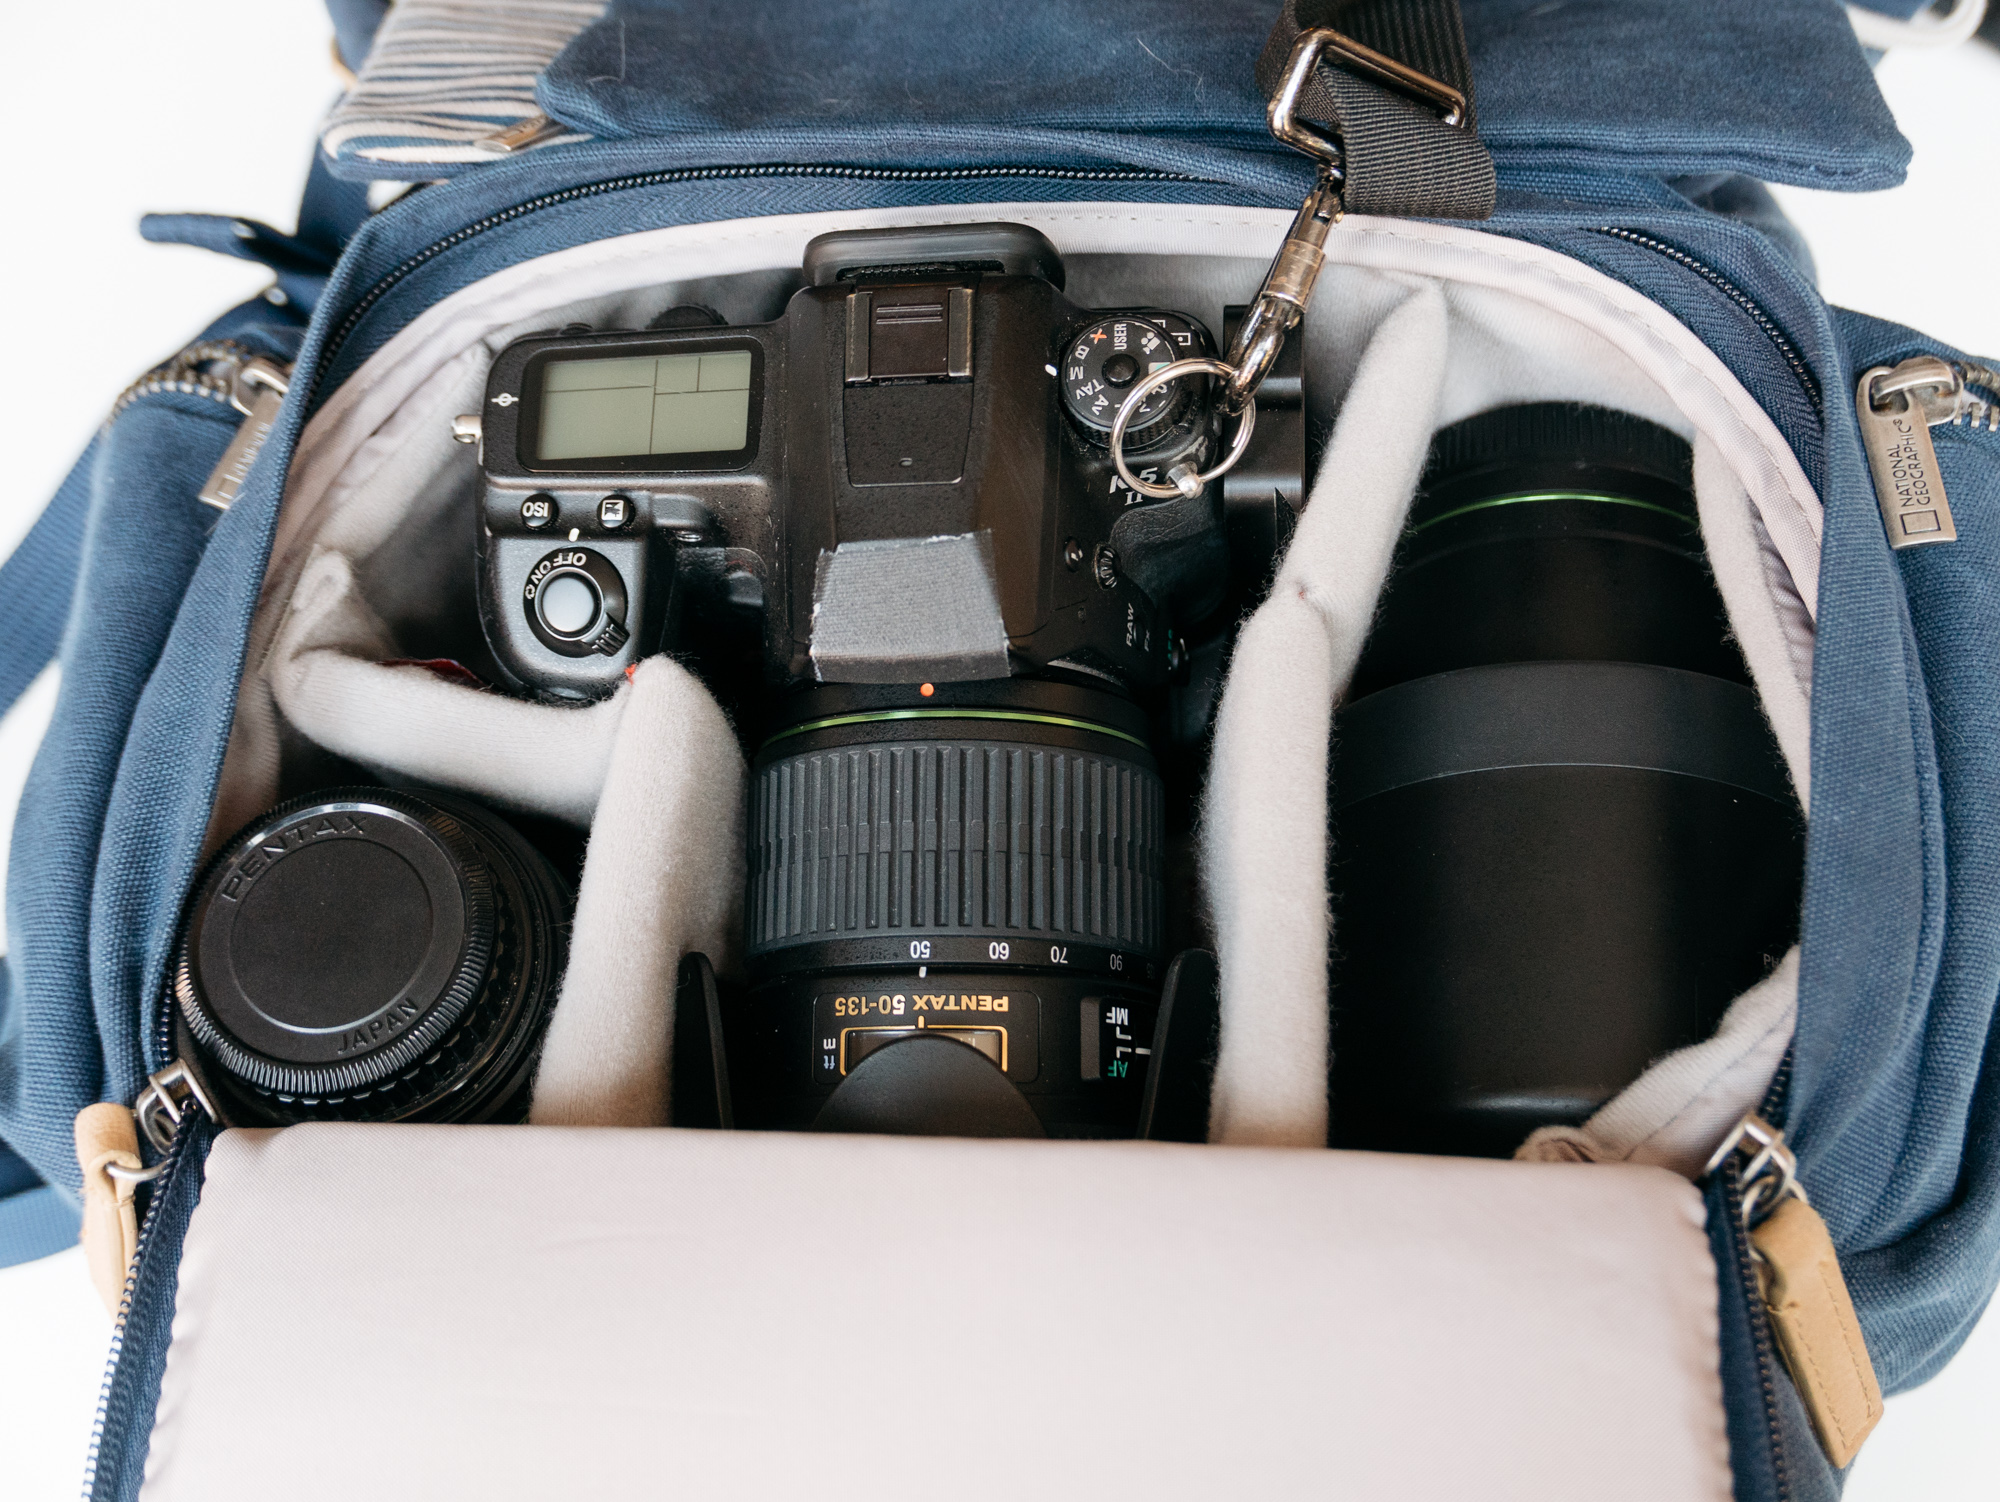
It all fits snugly, with one lens attached to the camera. I'm really happy with this bag because most camera backpacks are either:
- Designed for Football Dad with a Canon Rebel and kit lens, and don't even come close to accommodating a DSLR with a battery grip.
- Designed for Chase Jarvis with two bodies, six lenses, and no room for anything else like clothing.
I really like that this bag lets me carry enough camera for my amateur self, and then lets me carry other stuff (clothes, rain gear, etc) in the rest of the bag.

Zips closed nicely. The top prism of the camera produces a bit of a bump (can't really see it in the photos) but it's not a big deal. If I'm not going to be using a tripod or monopod I'll remove the L-plate and the bump goes away.

Time for the rest of the bag! I'll show an example of stuff I'd take on a weekend trip (though again: I'll lean towards packing too much to show you the limits of the bag).
First off: two shirts, two pairs of socks, two pairs of underwear, and hiking pants. Together with the stuff I wear, that's enough for a weekend.
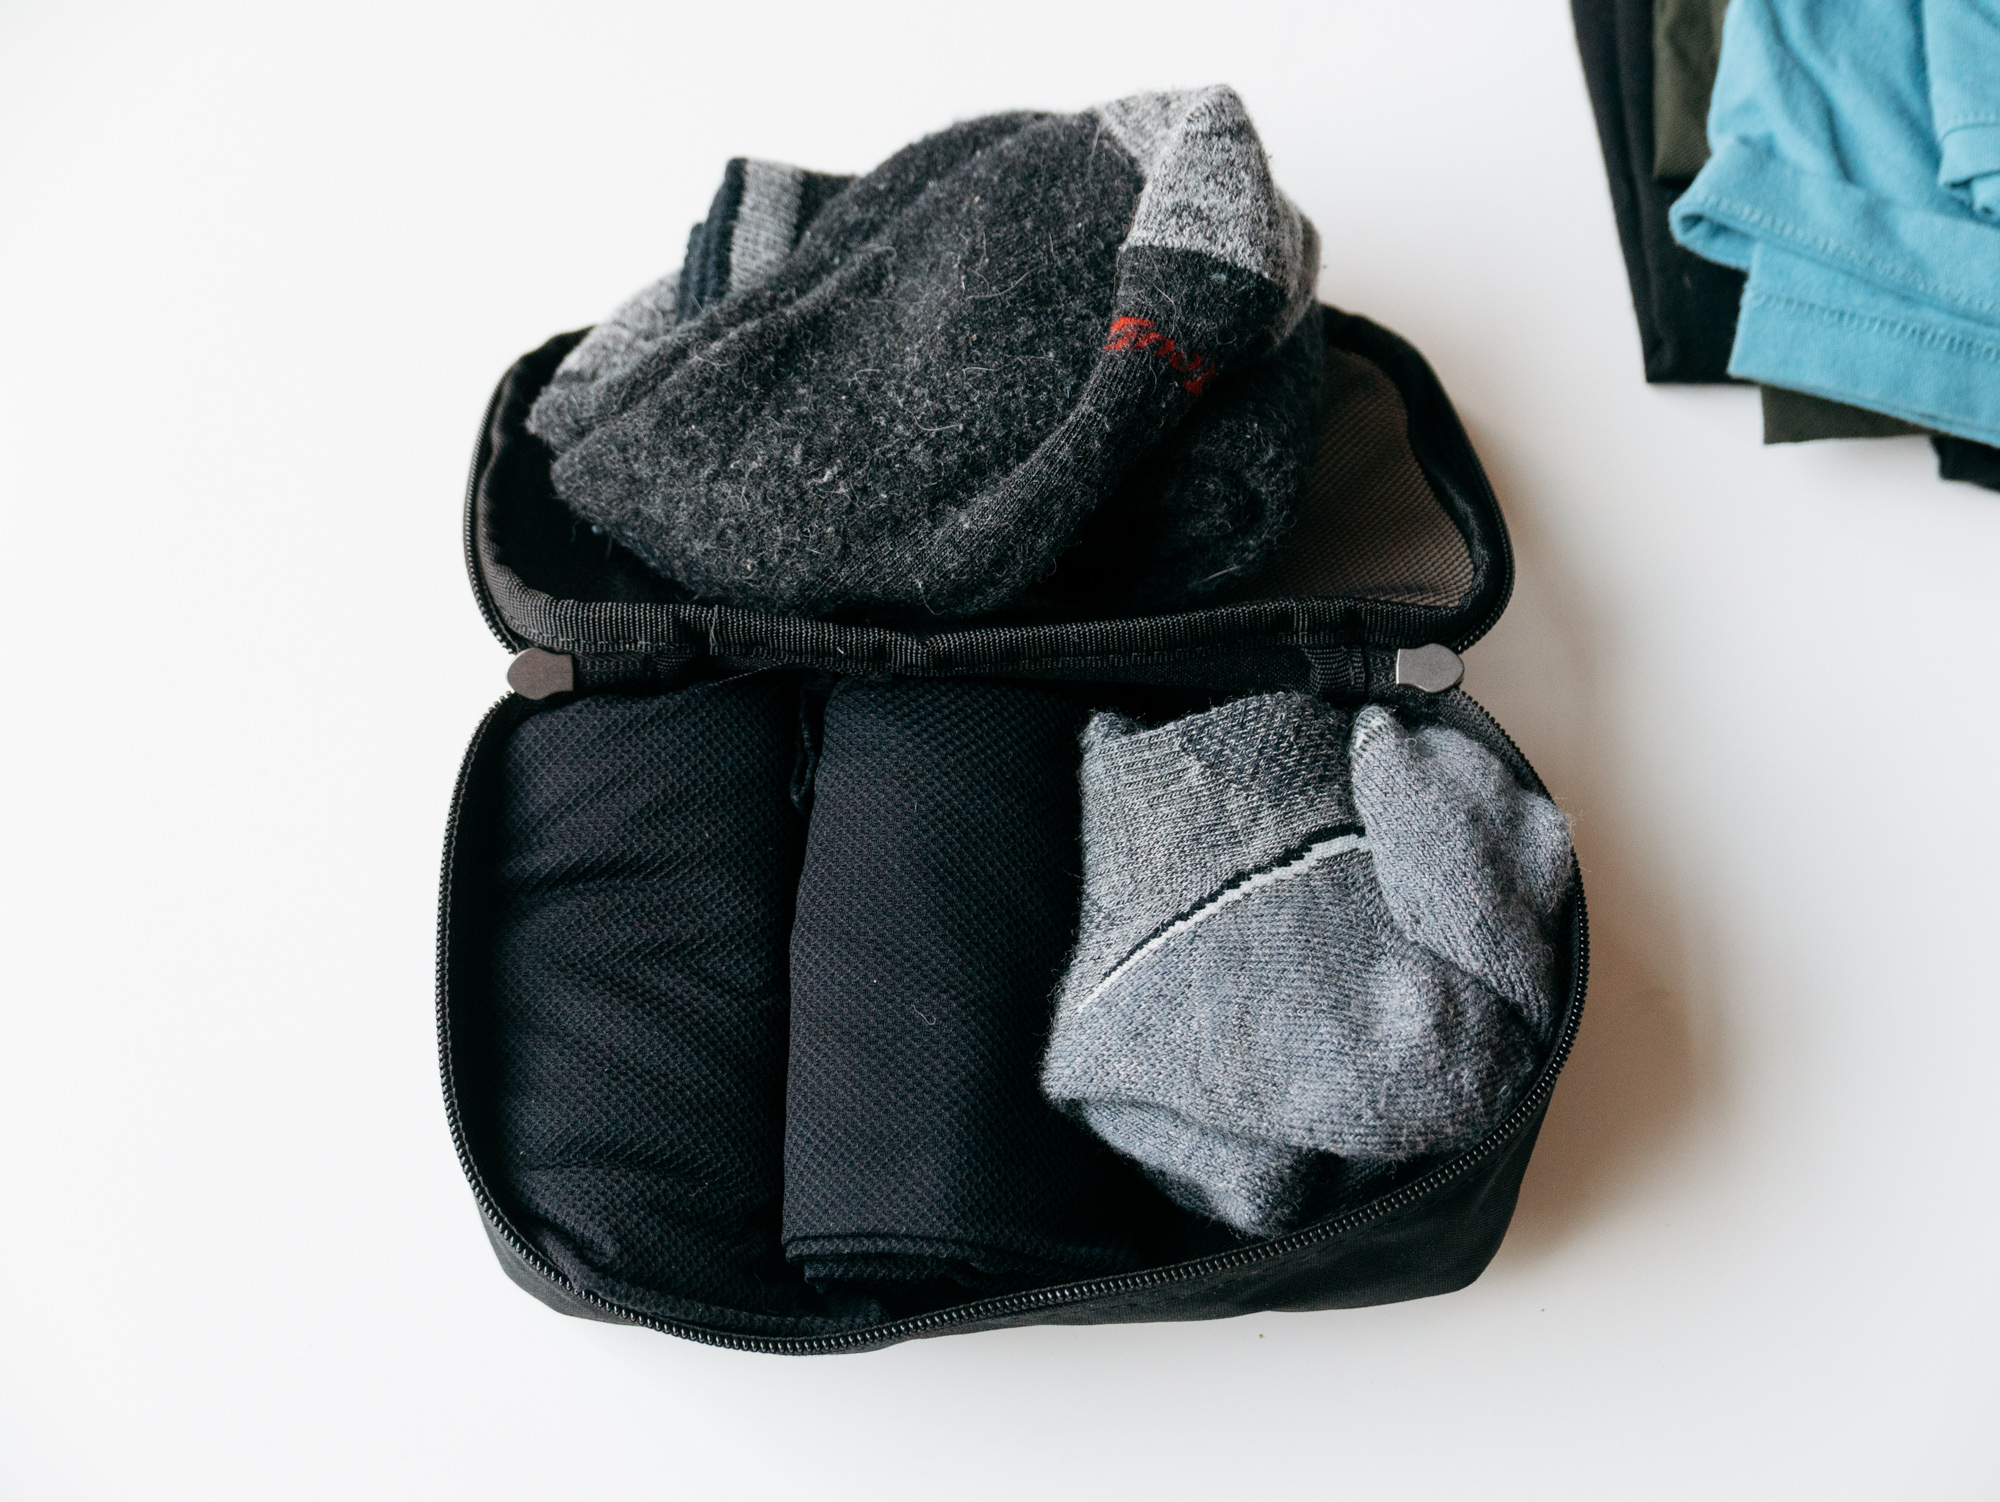
I've drank the packing cube Kool-Aid. I use the Eagle Creek packing cubes and they work pretty well. The smaller two of the set fit well into this bag — the large one is too big for it.
Small cube packed with socks and underwear.
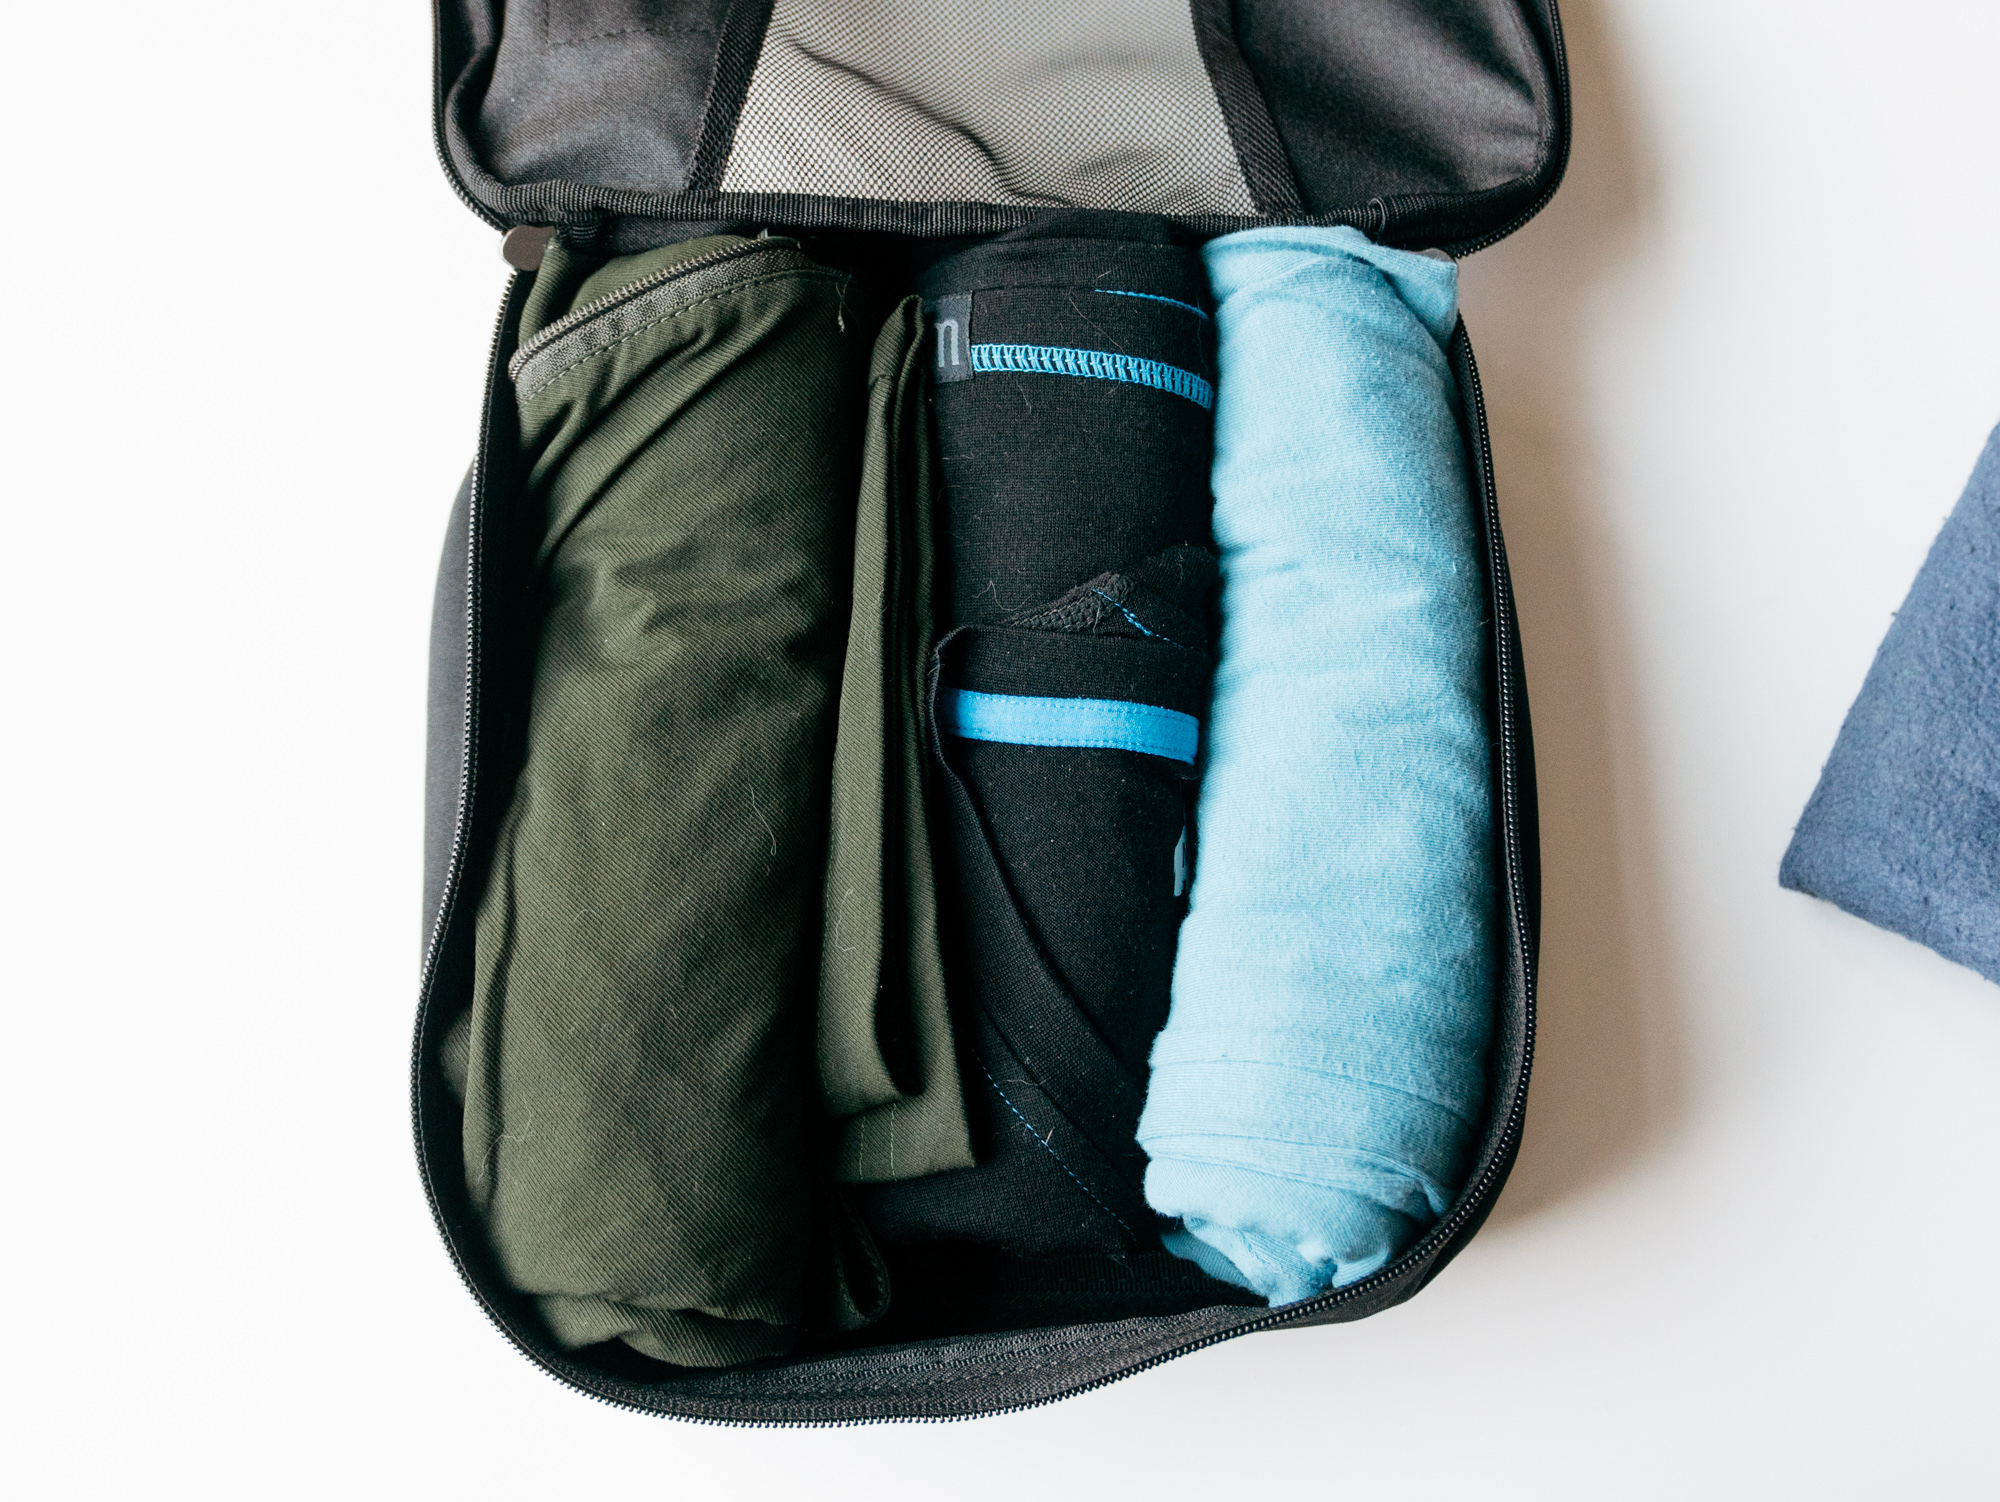
Large cube packed with shirts and pants, with a bit of room left over.
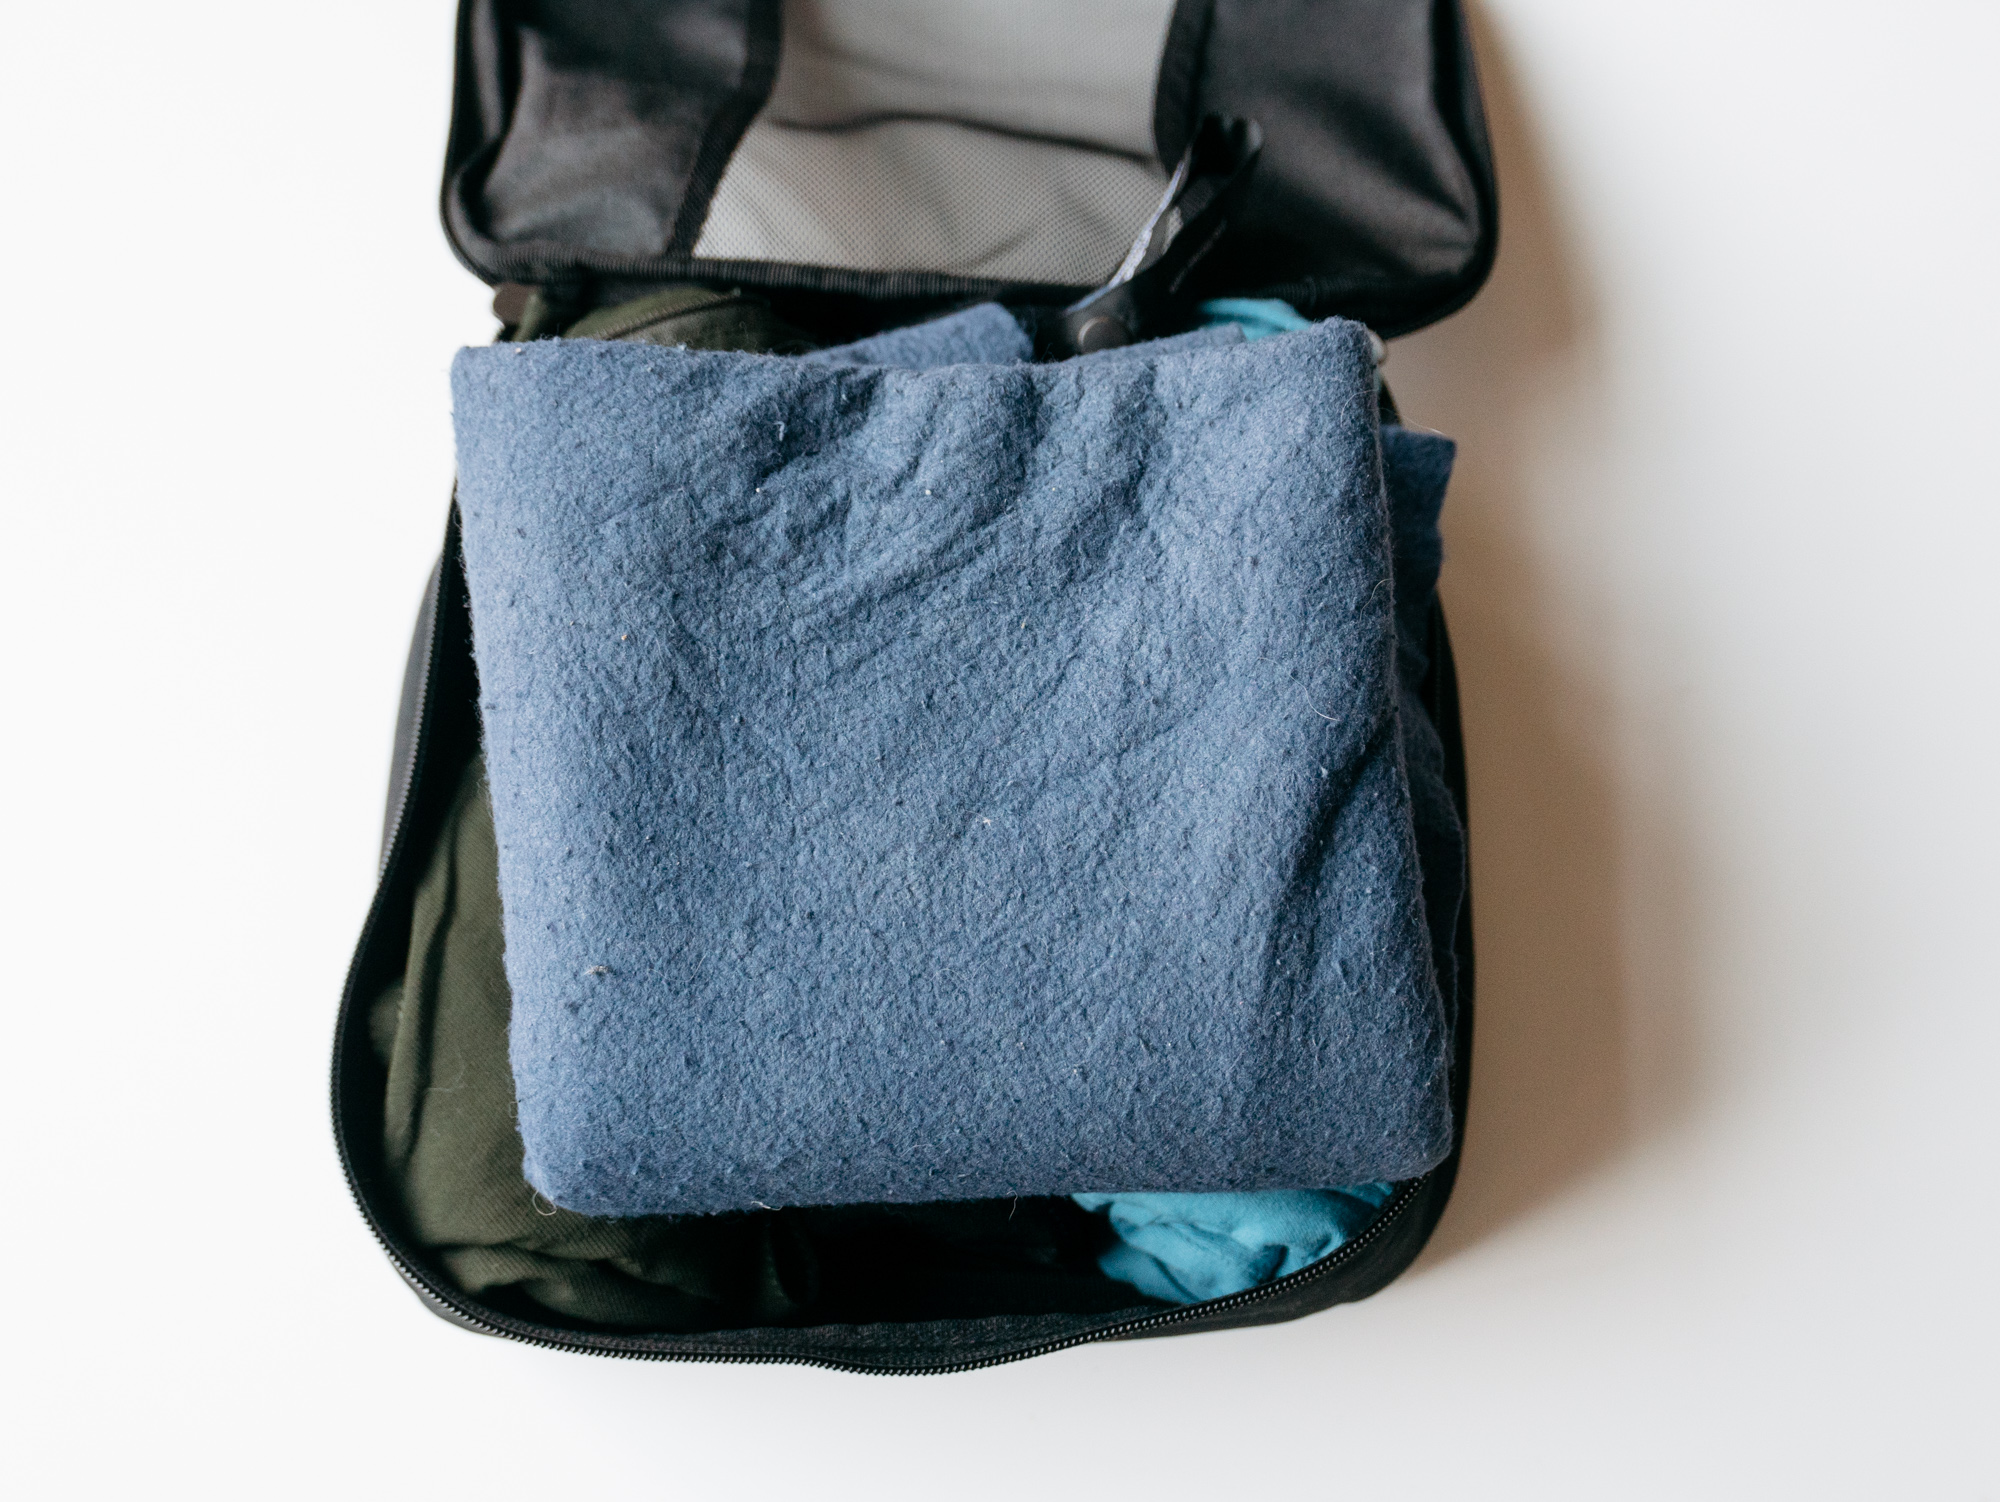
Add a towel if you're staying in a hostel. This is the Extra Large Packtowl Original which has served me well. I may replace it with their Ultralight version sometime in the future.
Large cube all packed.

Large cube in the top section of the bag.
Small cube fits to the side nicely.
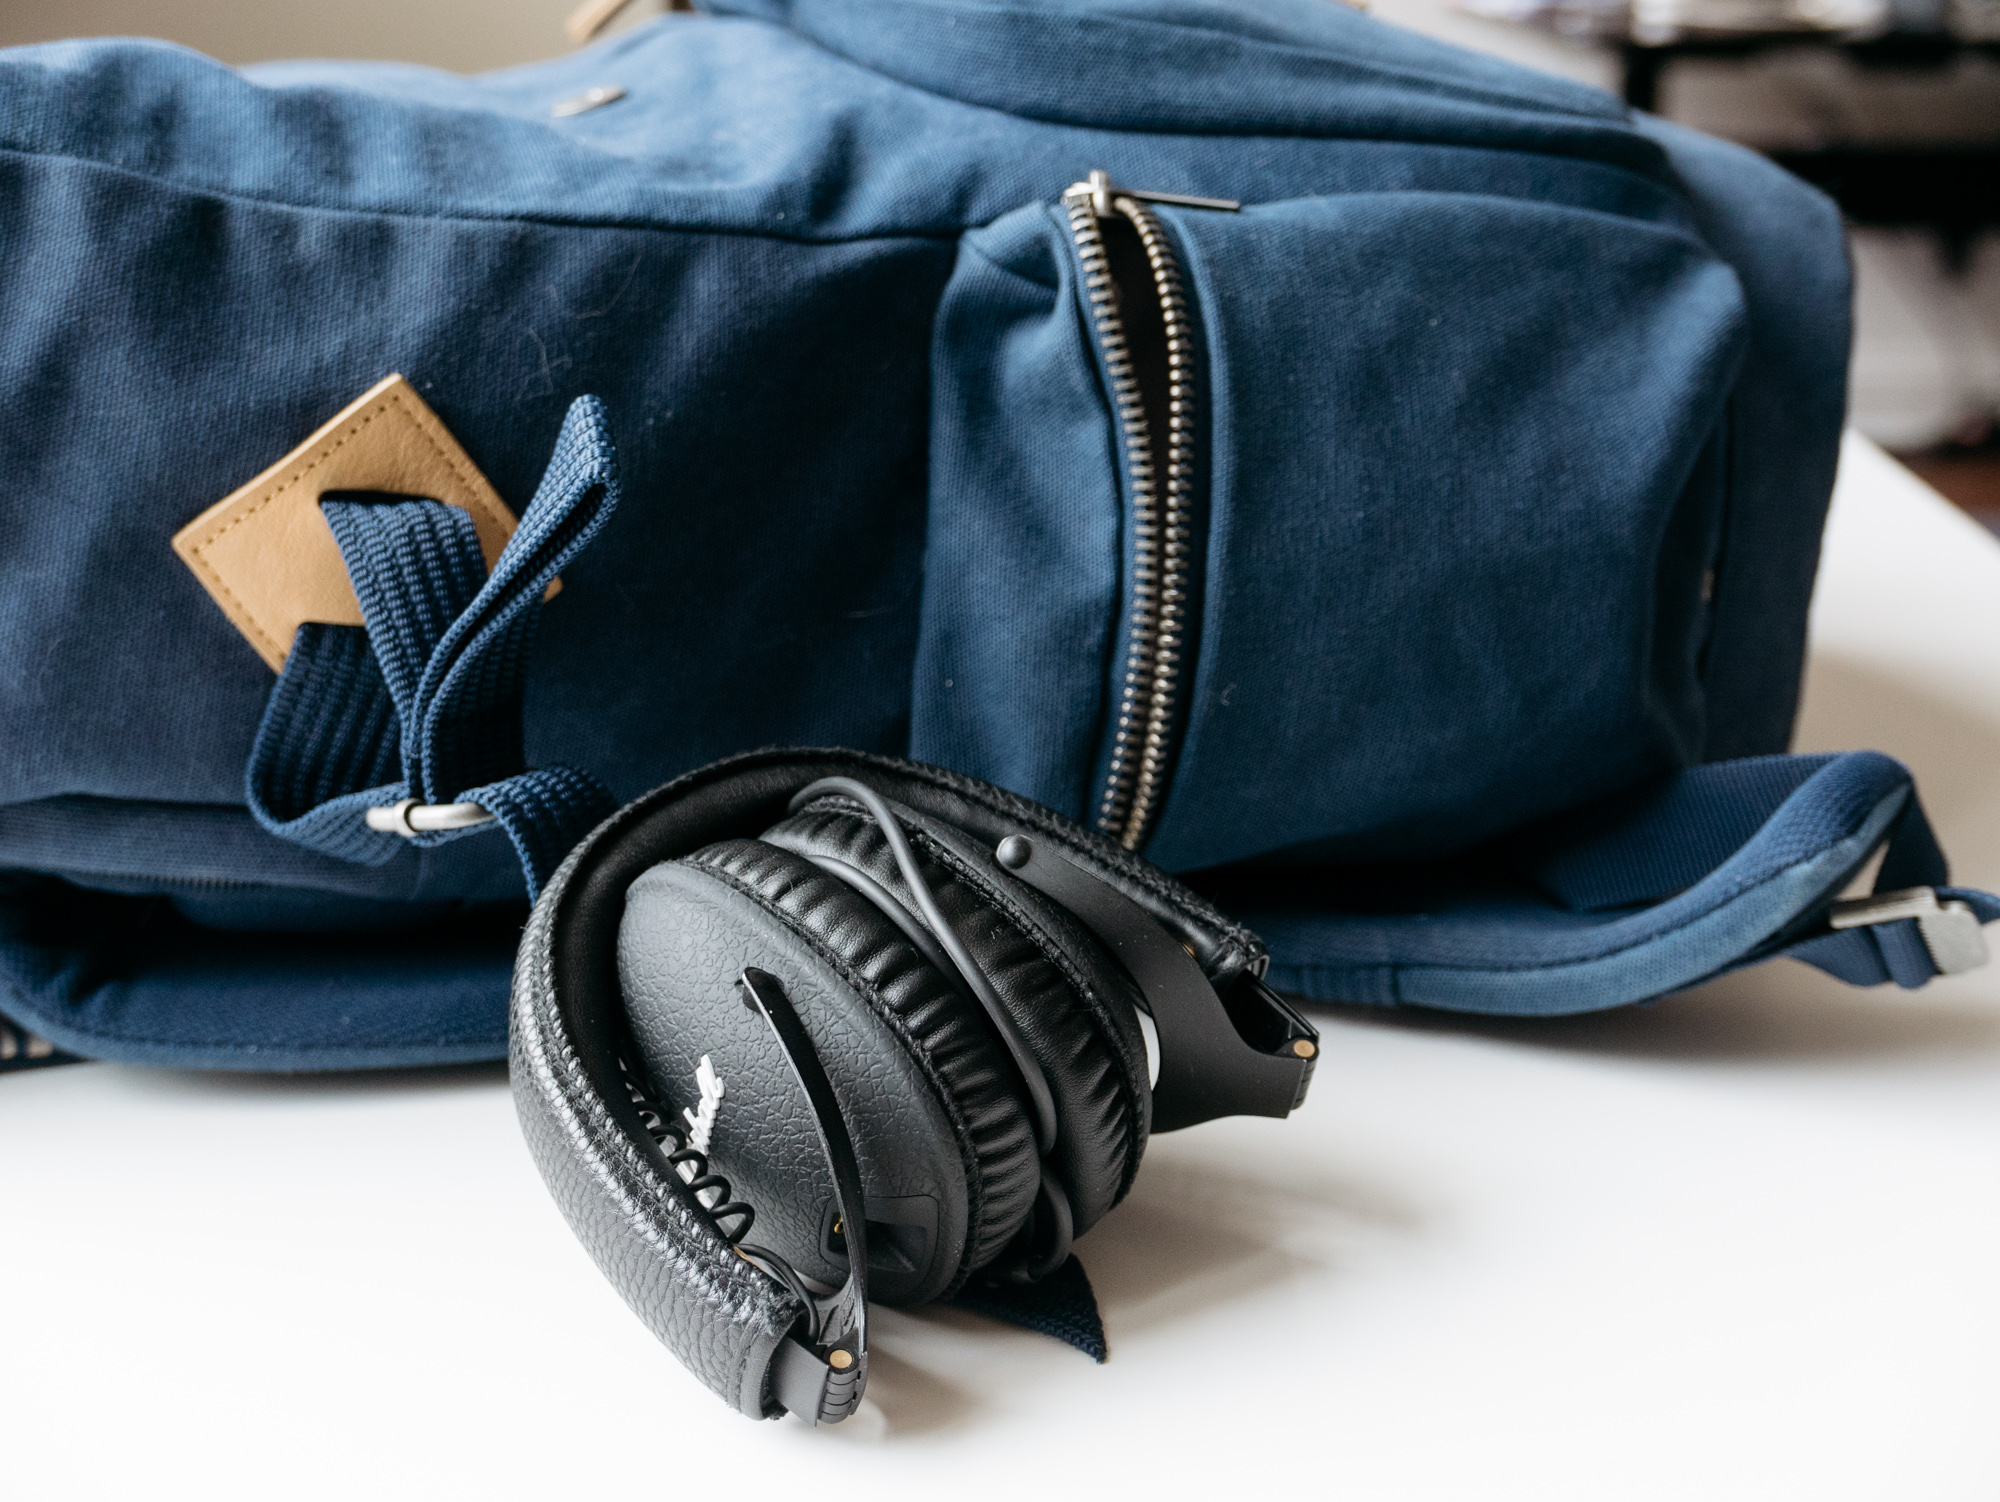
I can't fly without headphones, so they get their own side pocket.

Easy access once on the plane.

One thing to watch out for: the side pocket zippers have large, sharp metal teeth. I could see them ripping fabric if you're not careful.
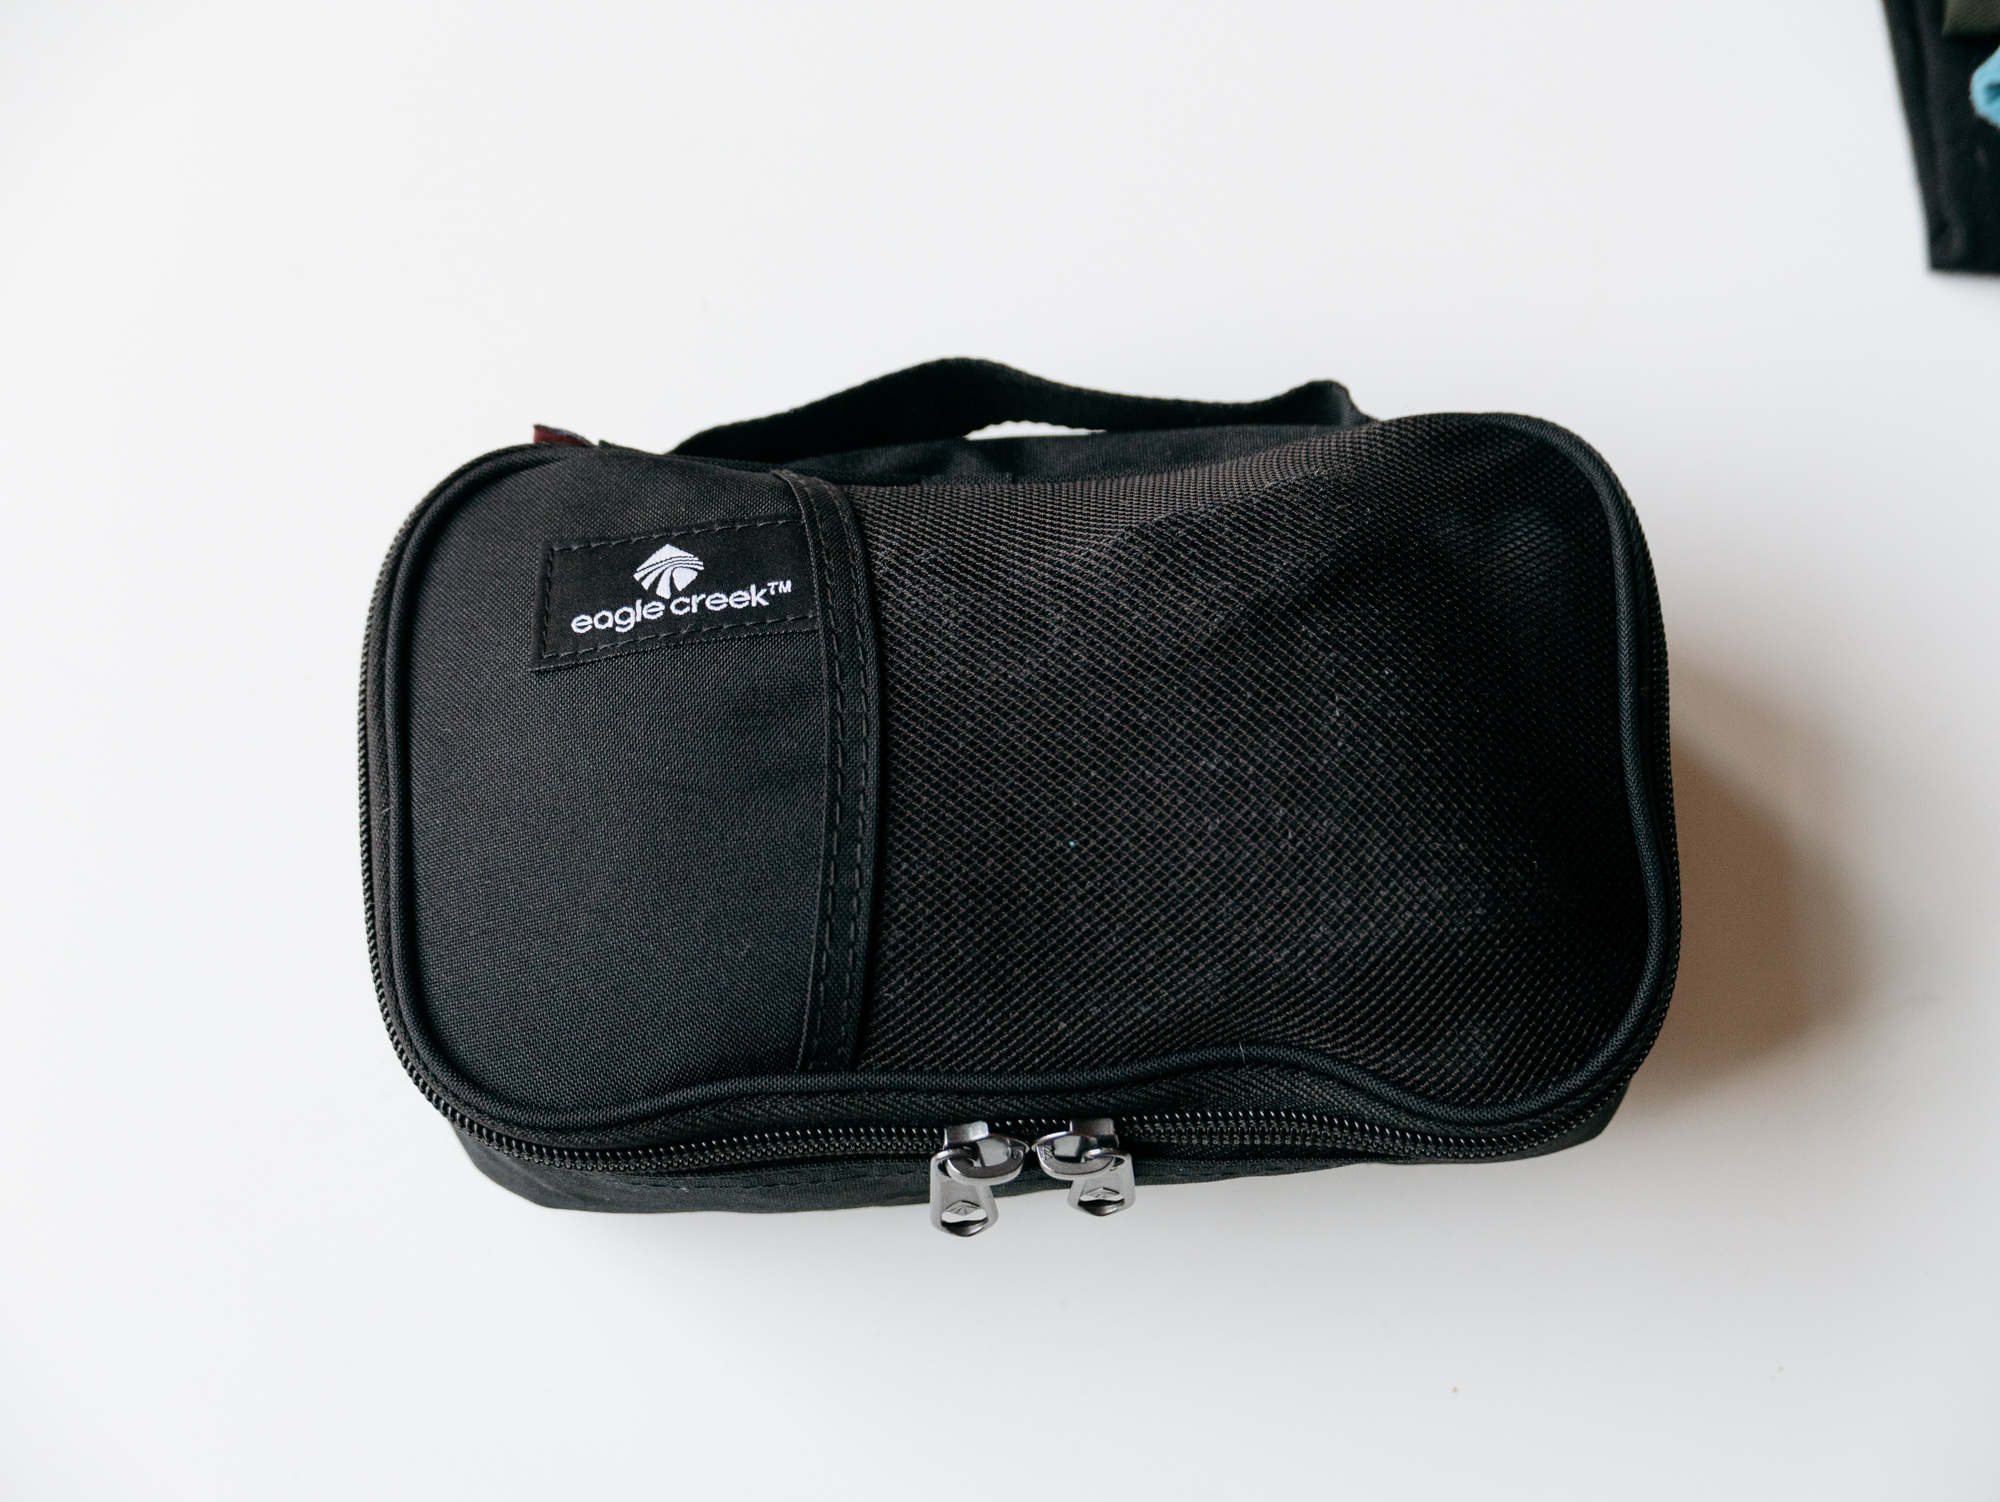
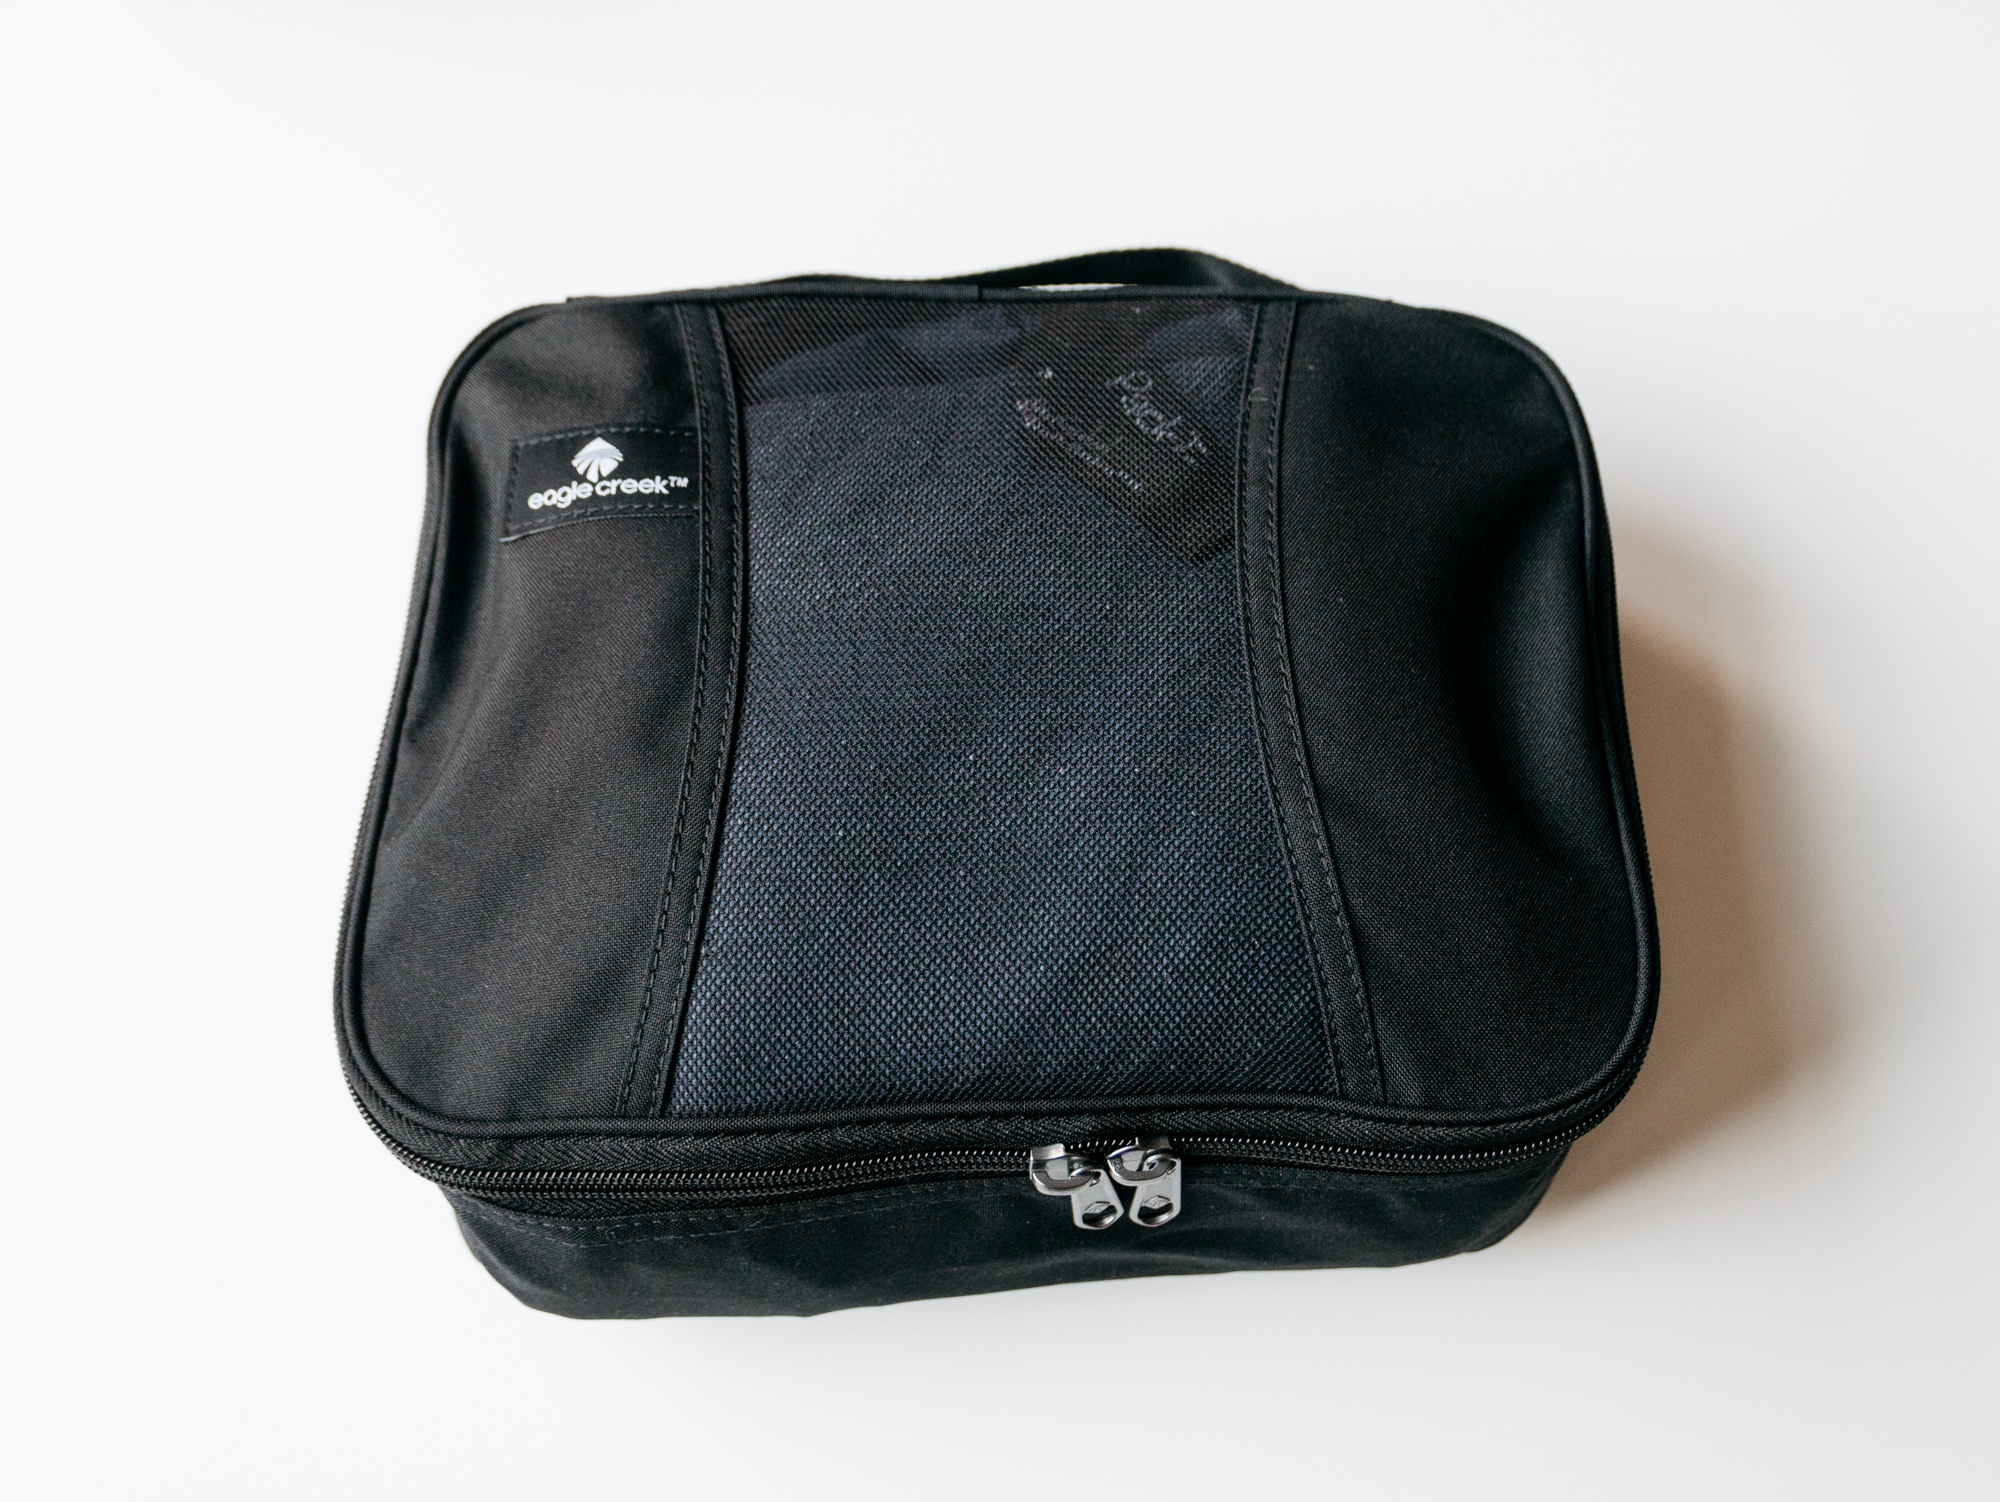
On a whim I grabbed this Utility Kit when I got the bag and it's proved to be a handy little organizer.
The fabric is thin, but water-resistant.
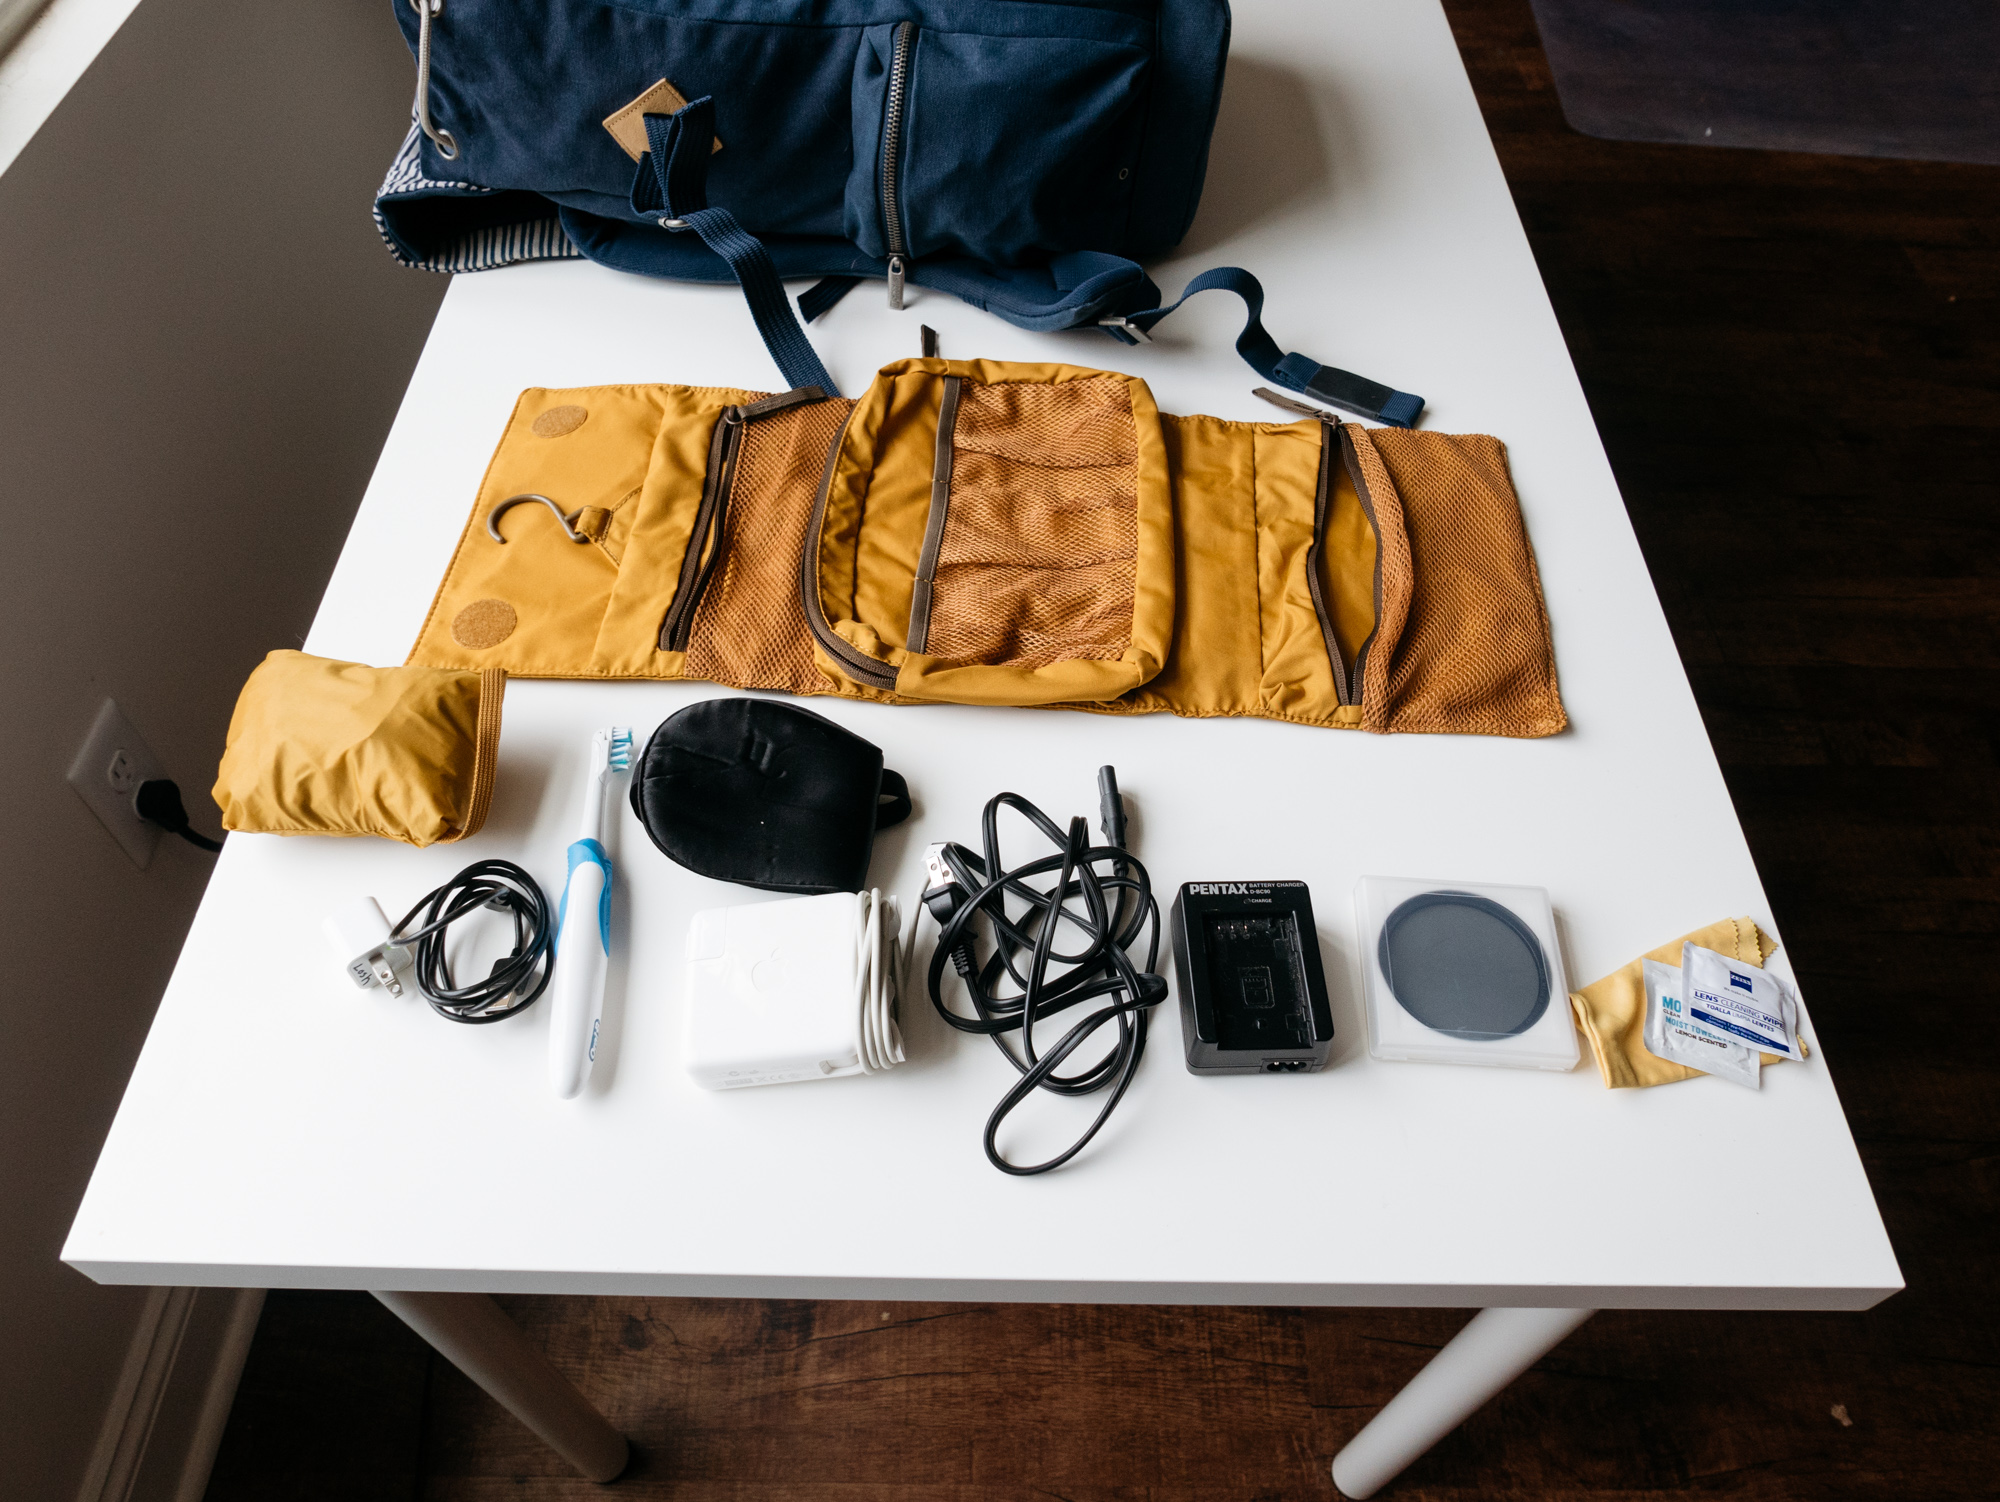
It will accommodate quite a bit. For this demo:
- Rain cover for the backpack
- Cell phone charger
- Toothbrush
- Sleeping mask
- Camera charger
- 77mm polarizer
- Lens cleaning supplies
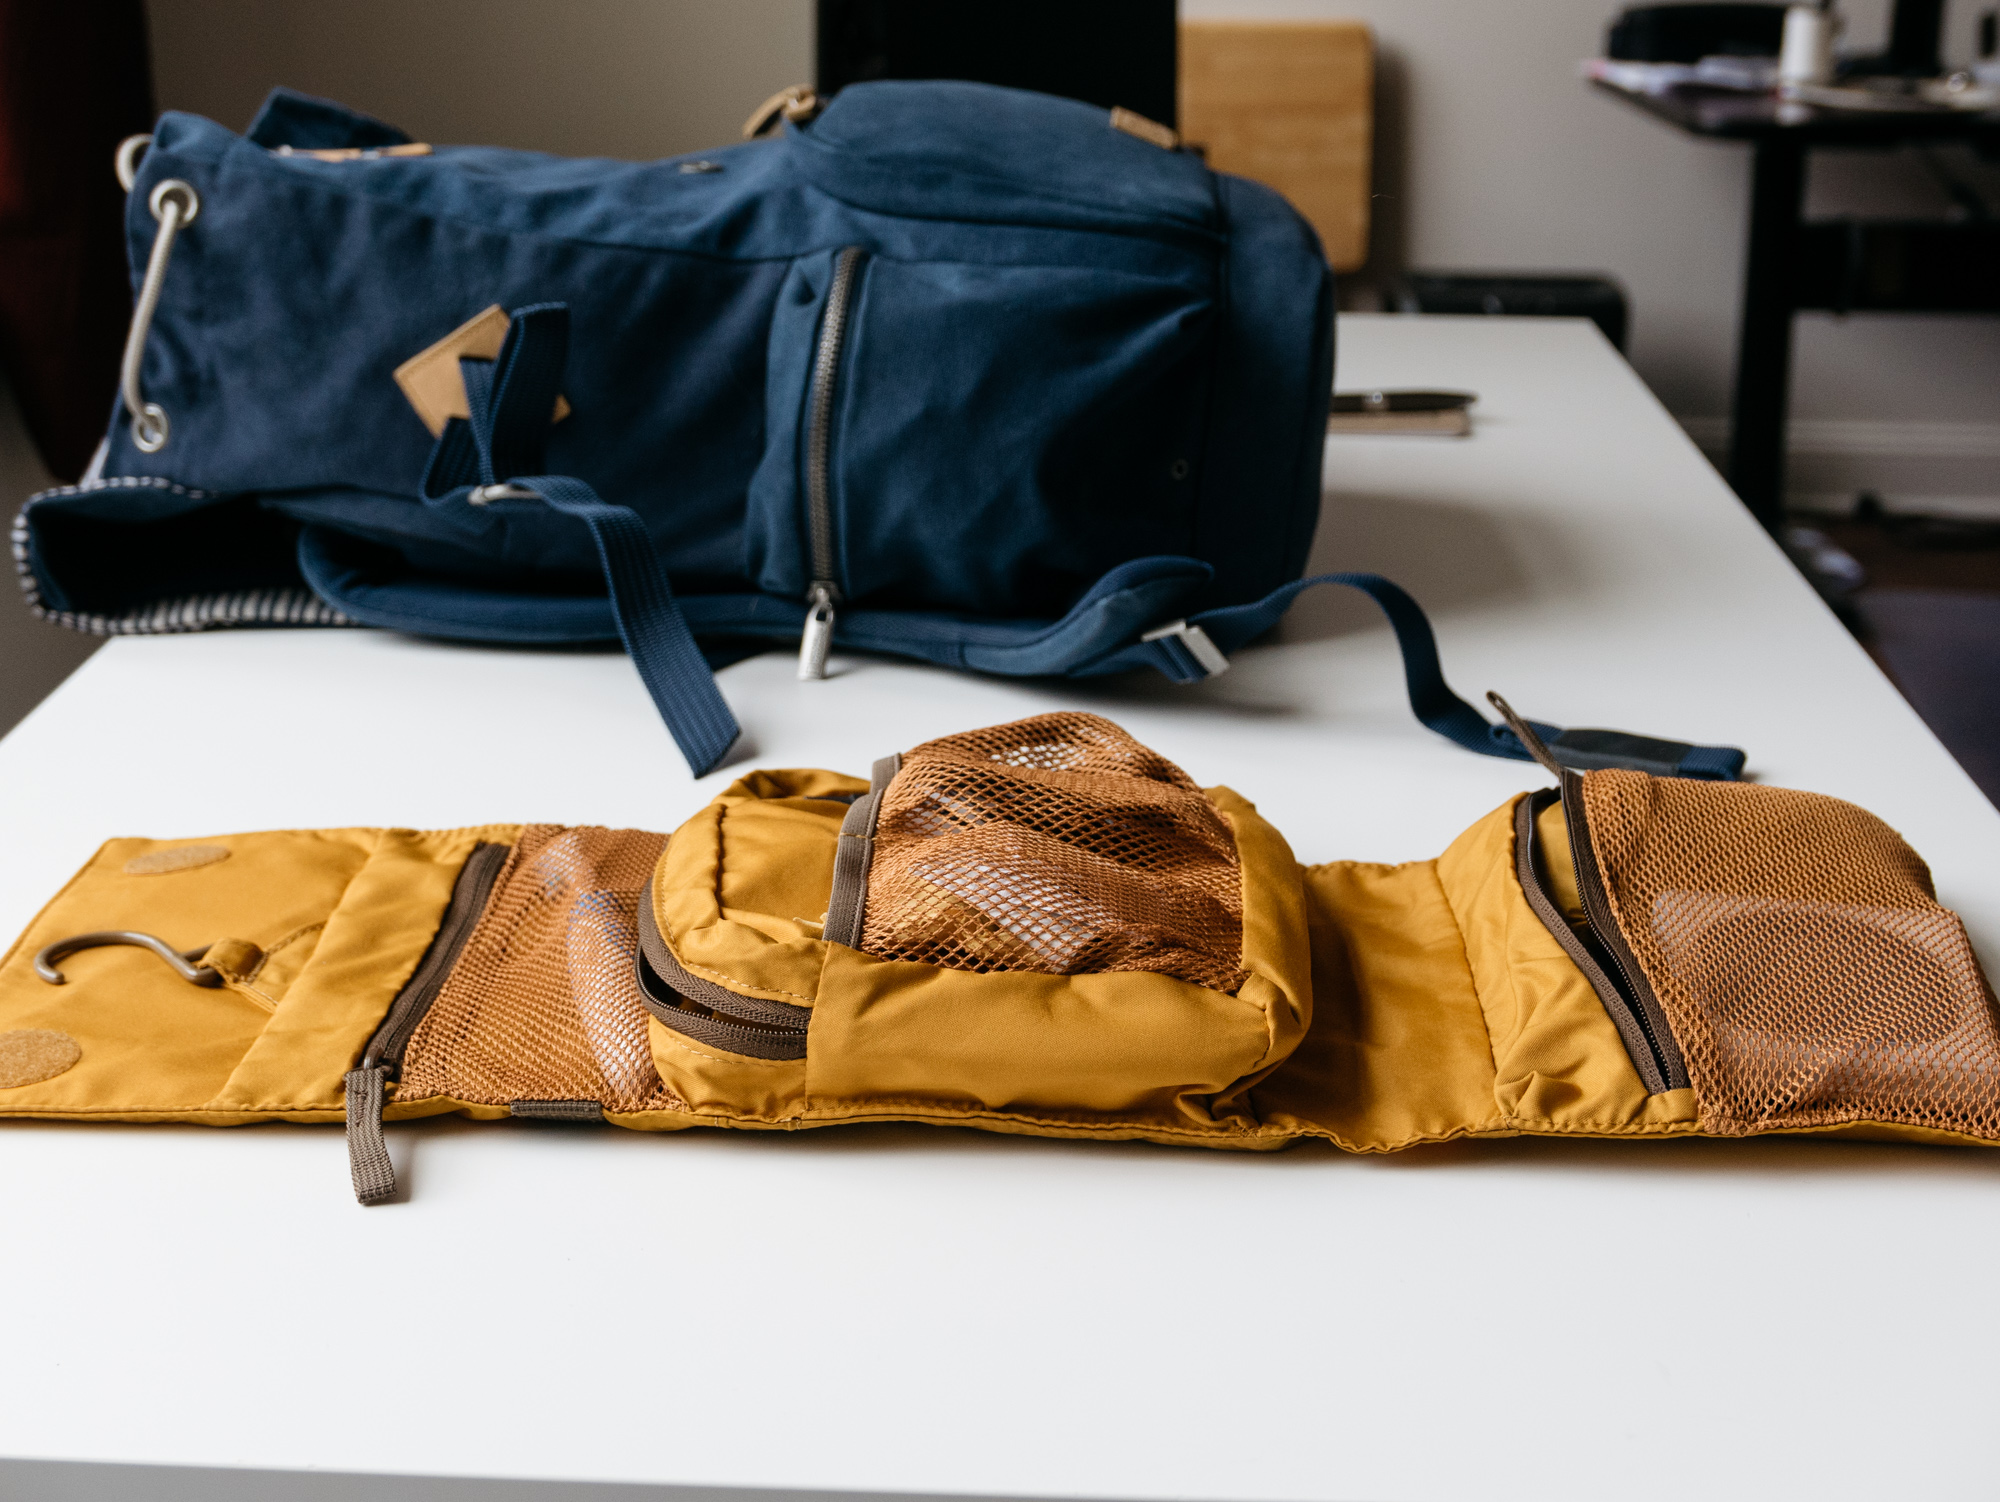
All packed in.
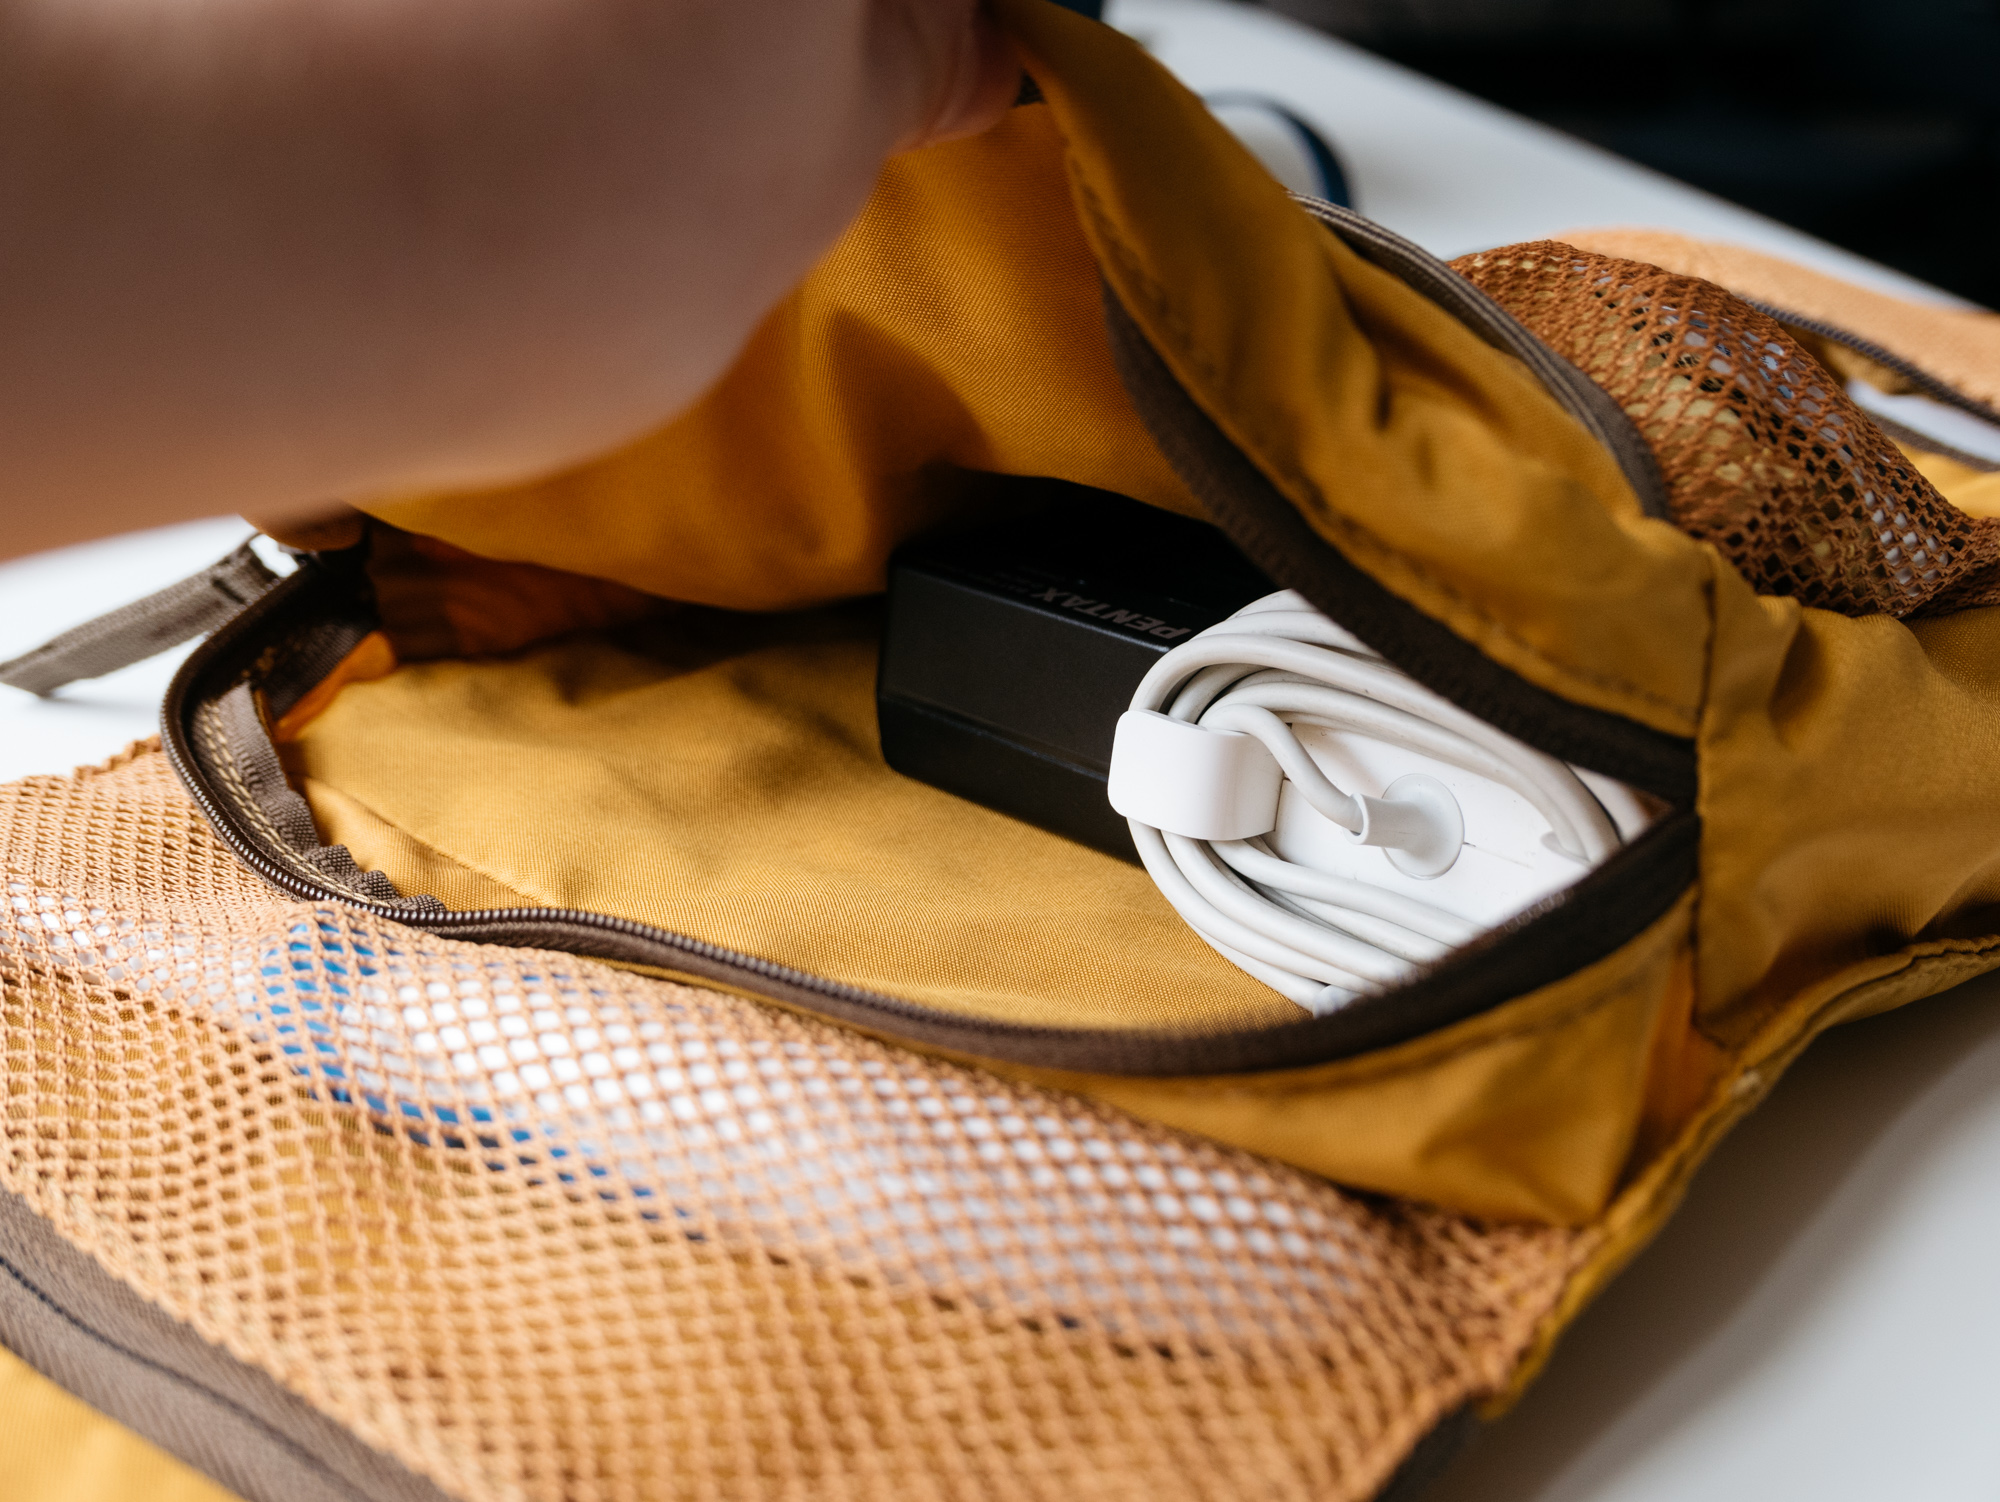
The center section holds a lot. My friend has fit a travel hair dryer in it.

The mesh bags are good for small stuff.
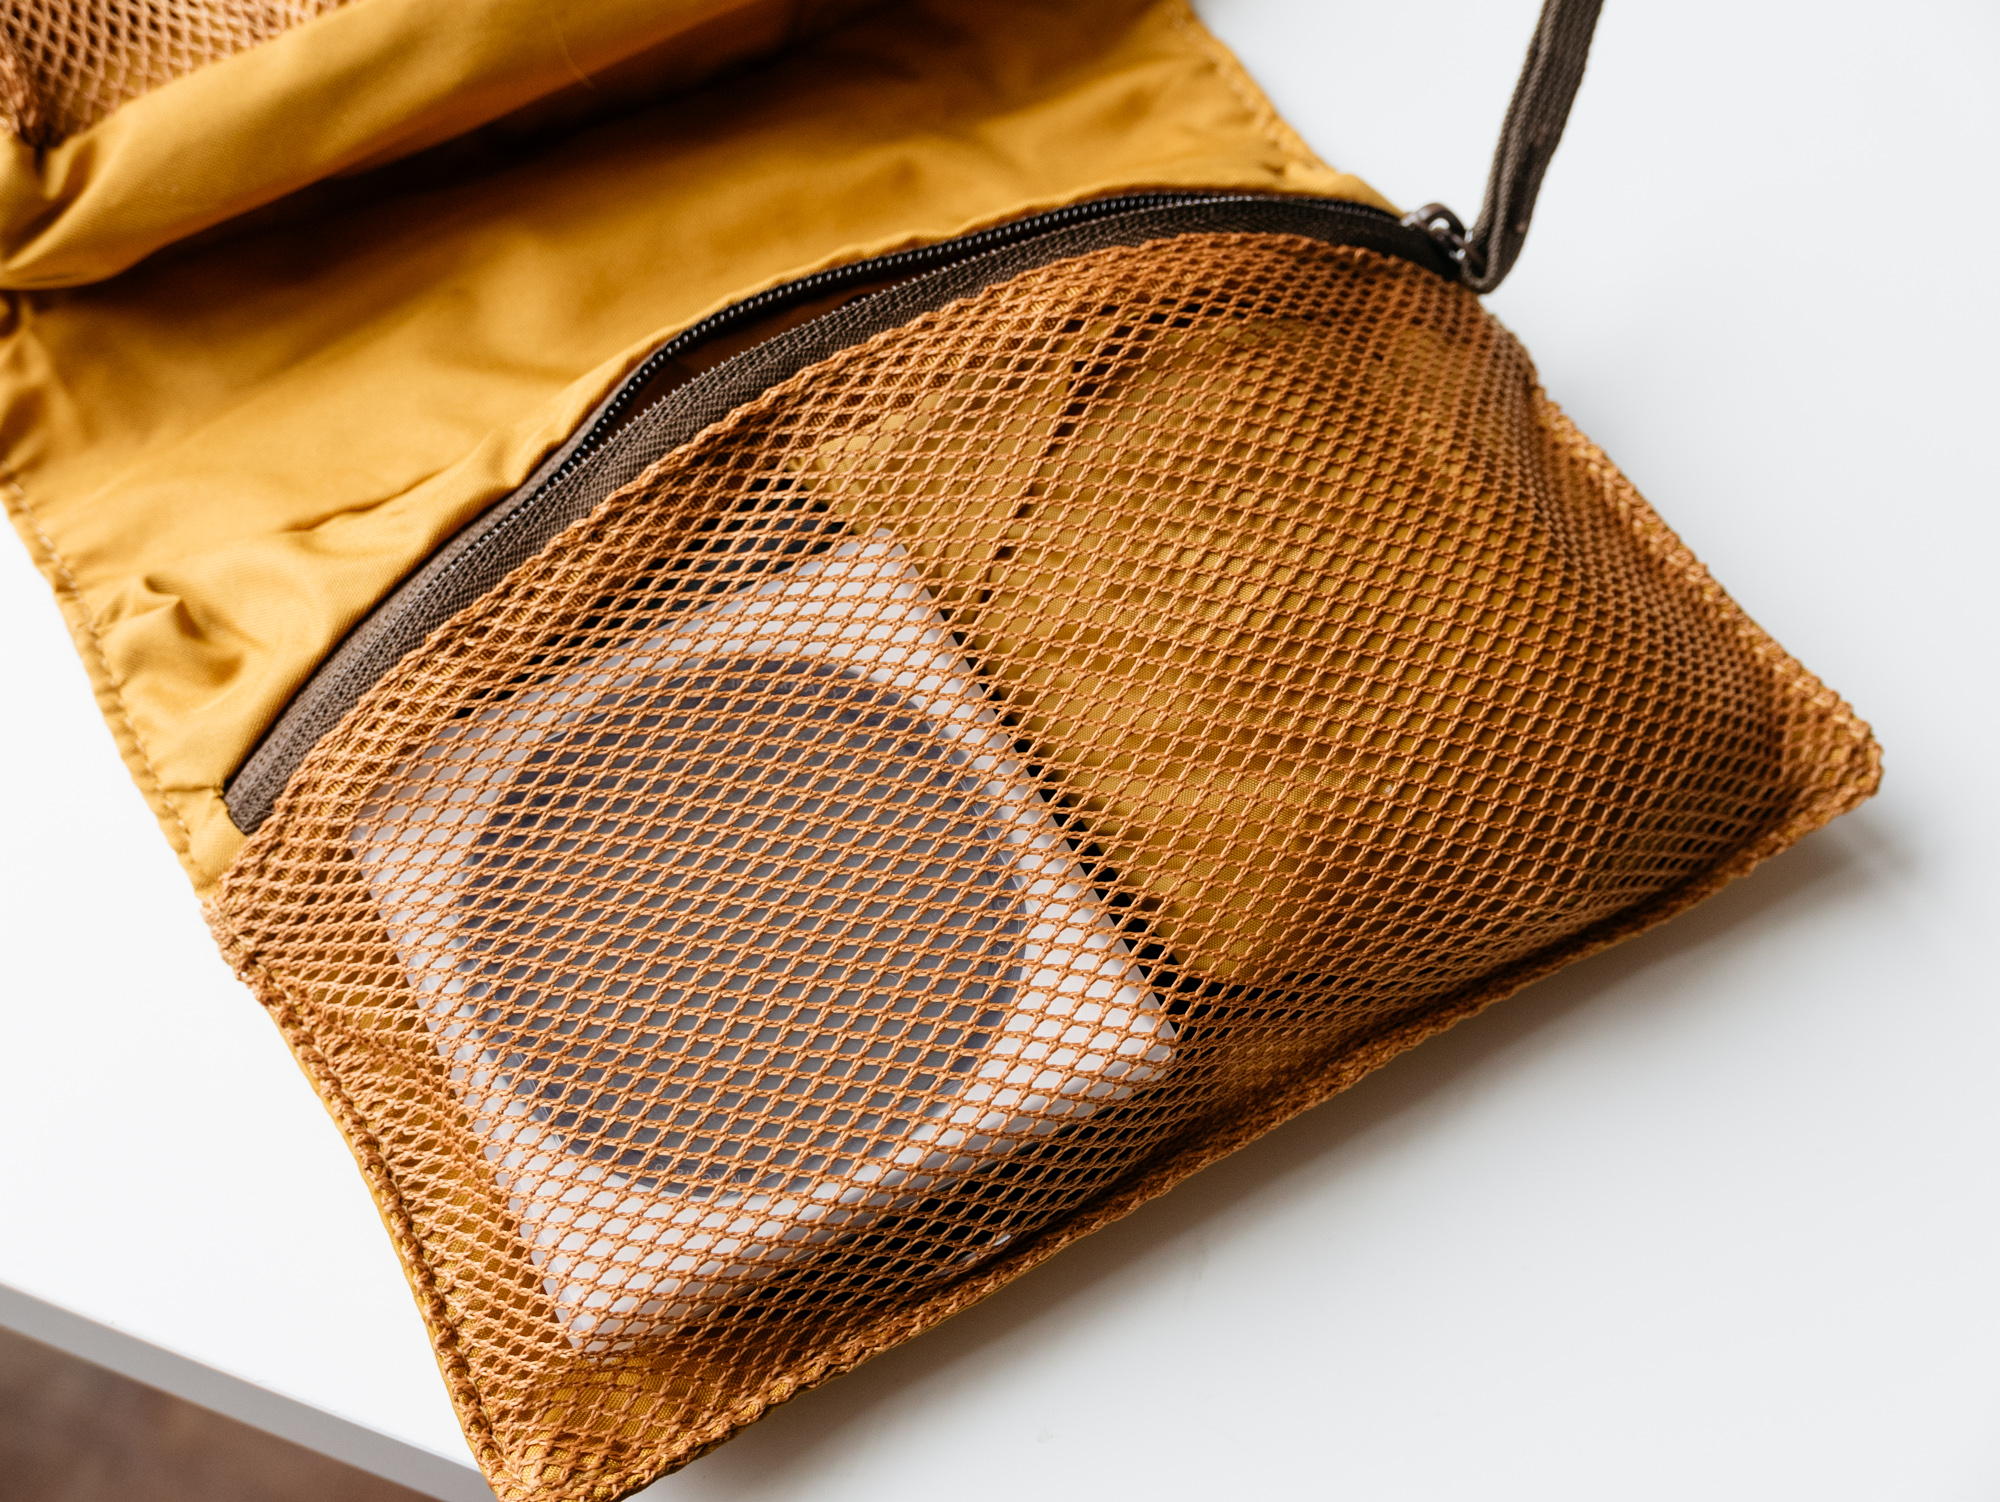
Bottom mesh bit.
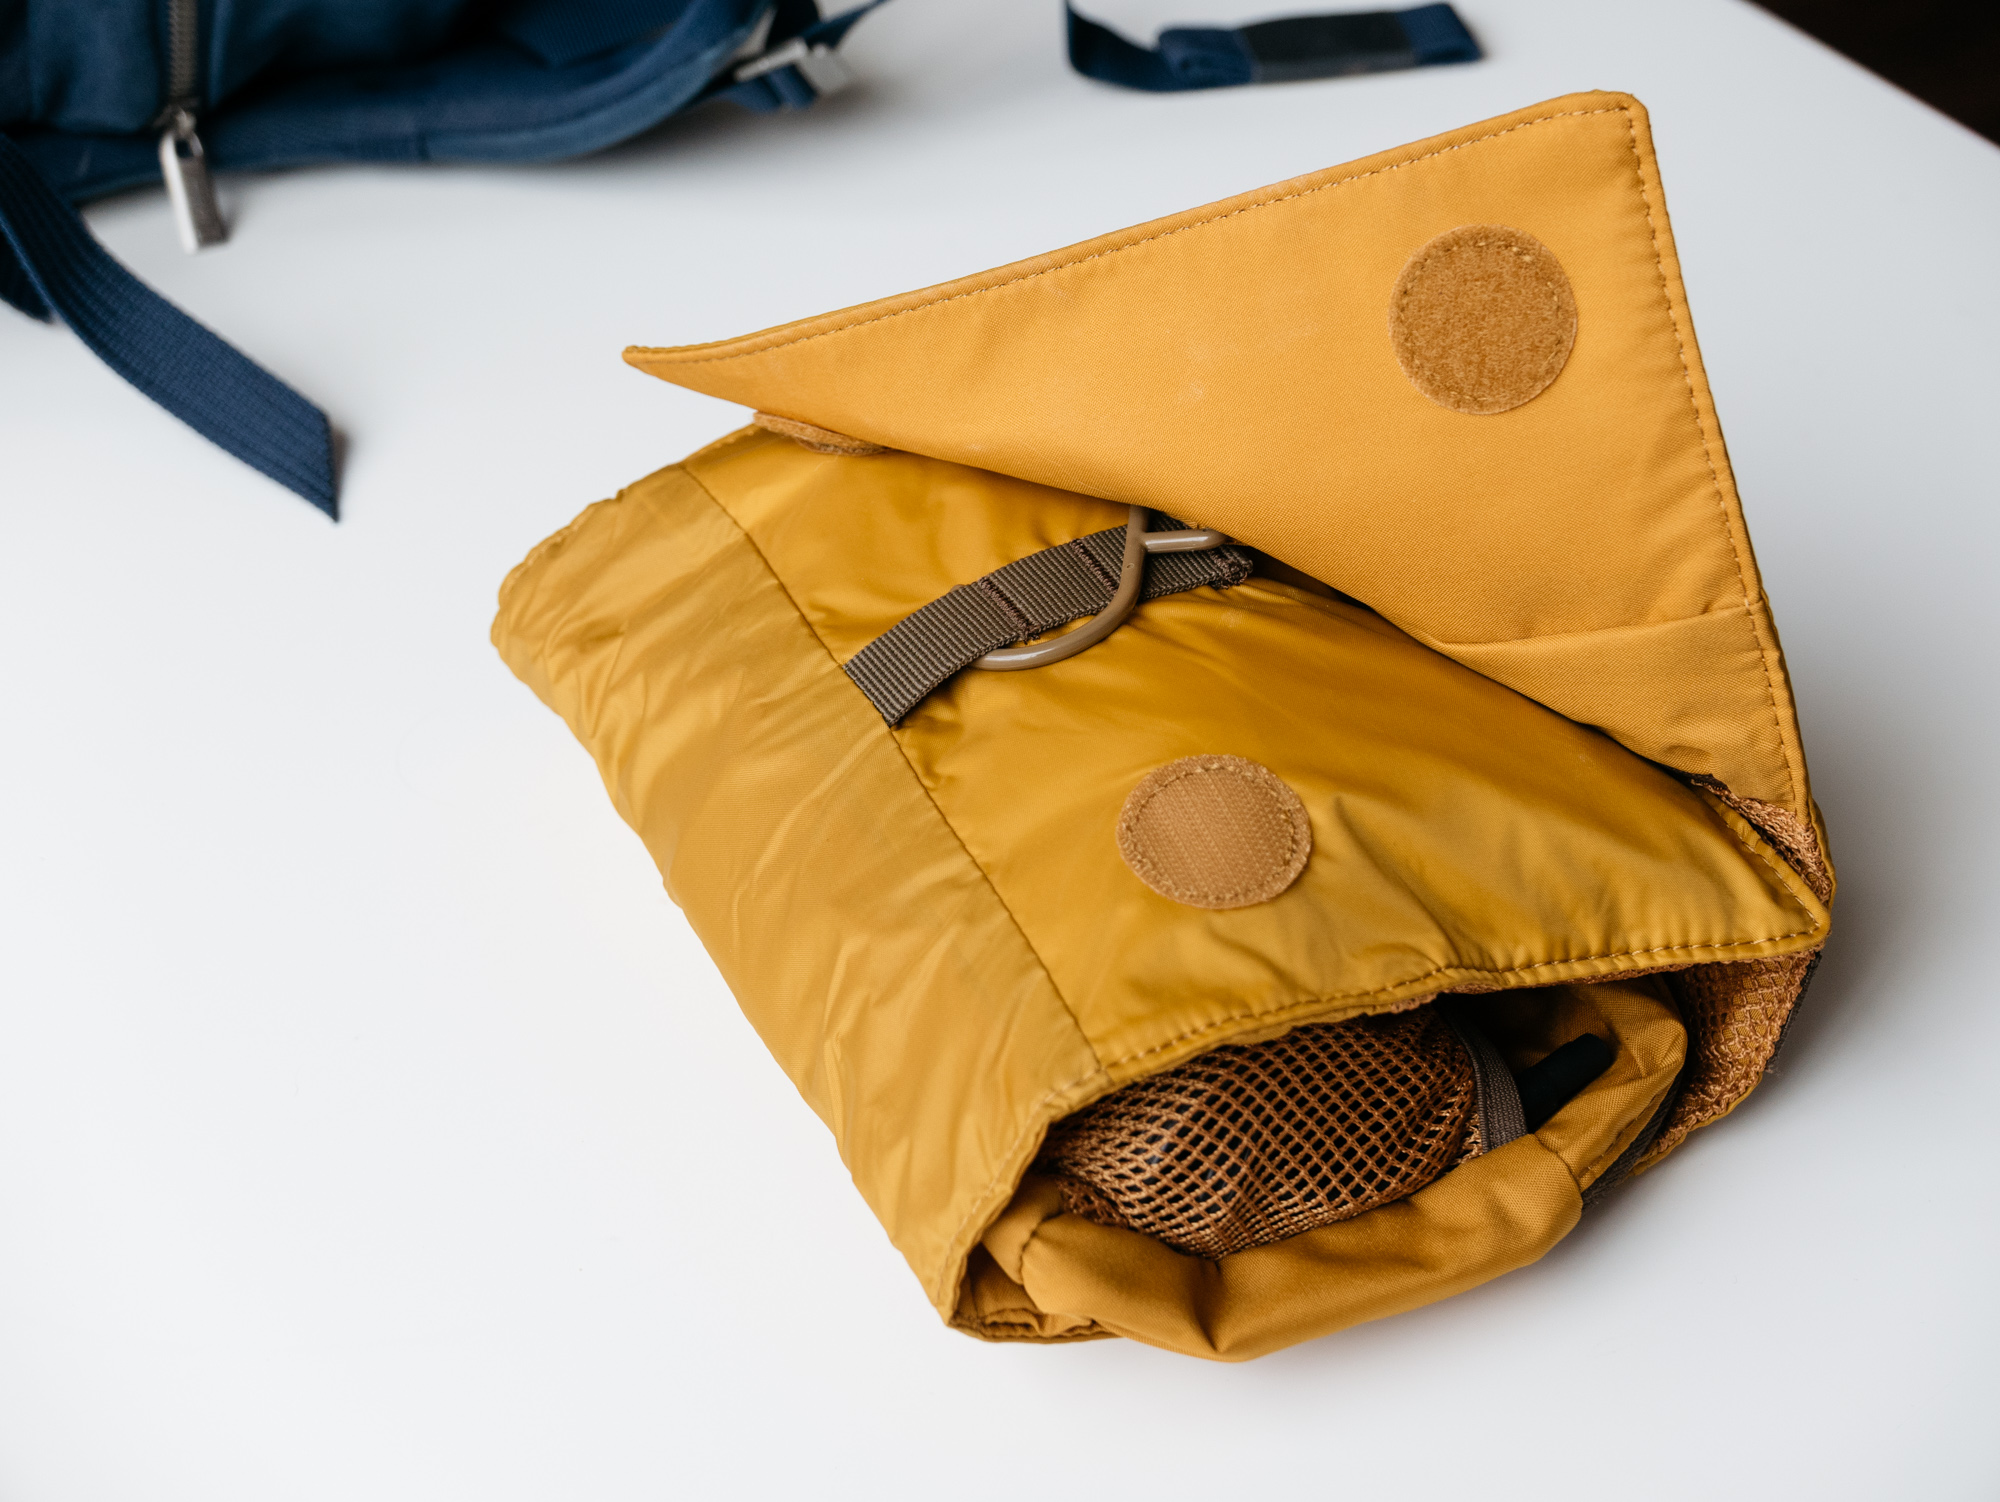
It has a hanger to hang once you're in a hotel room, and also helps hold it shut.
Fits snugly on top of the large packing cube.
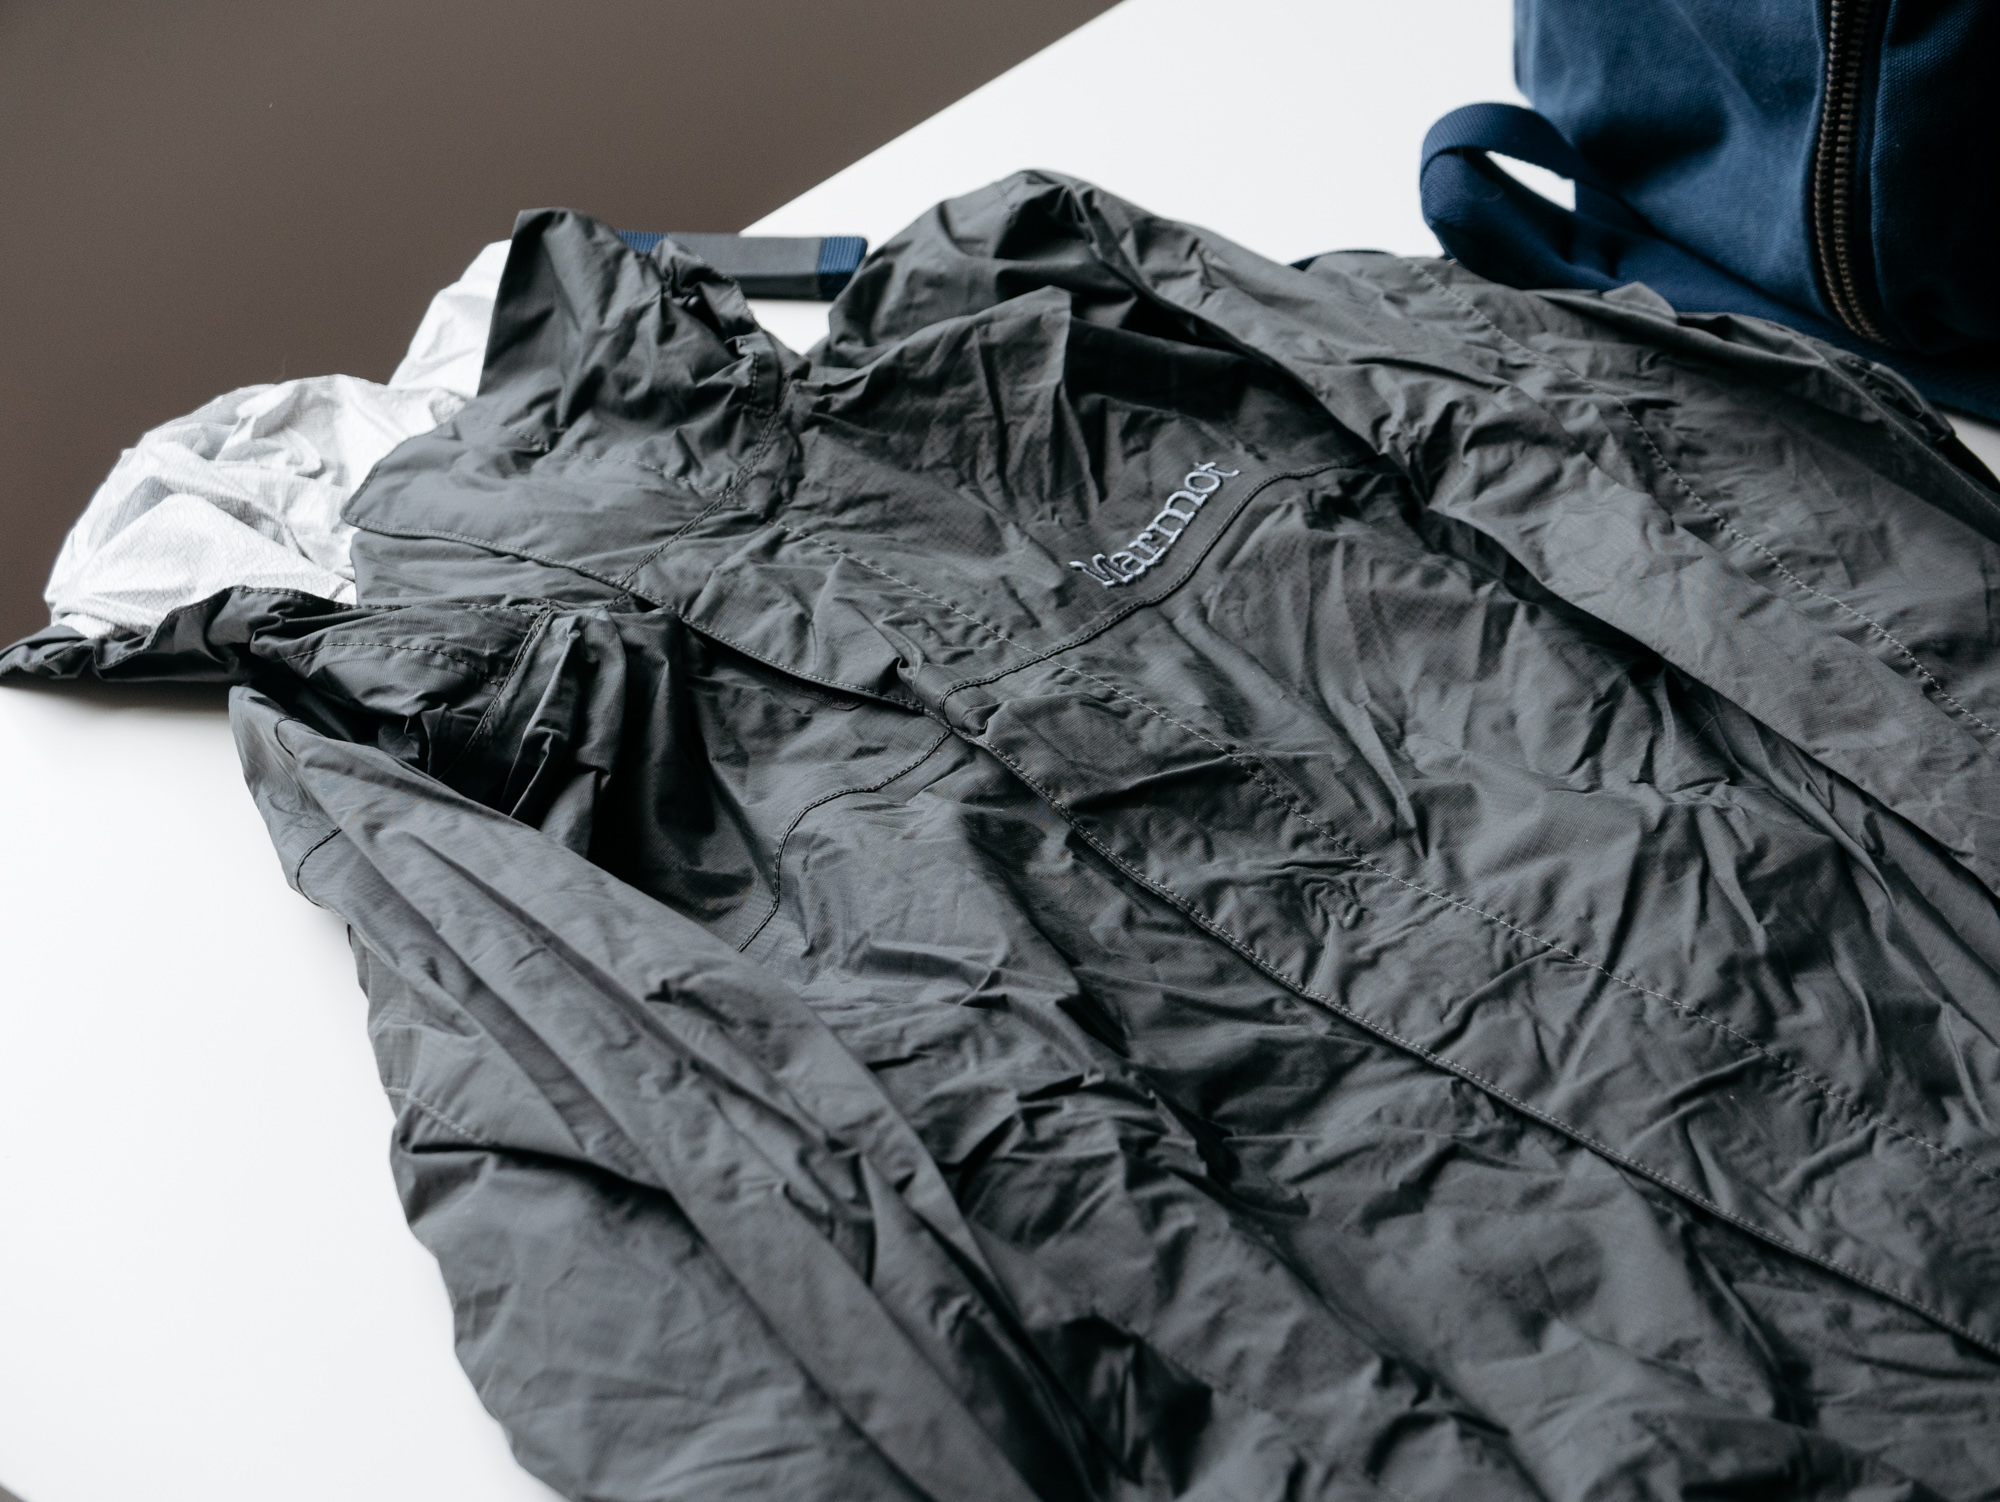
Since we've got a rain cover for the backpack, let's add one for ourselves. I use a Marmot PreCip for hiking (it will also add some warmth in a pinch).

Rolls up nice and small. Apparently I'm out of rubber bands in my house, so I used the end of an old guitar strap here.

It will fit (barely) in the other side pocket. Again, mind the zipper teeth as they feel like they would tear through the thin fabric if you're not careful.
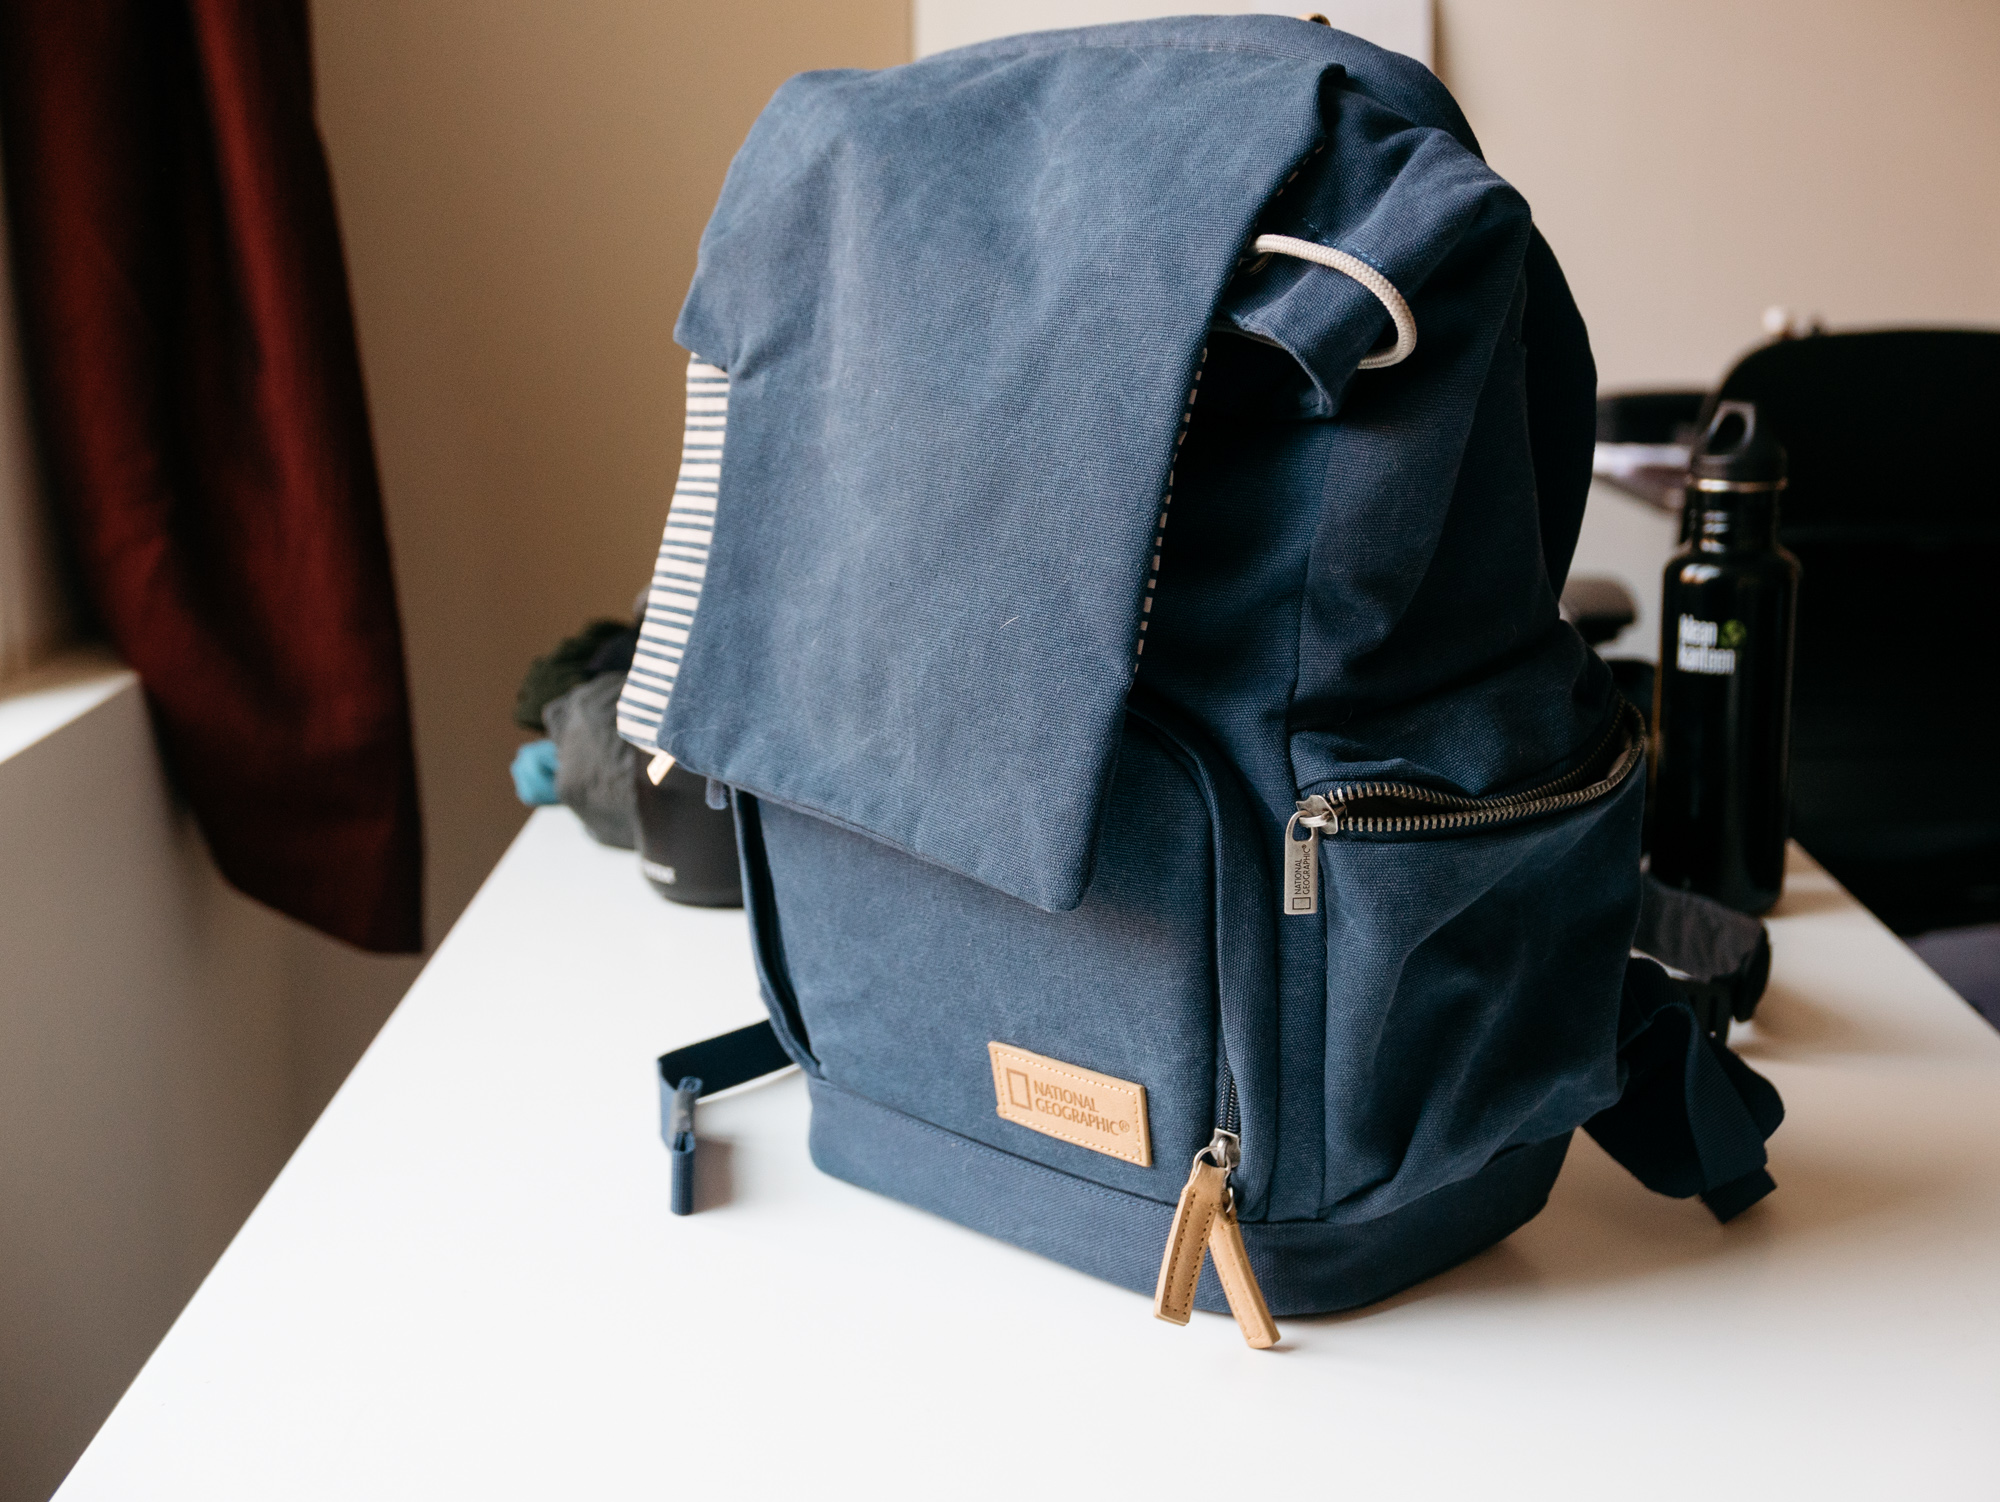
Just about fully loaded!

The cord cinches the top of the bag loosely. It can't close completely though, so if you're worried about pickpockets...
You can loop the strap up...

And around, to provide a bit of extra protection.
Front view.

The snap on the front is also one of the things I don't like about the bag. It's magnetic so it snaps itself into place (which is nice), but it's very small and shallow so it doesn't have a lot of strength. If you pack the bag really full like this you'll find it coming unsnapped from the strain as you walk.

A couple of odds and ends for the front pocket.
Easy access. Don't keep anything important in here.
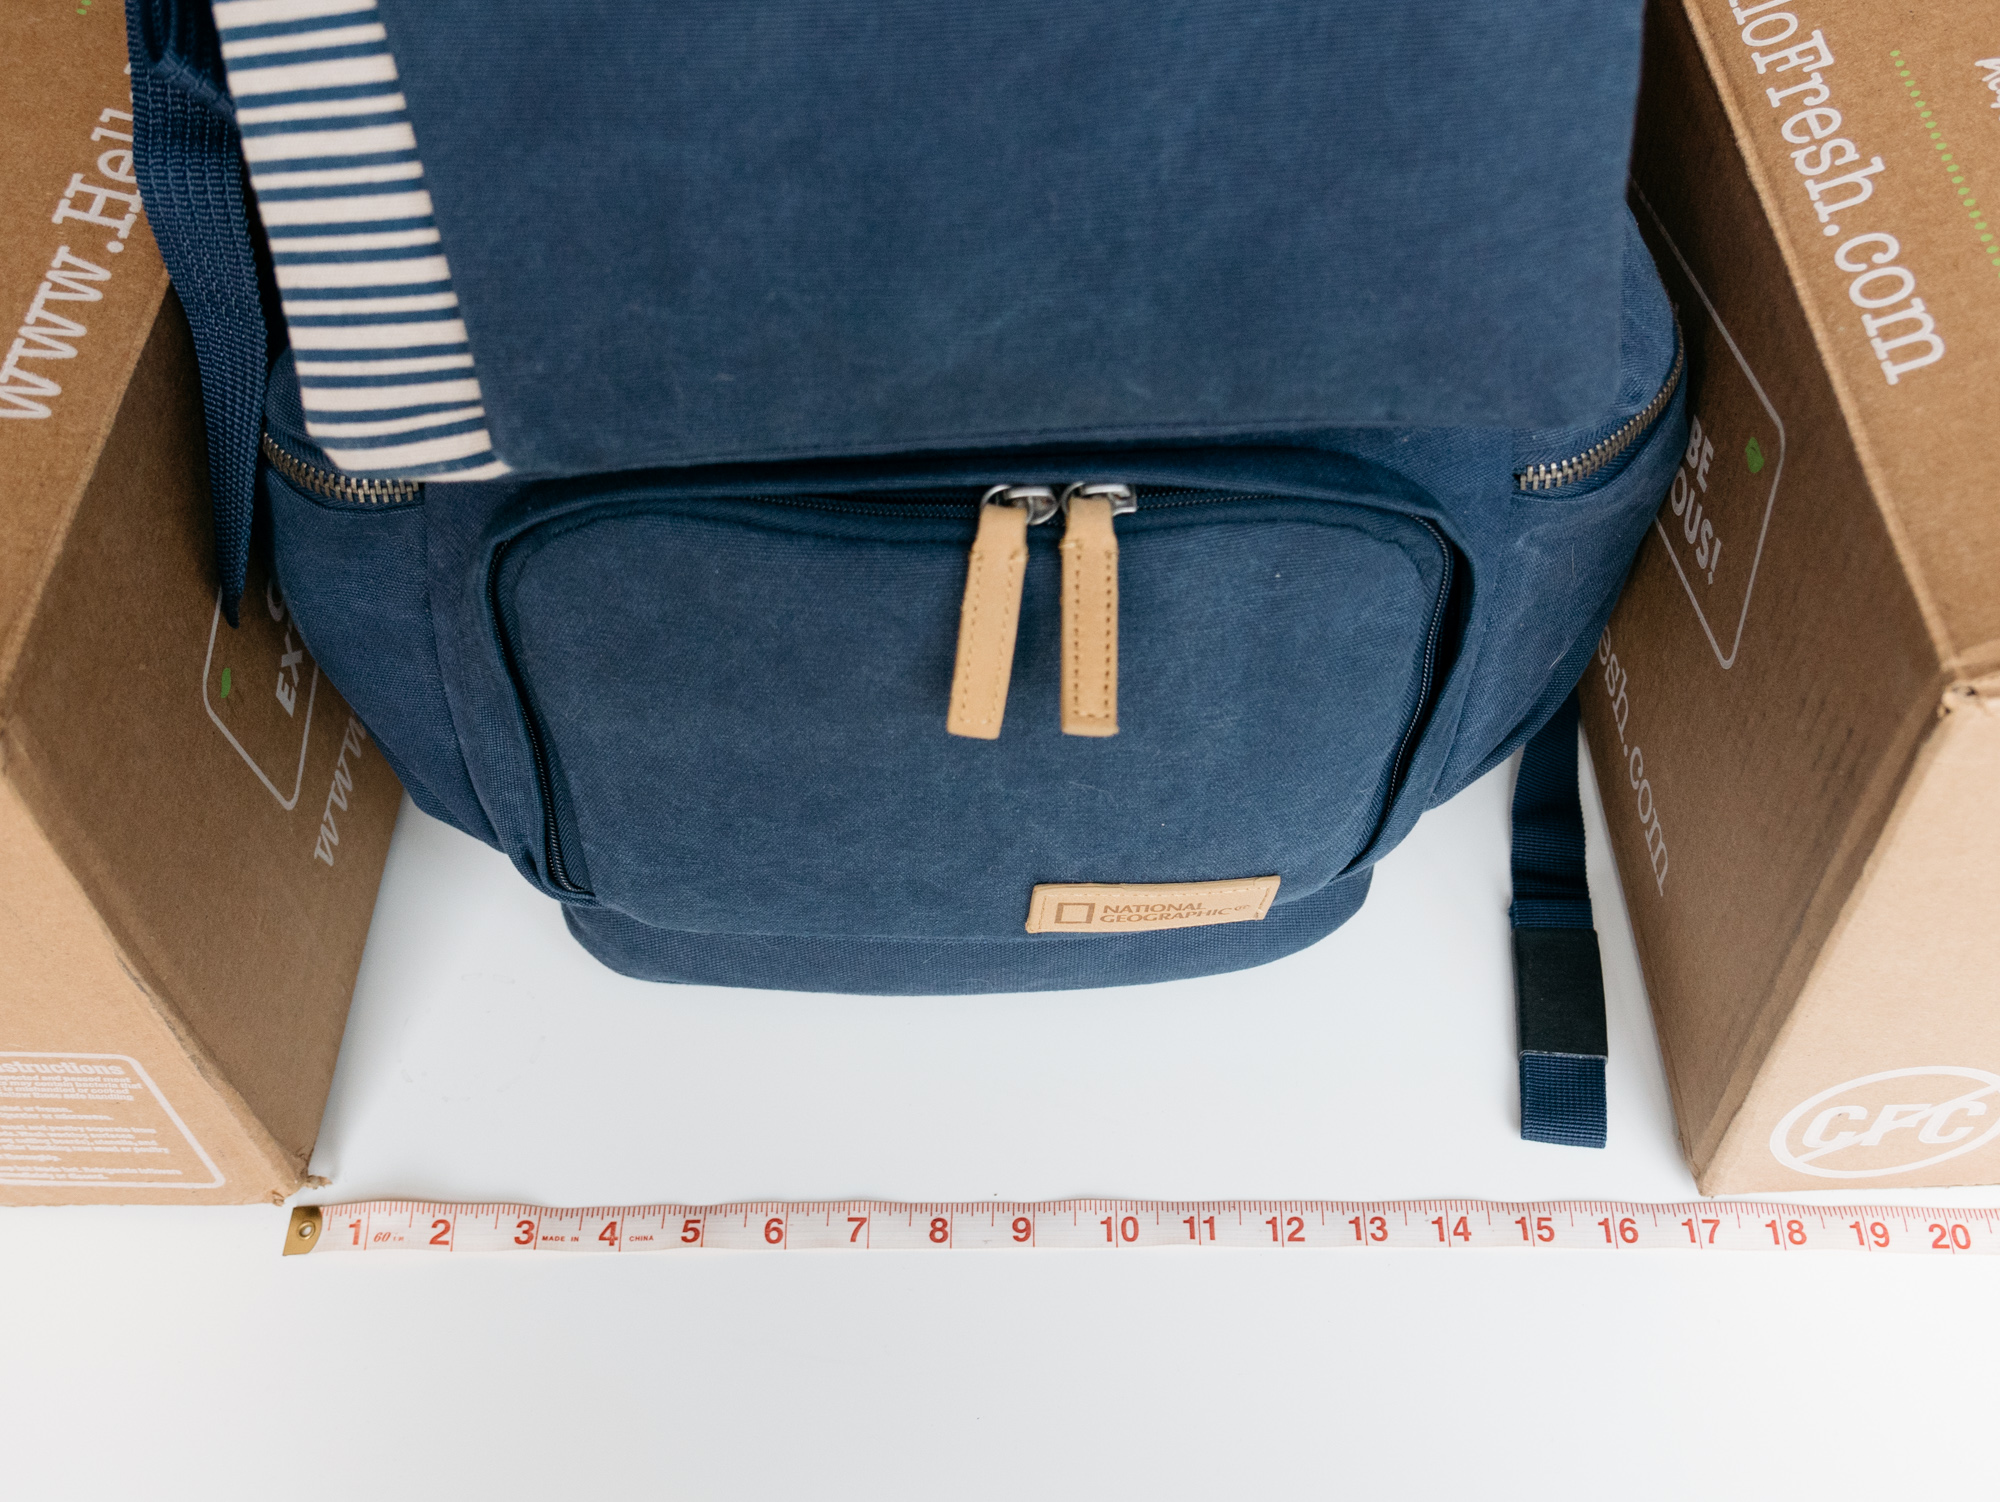
Time for the final measurements! This is definitely too big to quality as a "personal item" but will easy make it as a carry on. United's website says a carry on should be 22" by 14" by 9".
We're at 17" wide, which is a bit over 14". You probably won't get called on it, but if you remove the stuff from the side pockets it collapses down to 13".
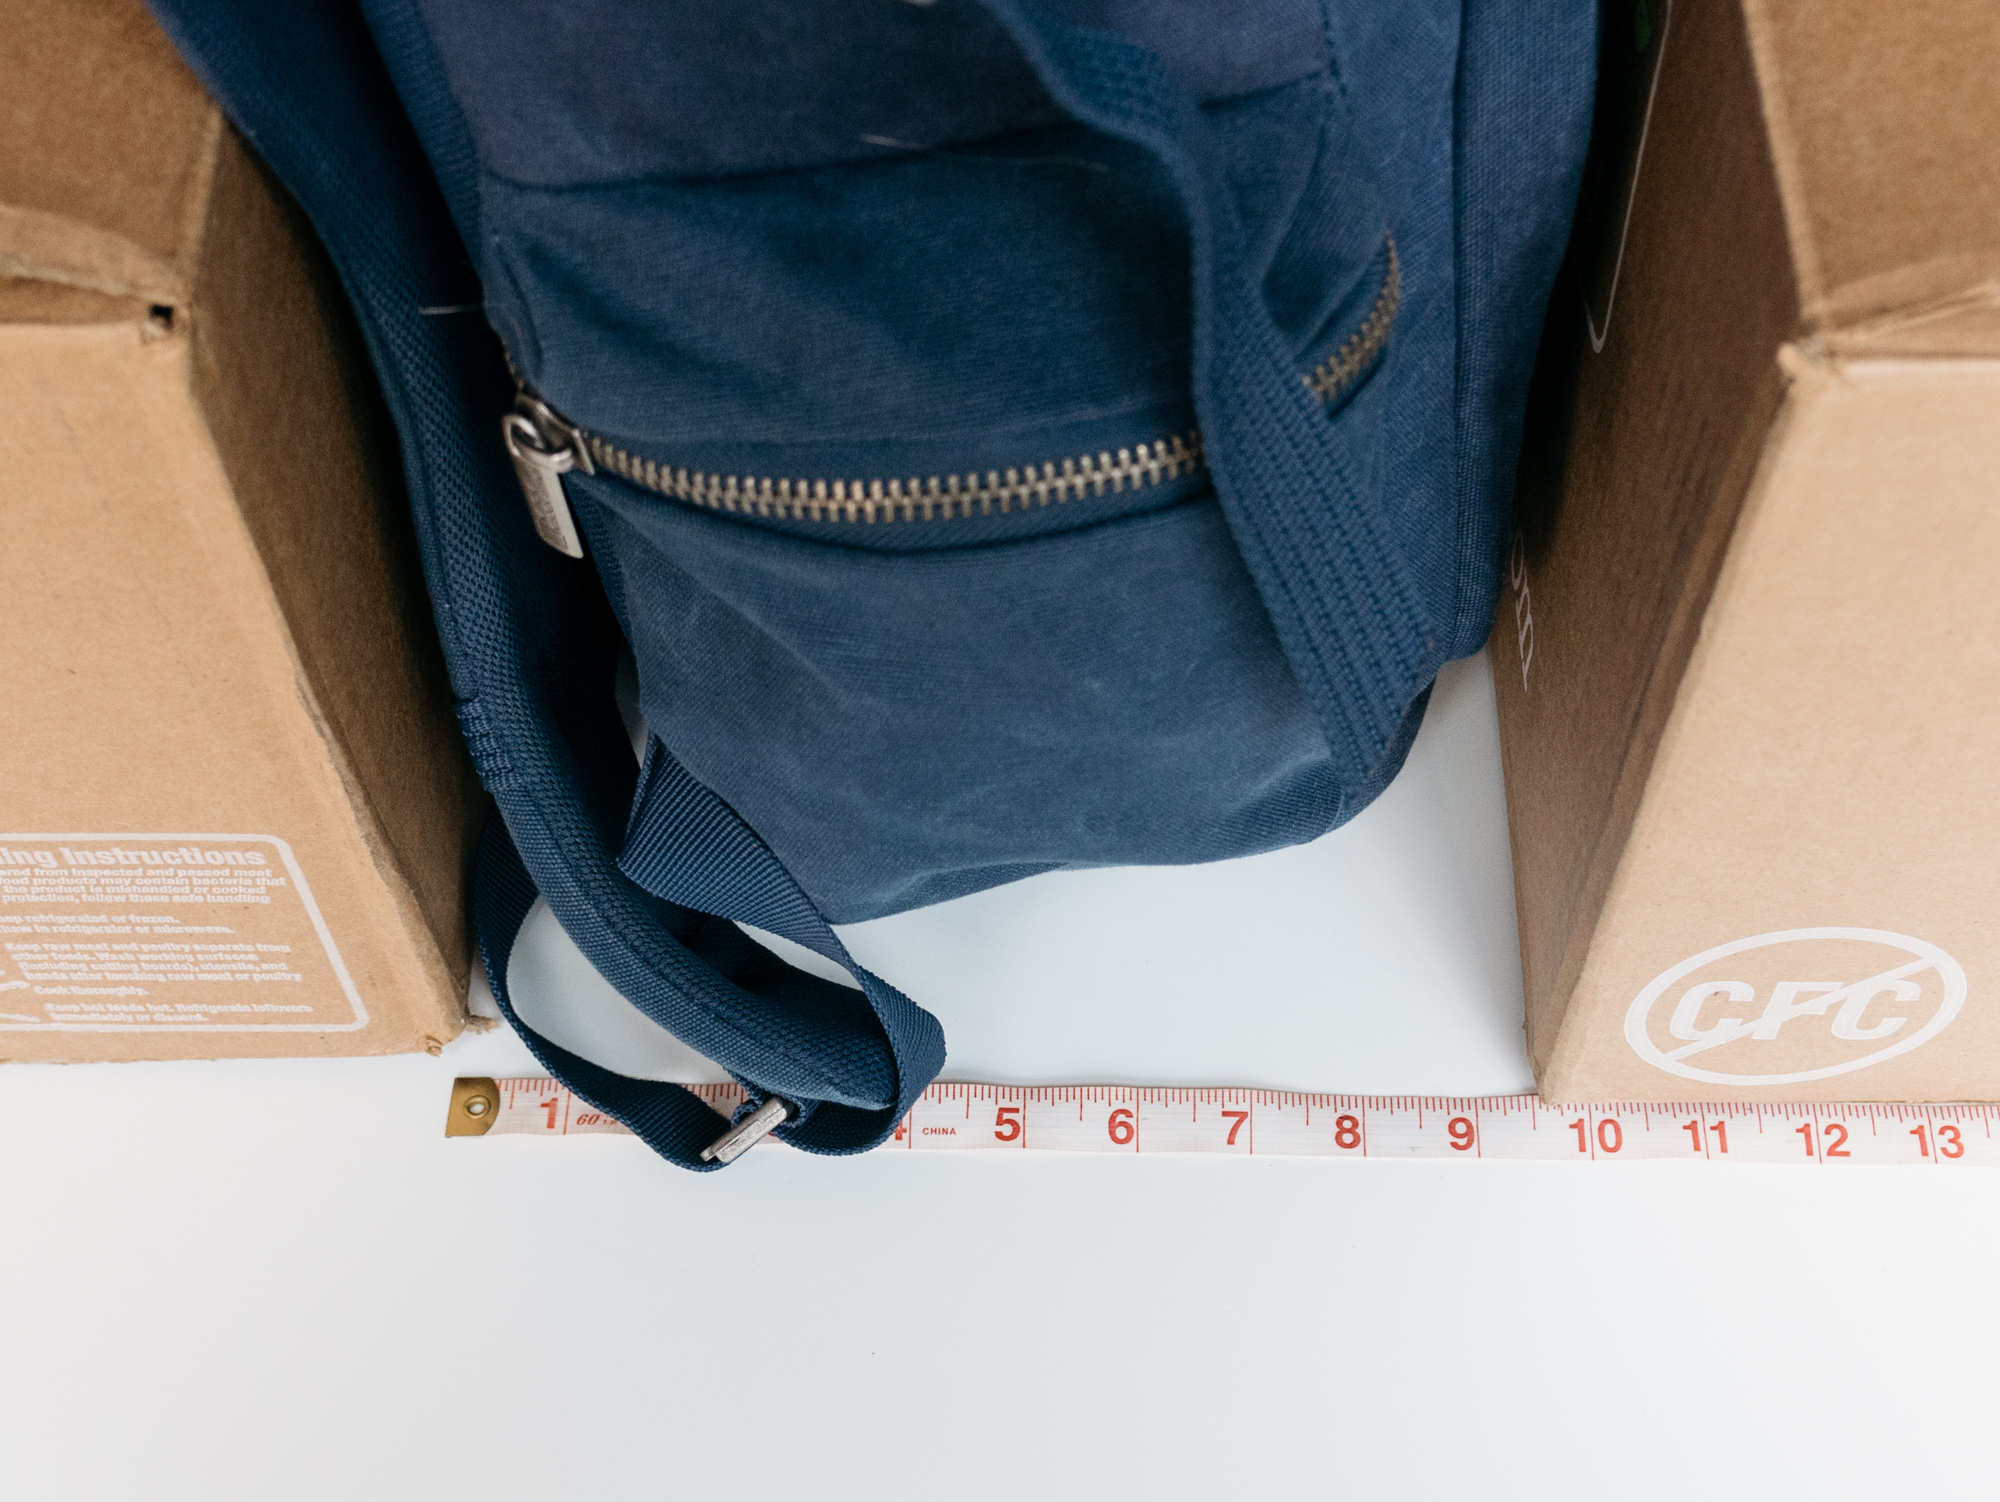
Thickness-wise we're at 9.5". You can save an inch by taking the laptop out.
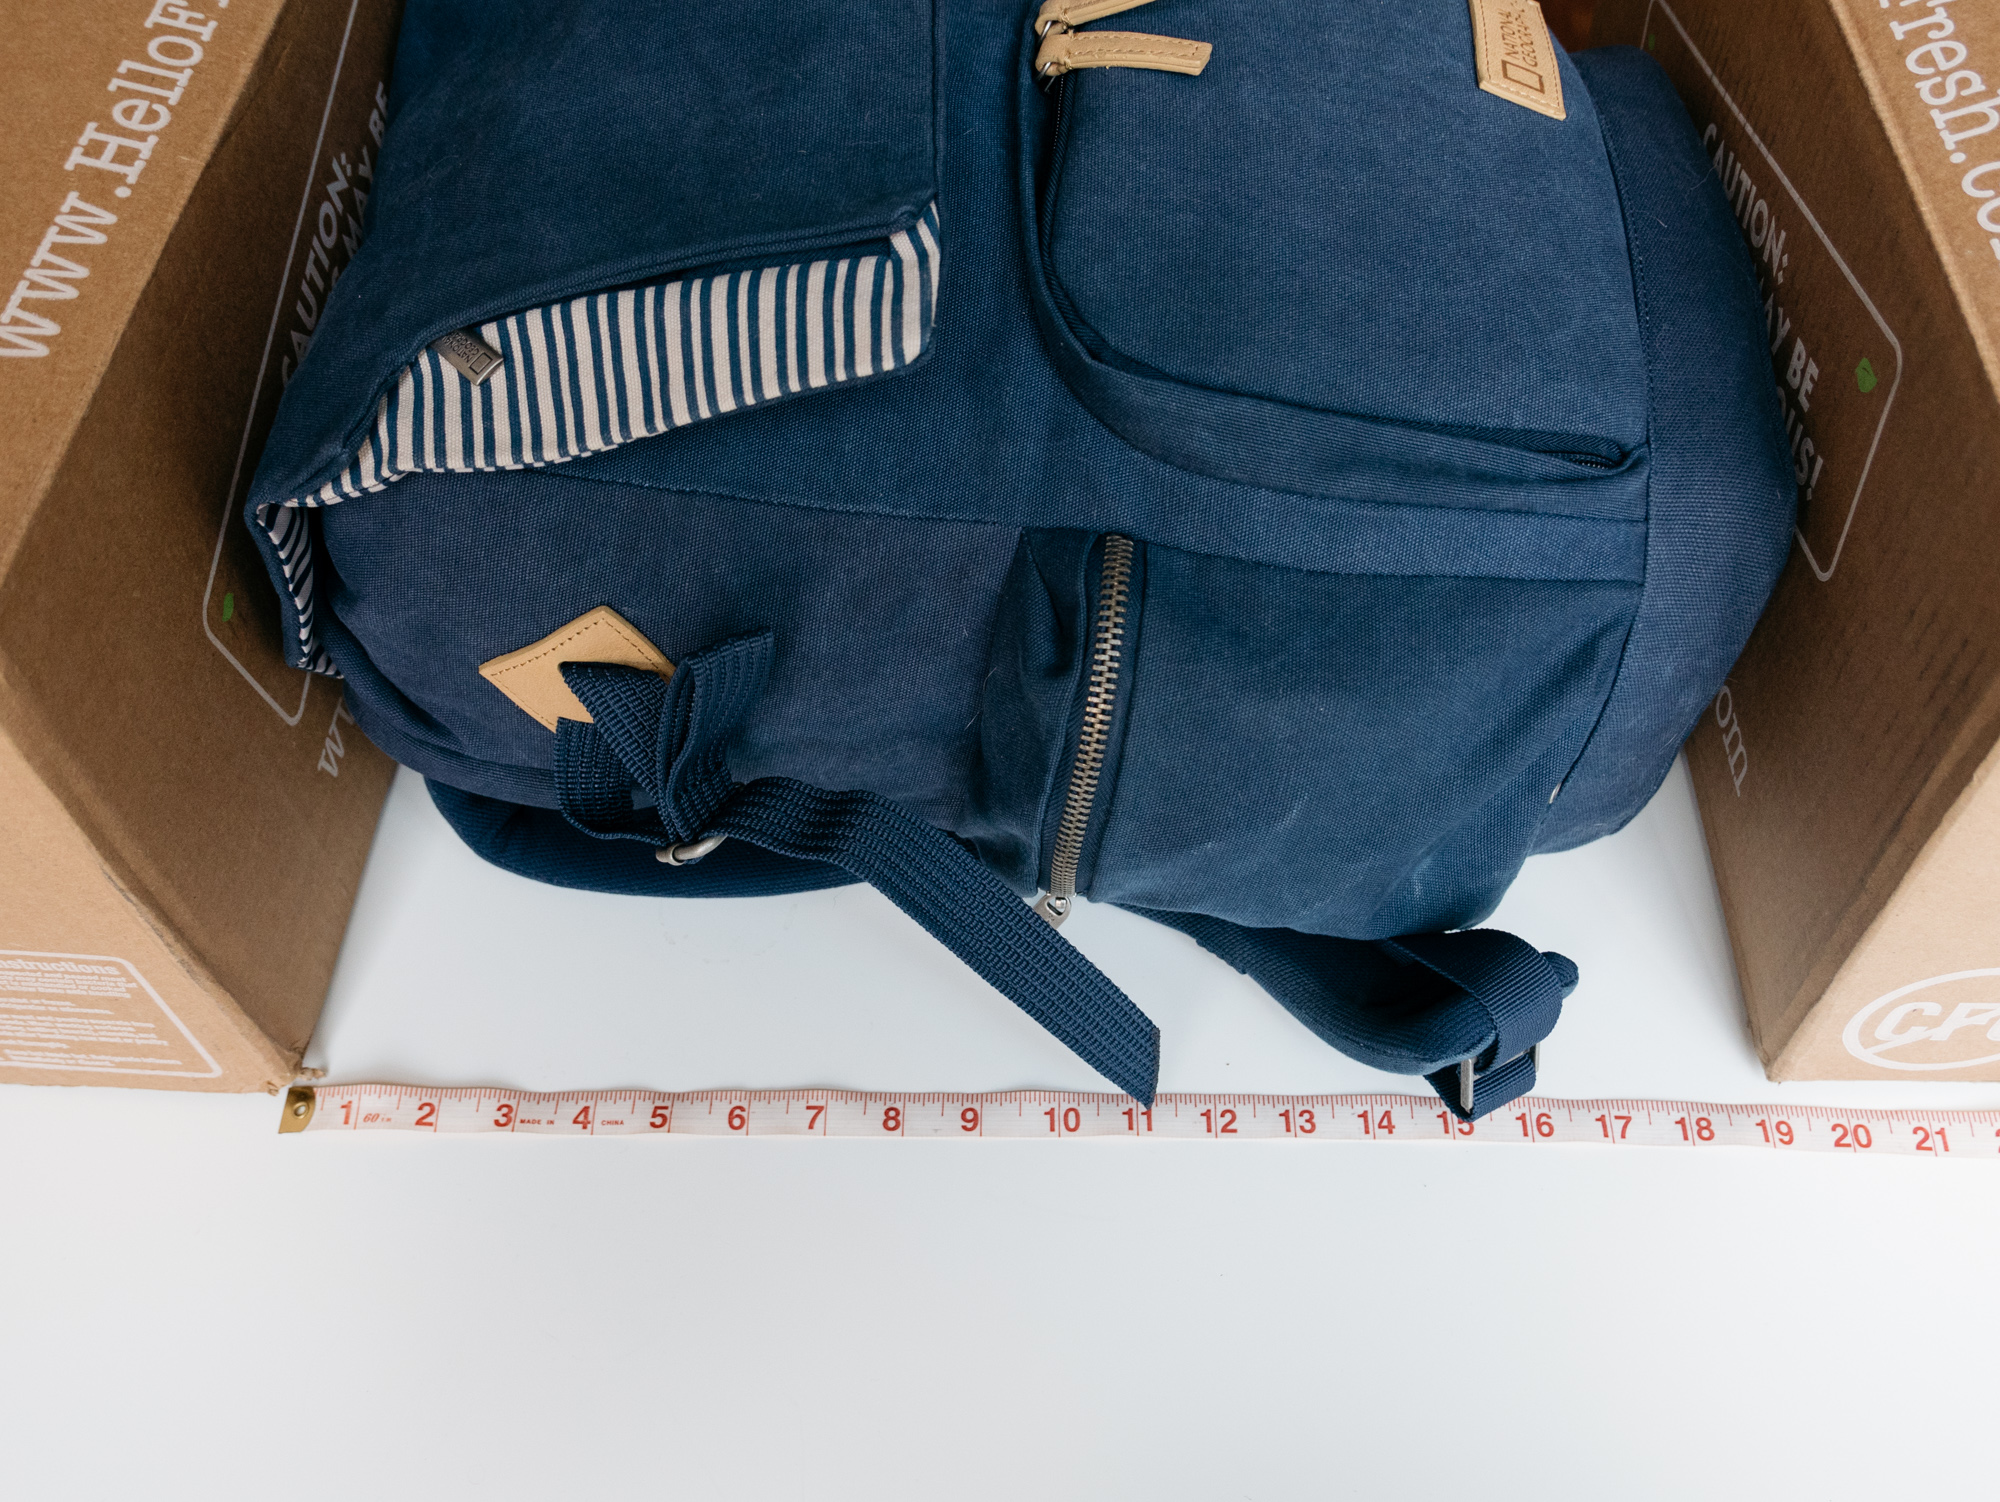
And we're well under the long dimension.
That's it!
All this stuff clocks in at a hefty 24 pounds. Like I said, this was an example of stuffing the bag to bursting. On a real trip I'd probably leave behind the computer and charger, camera charger, 200mm lens, and the rain gear.
After using this on a couple of day hikes and weekend trips I'm really happy with it. I really like the hybrid "reasonable DSLR kit plus weekend supplies" style they've taken here. My only nitpicks are:
- Weak front clasp
- Sharp teeth on the side pouch zippers
- No load lifter straps
- No waist strap
- No D rings to lash things to the bottom or back
Those are all pretty minor though. I'd definitely recommend this bag if you're looking for a small, versatile camera backpack.